
3 Ways to use Homemade Transparencies with Caroline!
Hi everyone,
I am so excited to be here on Traci’s blog today working with the super cute new collection Oh, What Fun!
I LOVE creating my own transparencies from Traci’s collections and today I am sharing three ways I am working with Oh, What Fun! transparencies in my December Daily album! These three projects are foundation pages so I also give you ideas for how I am going to use them!
Create a Pocket Page:

For this project I printed one of the 3x8 journal cards (at outside the page protector size) and cut out the lined area to create a frame.
I then printed this gorgeous floral patterned paper onto printable transparency. It looks amazing!!
Once it was dry I adhered it behind the opening to create a window. I used red line tape for this so that it was nice a secure.
To create the pocket I adhered plain cardstock behind - using adhesive only on three sides and at the edges only.
I decided to create a simple insert working with a piece of dotted paper from another 3x8 journal card. First I checked it was small enough to easily fit into my pocket. Then I lightly adhered a punched circle behind it to act as a pull tab.
I then ran the card through my sewing machine to create a messy stitch frame around it - this also secured the pull tab better.

I will write my story for today on the journal card, and add the day's photo to the back of the card. I love this page and think I may make more with other patterns and 3x8 journal cards!!
Create a flip up for a pocket page:

For this project I printed one of the patterns as a 6x4 transparency card. I decided to pair it with the A Season of Sparkle 6x4 card BUT I wanted the title on the card to show and the transparency to only sit over the area where my photo and writing will go!
To achieve this I measured where to cut down my transparency card. I then put the 6x4 journal card into the page protector and I used a thin strip of clear sticker paper to work as tape. Holding the transparency to the top of the page protector but allowing it to easily flip up.

For now I have paired this with the gorgeous white wood-grain Merry Christmas card. I may leave that card there and add a small photo and a few words under the transparency. Or if I have more to say, I will replace that Merry Christmas card with a 6x4 photo.
Create a see-through page section:

For this project I decided to work with another of the 3x8 journal cards. I wanted a page that was nice a neutral so I paired that with this gorgeous white and tan bauble patterned paper. It makes a stunning transparency!\
I work at 8.25” tall x 6.75” wide for my full pages in my album. This meant I just needed to trim the journal card a little and then cut half of the transparency to create the full page.
I adhered the transparency lightly under the edge of the paper and then stitched the two together with red thread for a pop of colour.
To continue this red and also added a cute gingerbread tree die-cut from the sticker pack that I also stitched down.

My plans for this page are flexible. I may include a full page photo behind it - where half of the photo peaks through and you turn the page to reveal the full photo (and additional photos or journaling on the back of the 3x8 card.
If I don’t have alot of words, I may include a small photo on the front of the 3x8 card and pair that with writing underneath.
My third option is to punch my photos into circles that are 2 or 3 inches wide. I would then adhere those on top of the transparency for this day (repeating the design the next day on the other side of the project)
I am so looking forward to getting to these pages in my December Daily album and hope I have inspired you to create your own transparencies with the collection and include them in your project in a few different ways.
Bye for now
Caroline
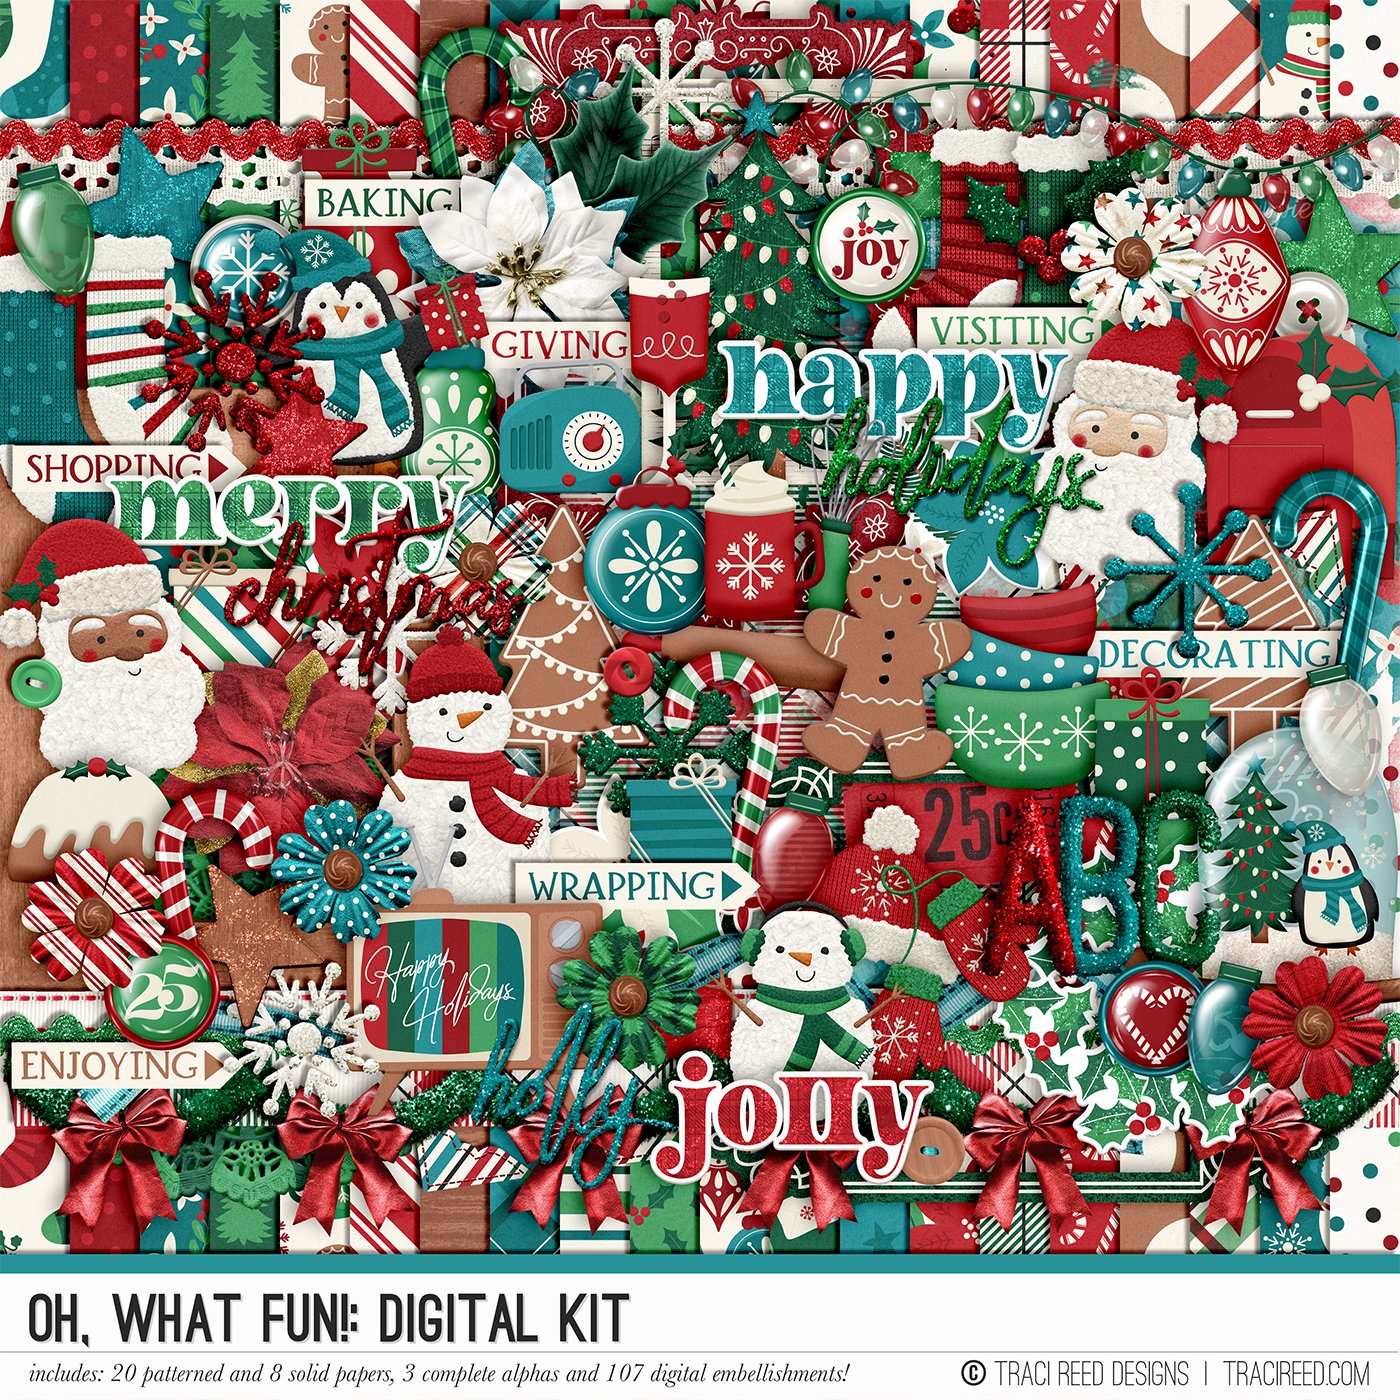


Introducing the "Oh, What Fun!" printable collection by Traci Reed—a vibrant celebration of the holiday season! This collection combines a playful, retro-inspired color palette of classic red and green with pops of aqua and cream, giving your Christmas crafting a fresh and modern twist.
Filled with cheerful illustrations of gingerbread men, ornaments, snowmen, and Santa Claus, along with festive patterns like candy stripes and cozy plaids, this collection is perfect for bringing the magic of the season to life. Each card and element is designed with whimsy and warmth, making it ideal for documenting traditions, creating handmade cards, or sprucing up your December stories.
Let "Oh, What Fun!" add a dash of joy and sparkle to your holiday projects—because 'tis the season to get creative!
See the full product listing, layouts and the inboxing on the Oh, What Fun! blog post HERE!
BUNDLE INCLUDES:
The Oh, What Fun! Digital Kit, Cards #1 & #2, TN Signatures & Stickers!
BUNDLE DOES NOT INCLUDE:
6×8 or TN Papers, Patterned Cards, Journalers, 6×8 Signatures, 3×8 Journalers, Cut Files or Extra Alphas!