DIY Hidden Paperclip Bookmarks by Becky
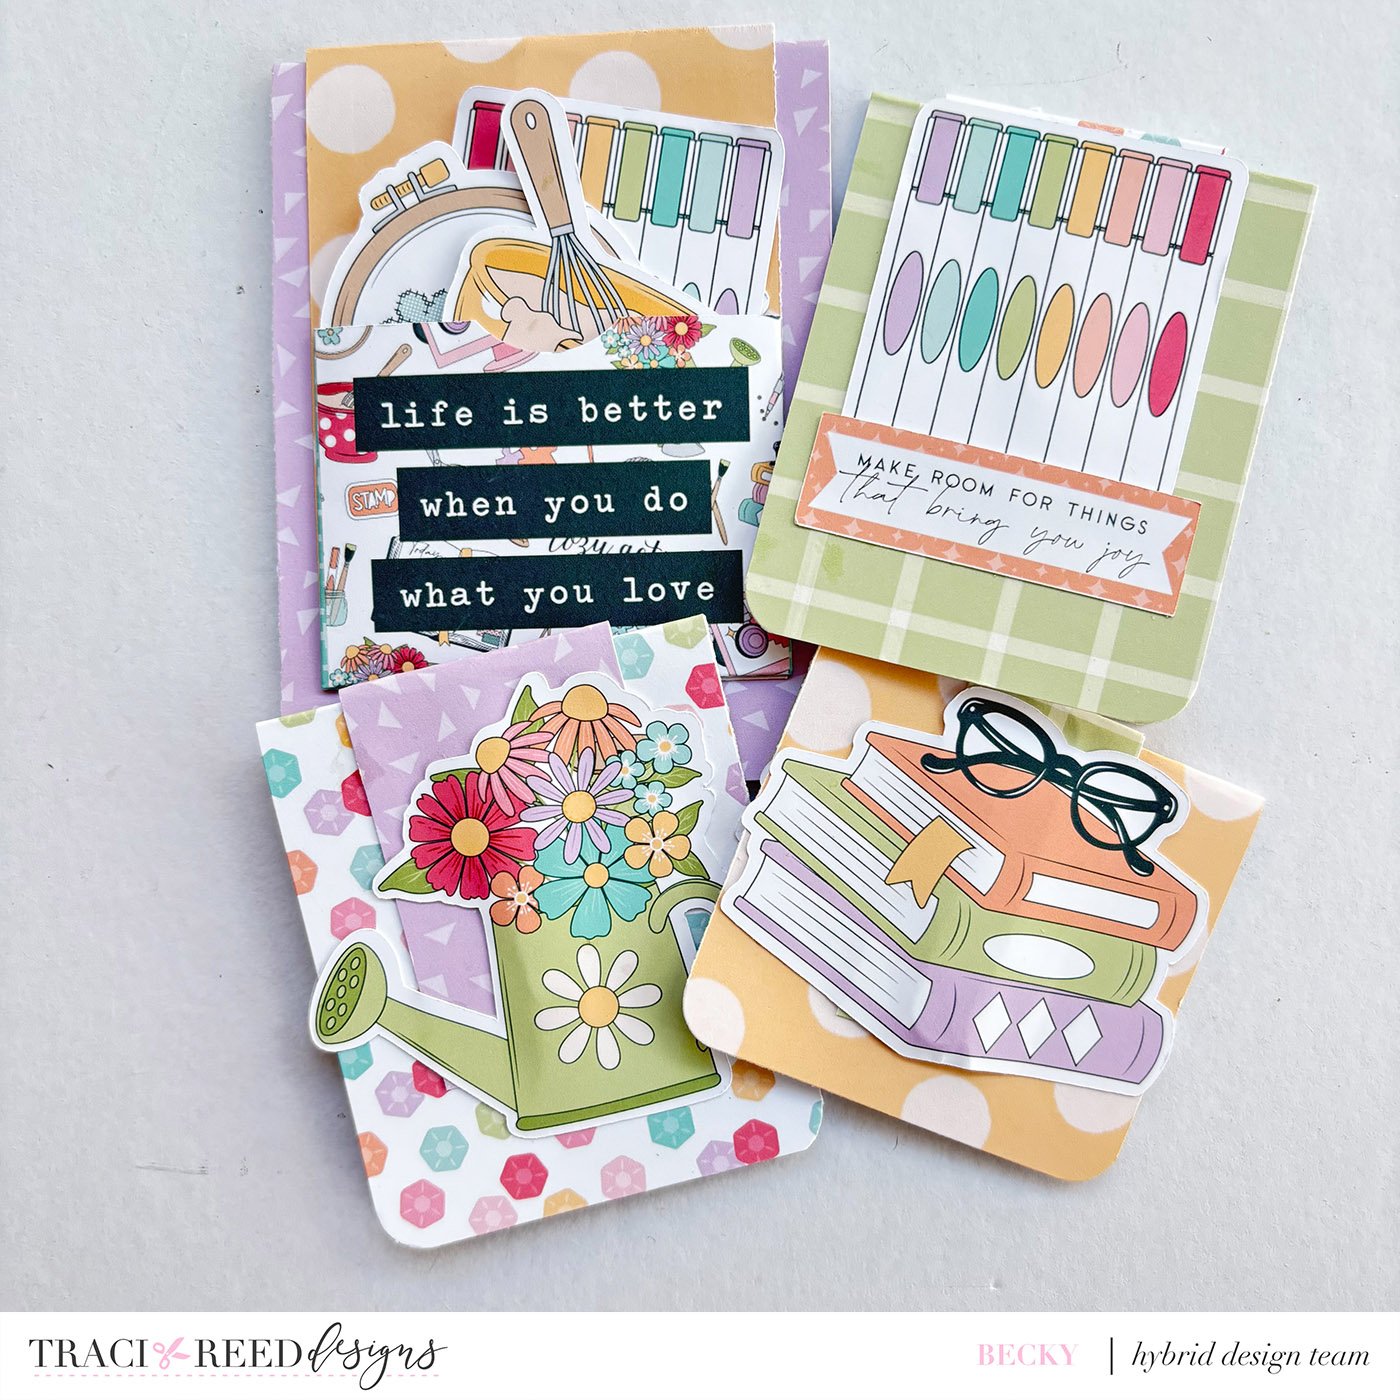
I have been seeing hidden paperclip embellishments and bookmarks around on the internet for a while so decided to have a go at making them myself using Me Time, Chapter 8 of Story Foundations. There are lots of different ways to make them but this is the easiest way I have found.
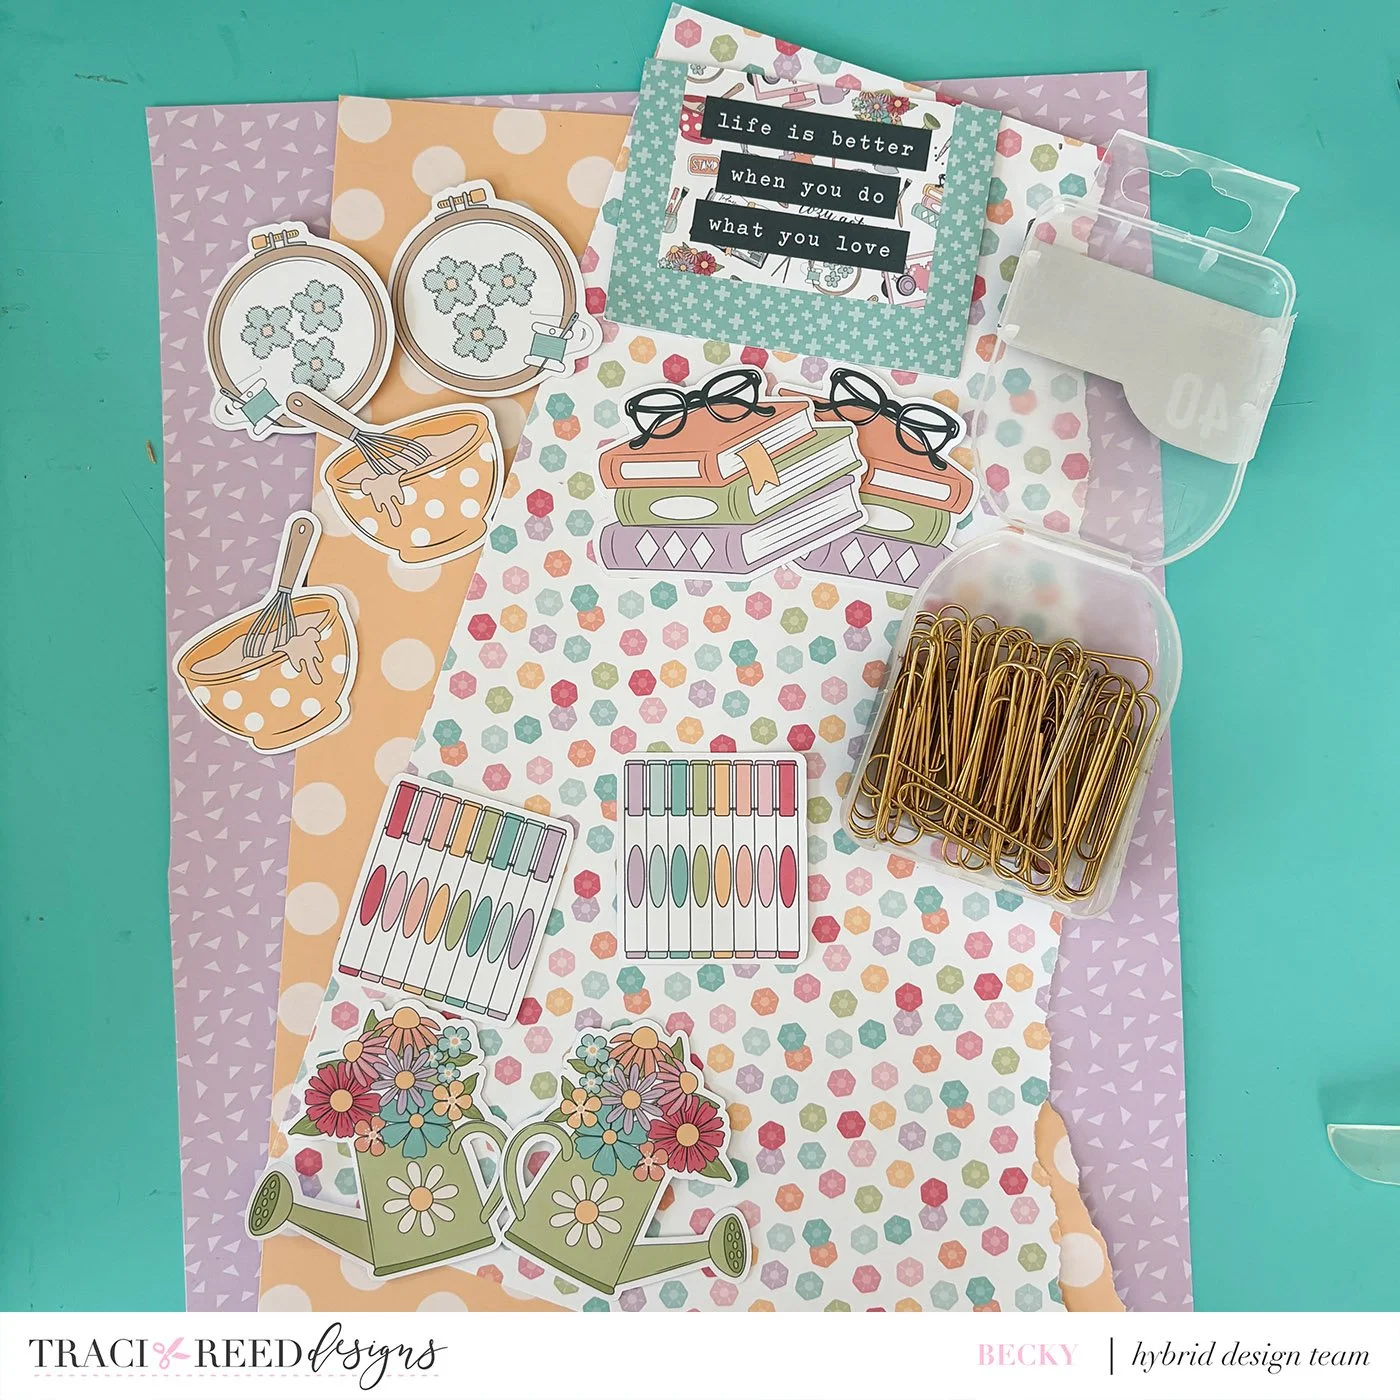
Firstly I decided which embellishments I wanted to use on my creations, sized them appropriately in Silhouette Studio and then did print and cut. I gathered together some papers from the same collection and some paperclips (I used 2” ones as they are nice to work with).
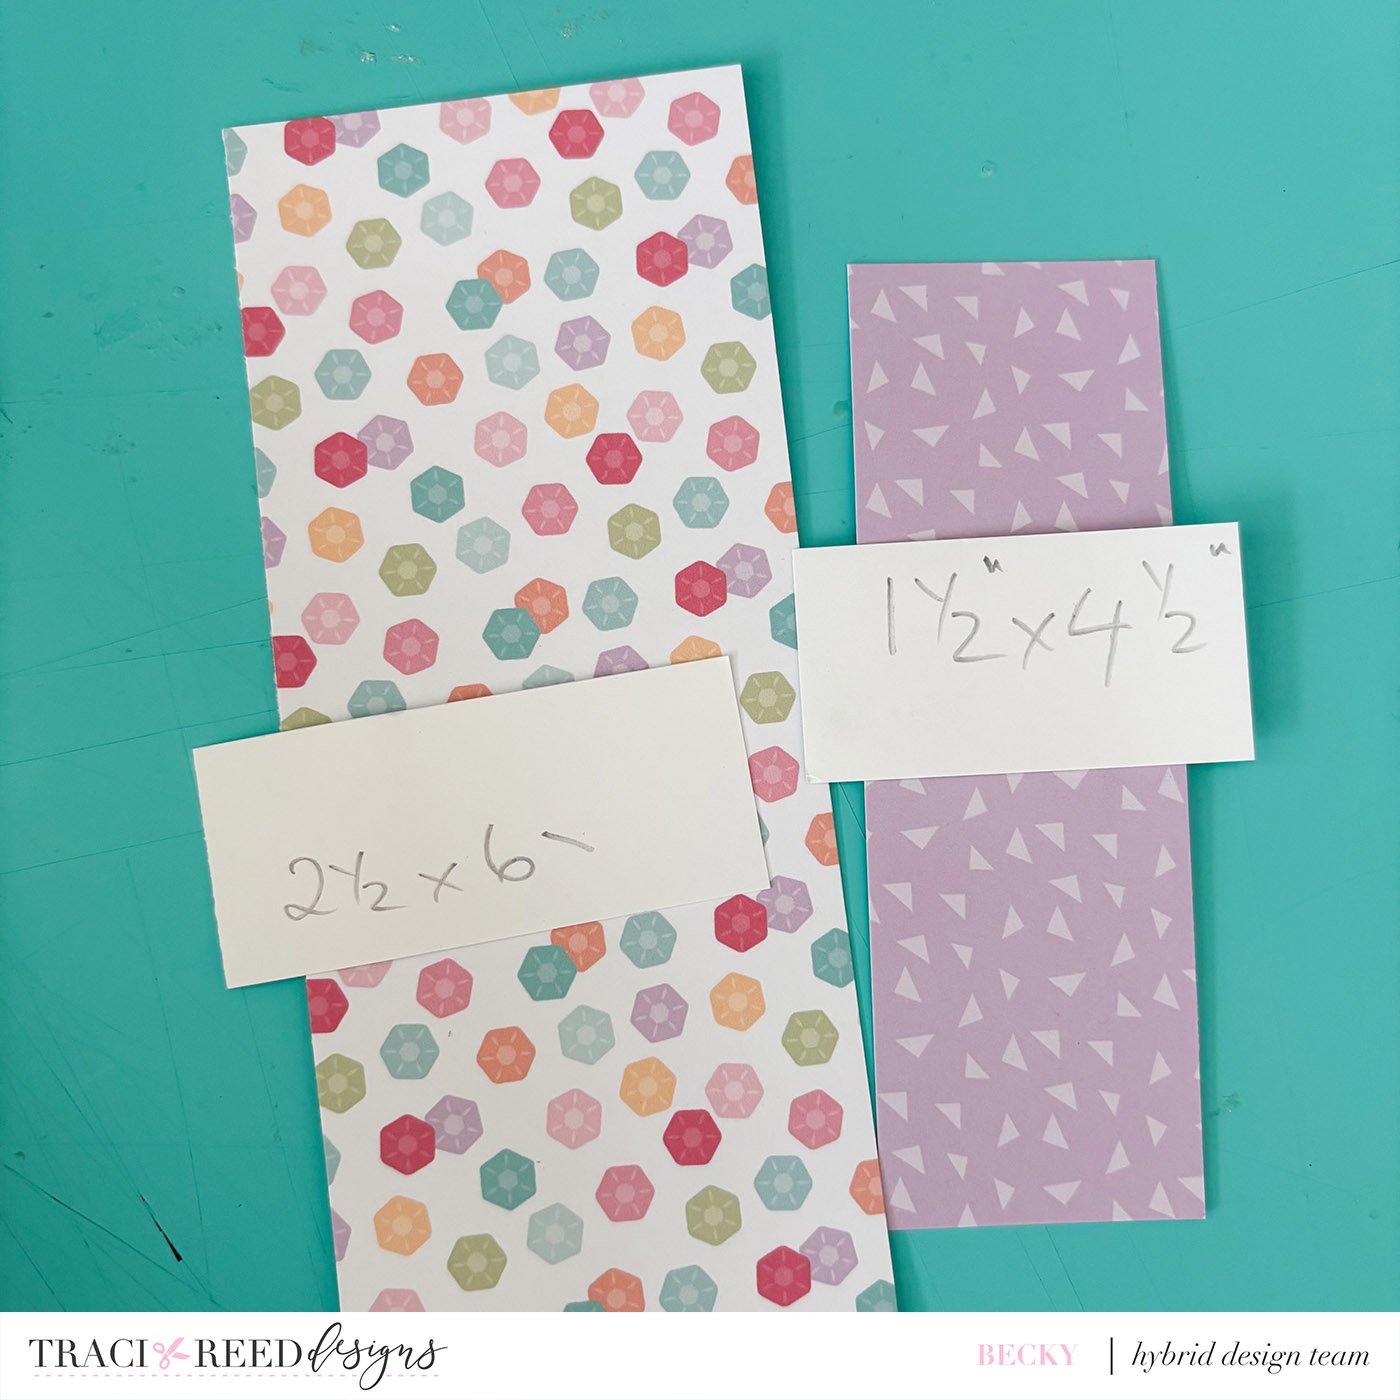
I cut one piece of paper to 2.5” x 6” and another to 1.5” x 4.5” and folded each in half. I slipped the paperclip onto the larger piece of paper and layered the smaller one over the top.
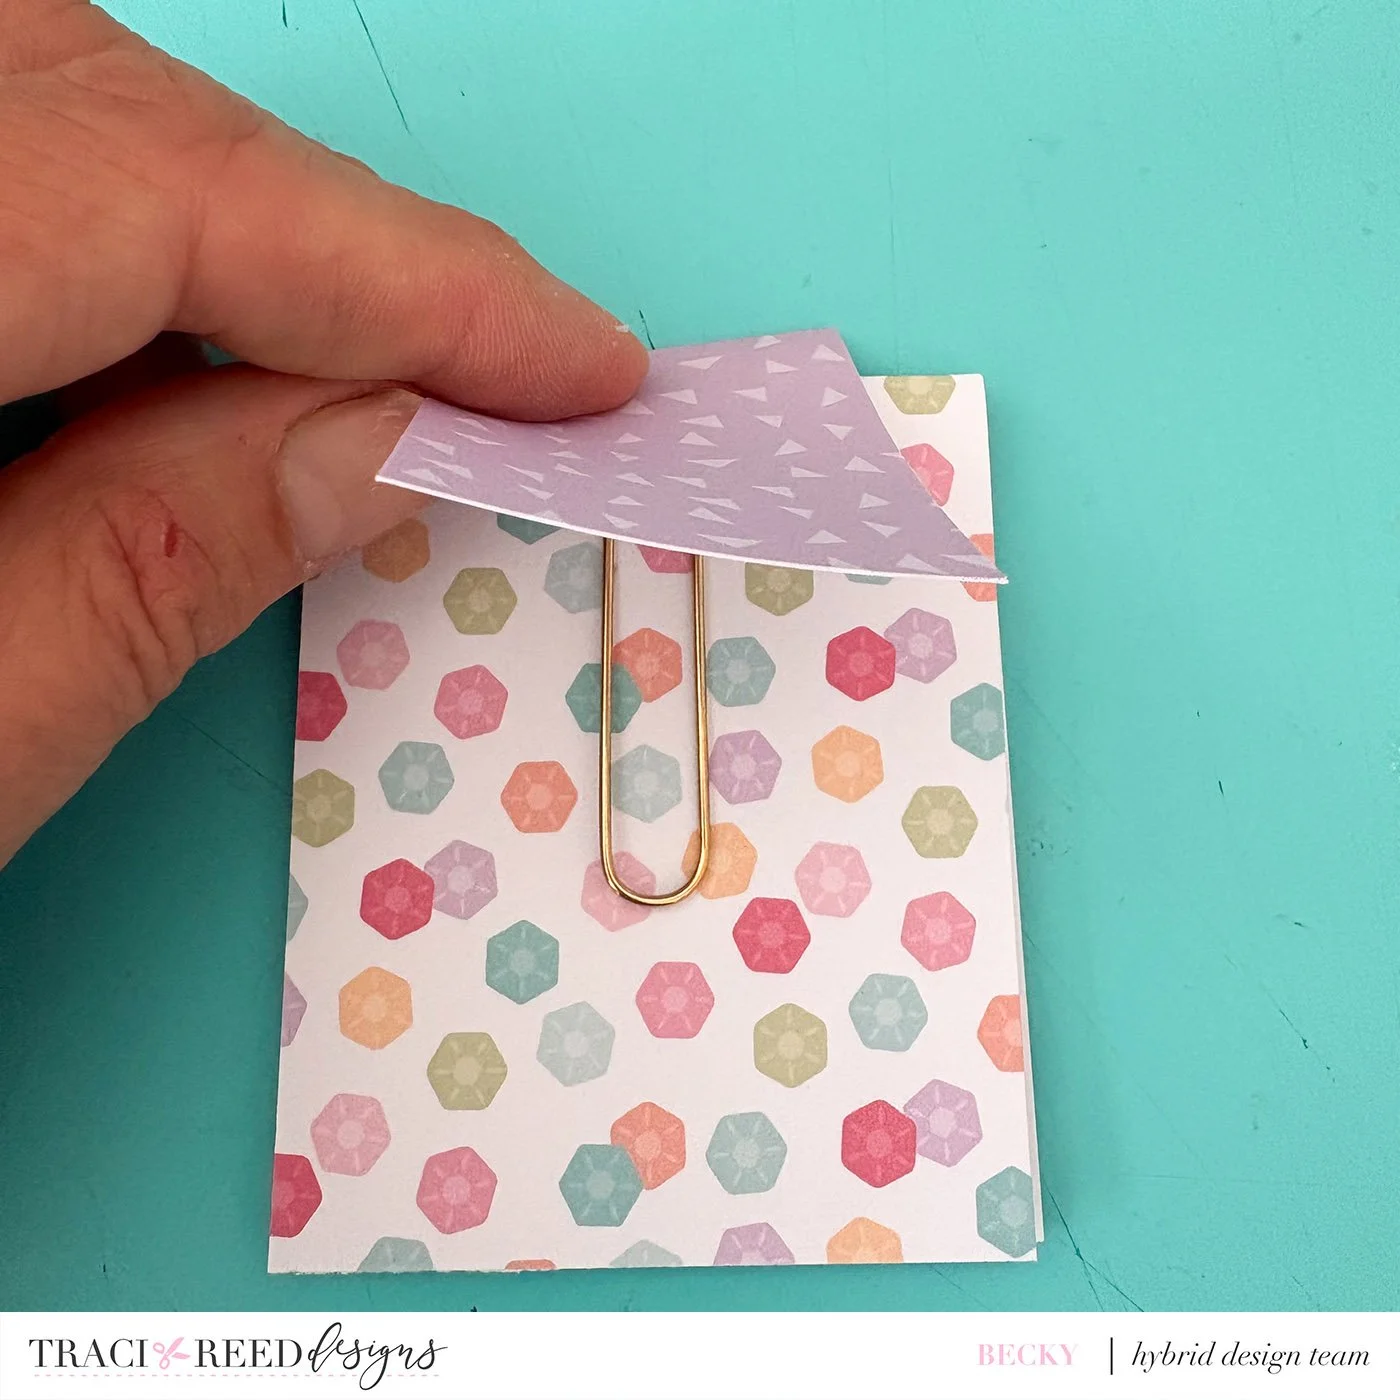
I then put glue all around the paperclip and onto the smaller piece of paper and stuck the paper down on top of the paperclip.
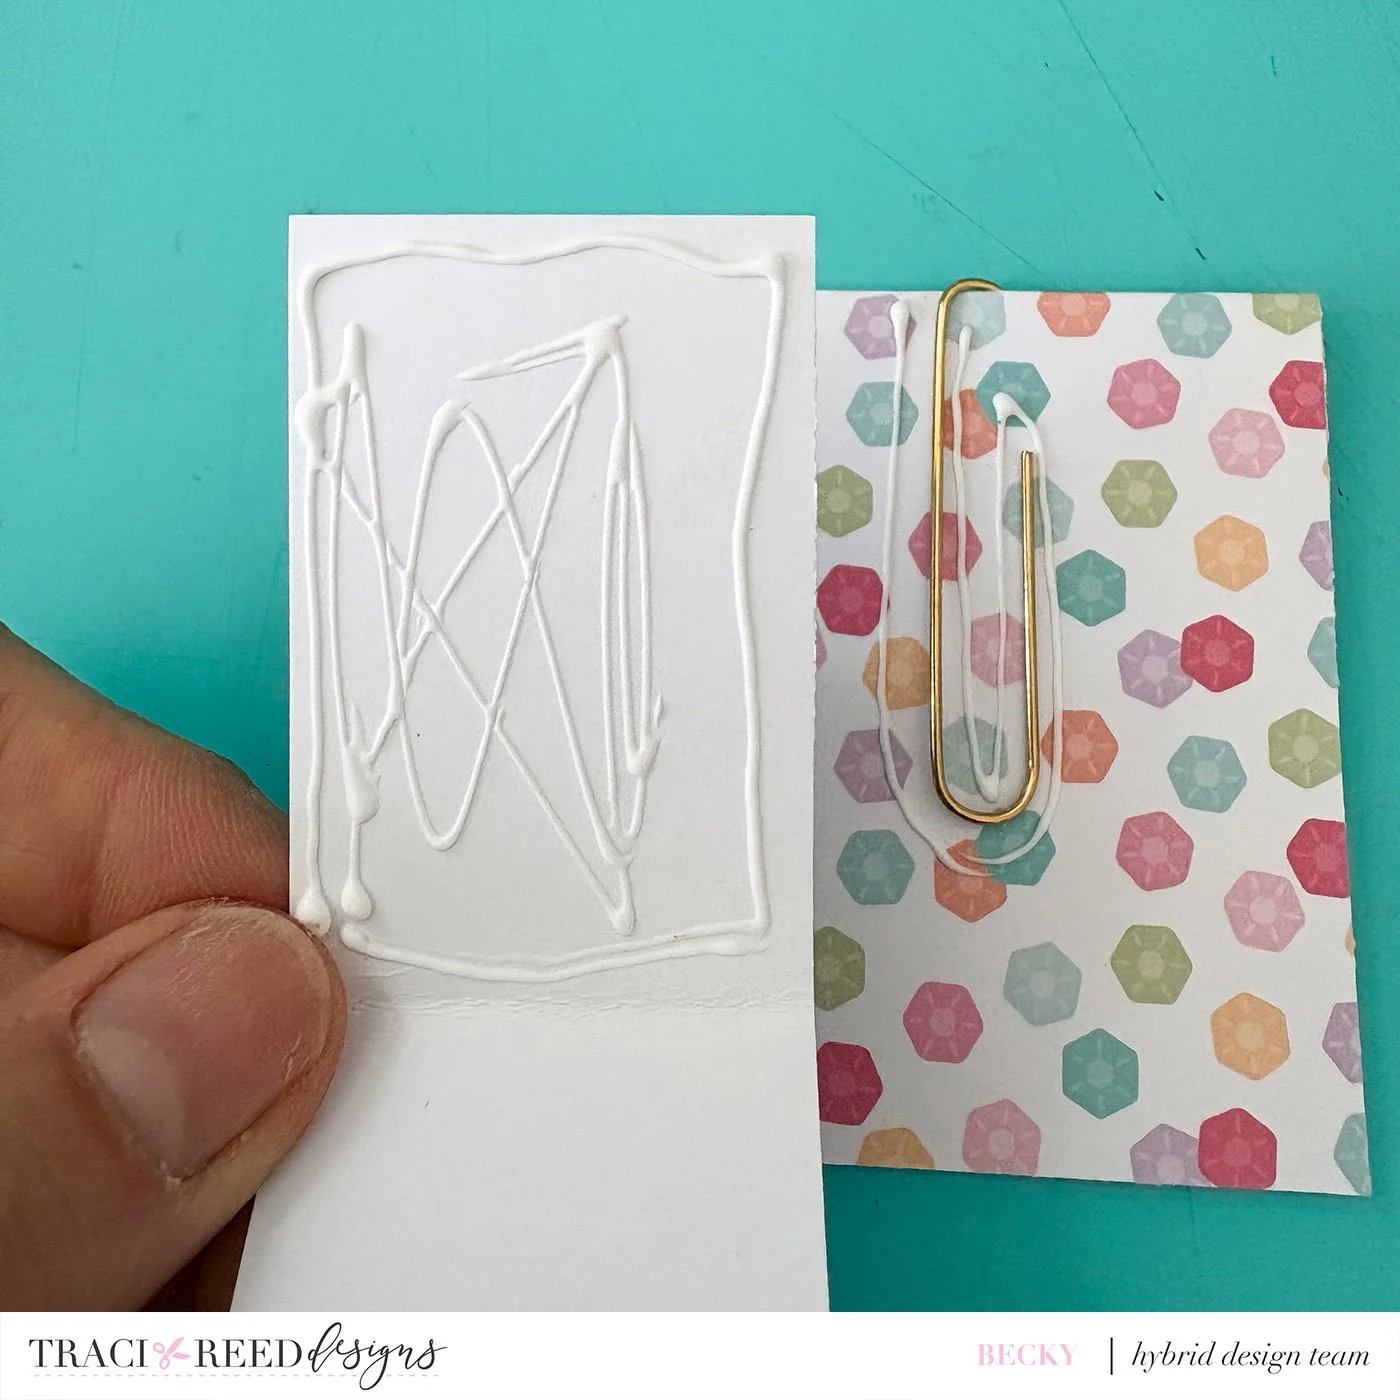
I rounded the corners of the bottom piece using my Crop-A-Dile and added an embellishment to the front and back. That’s it! Your bookmark is done!
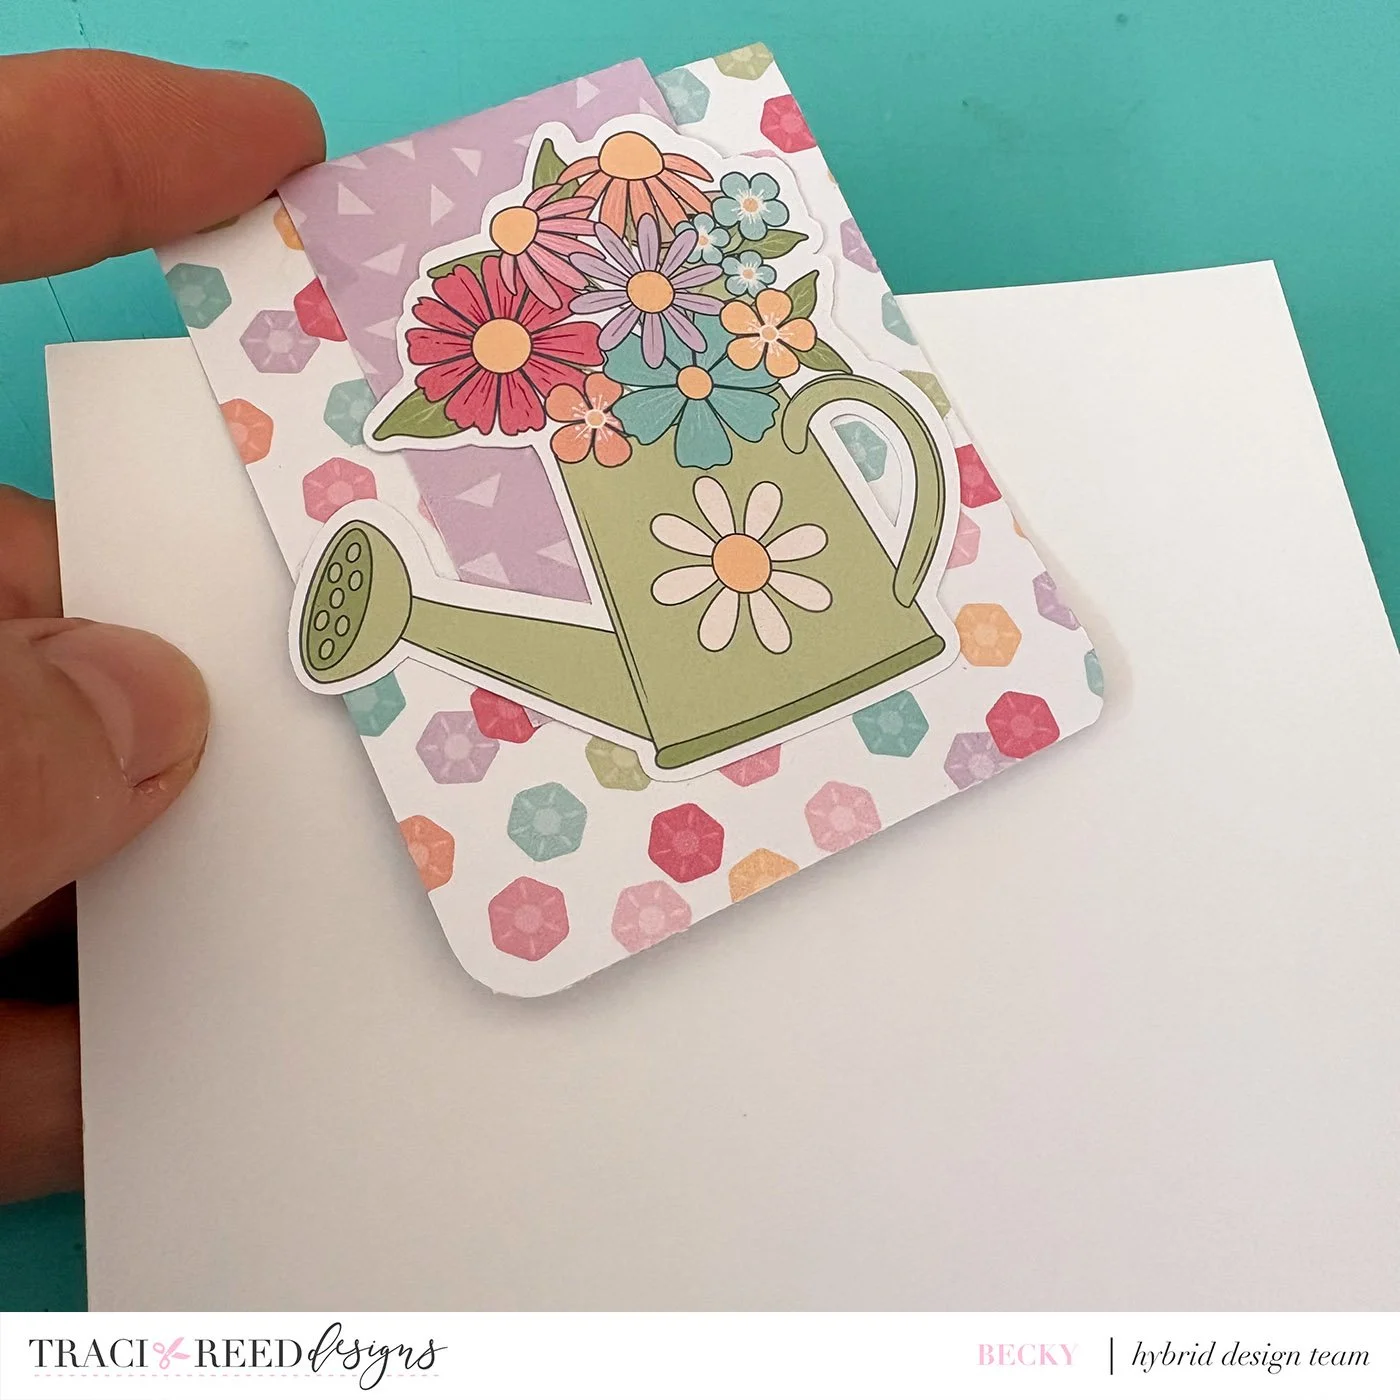
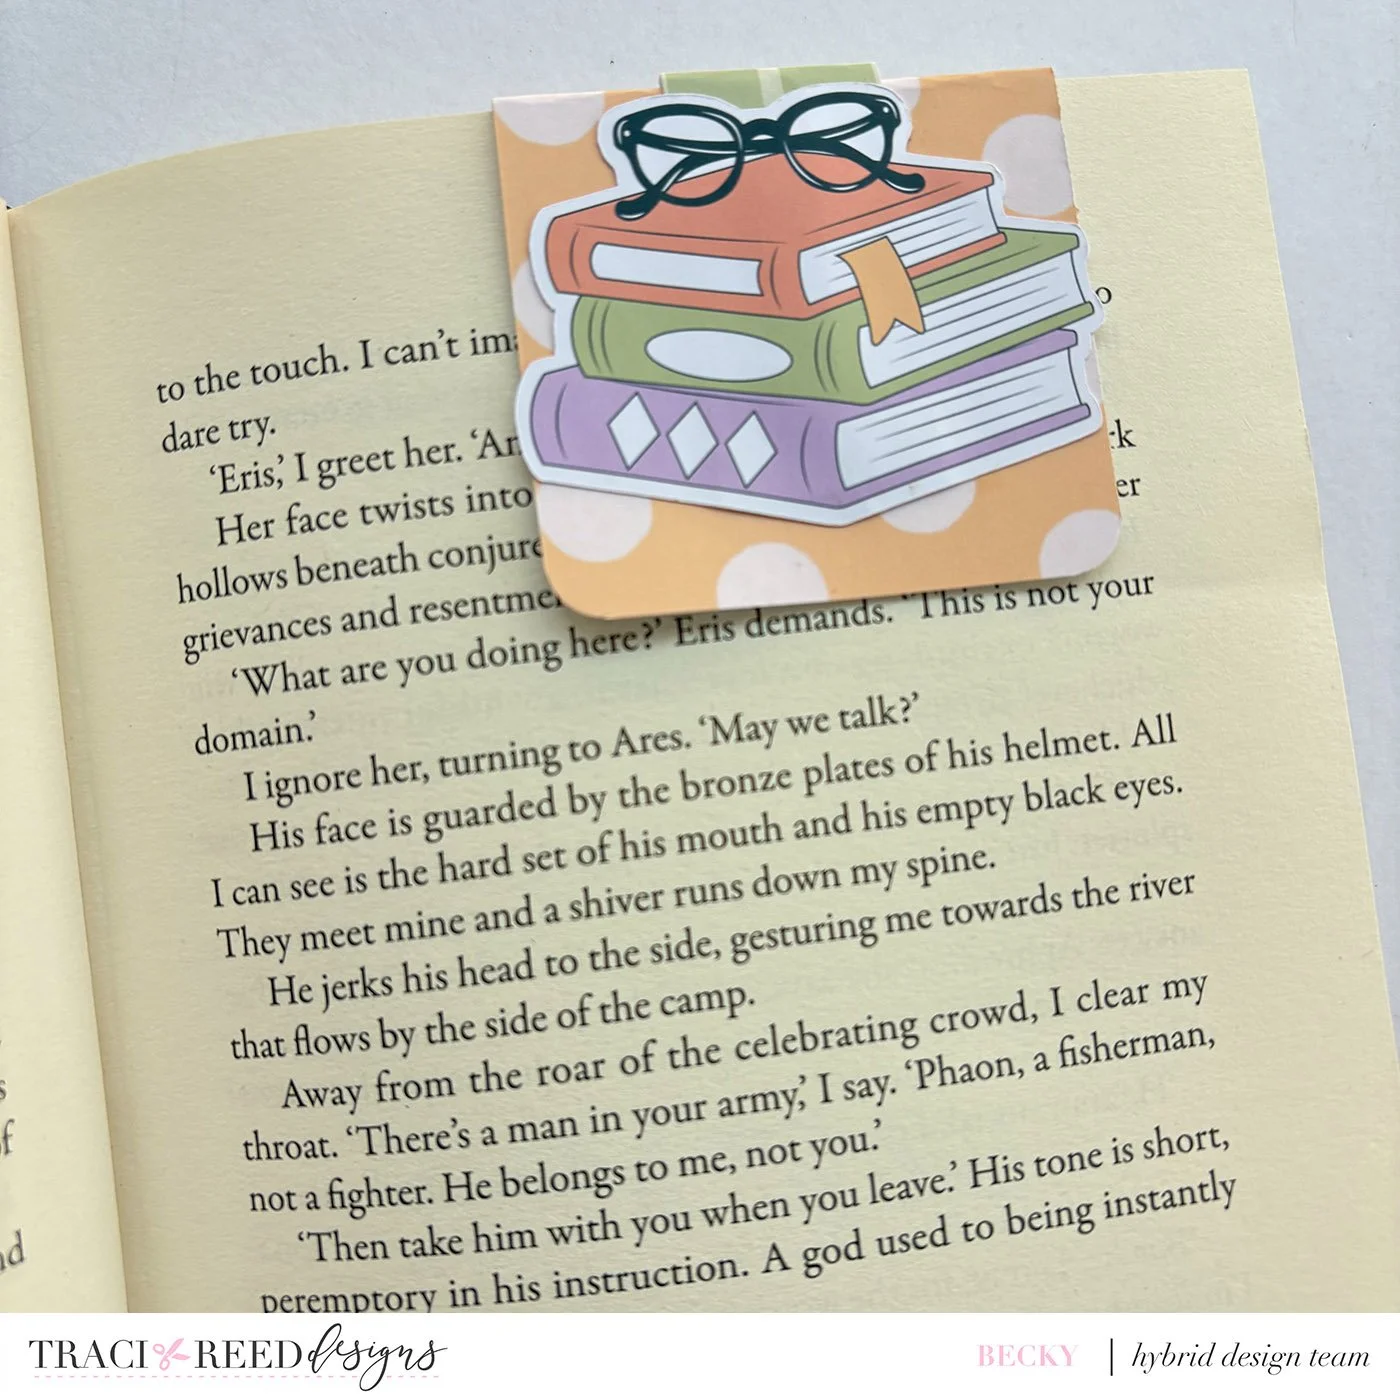
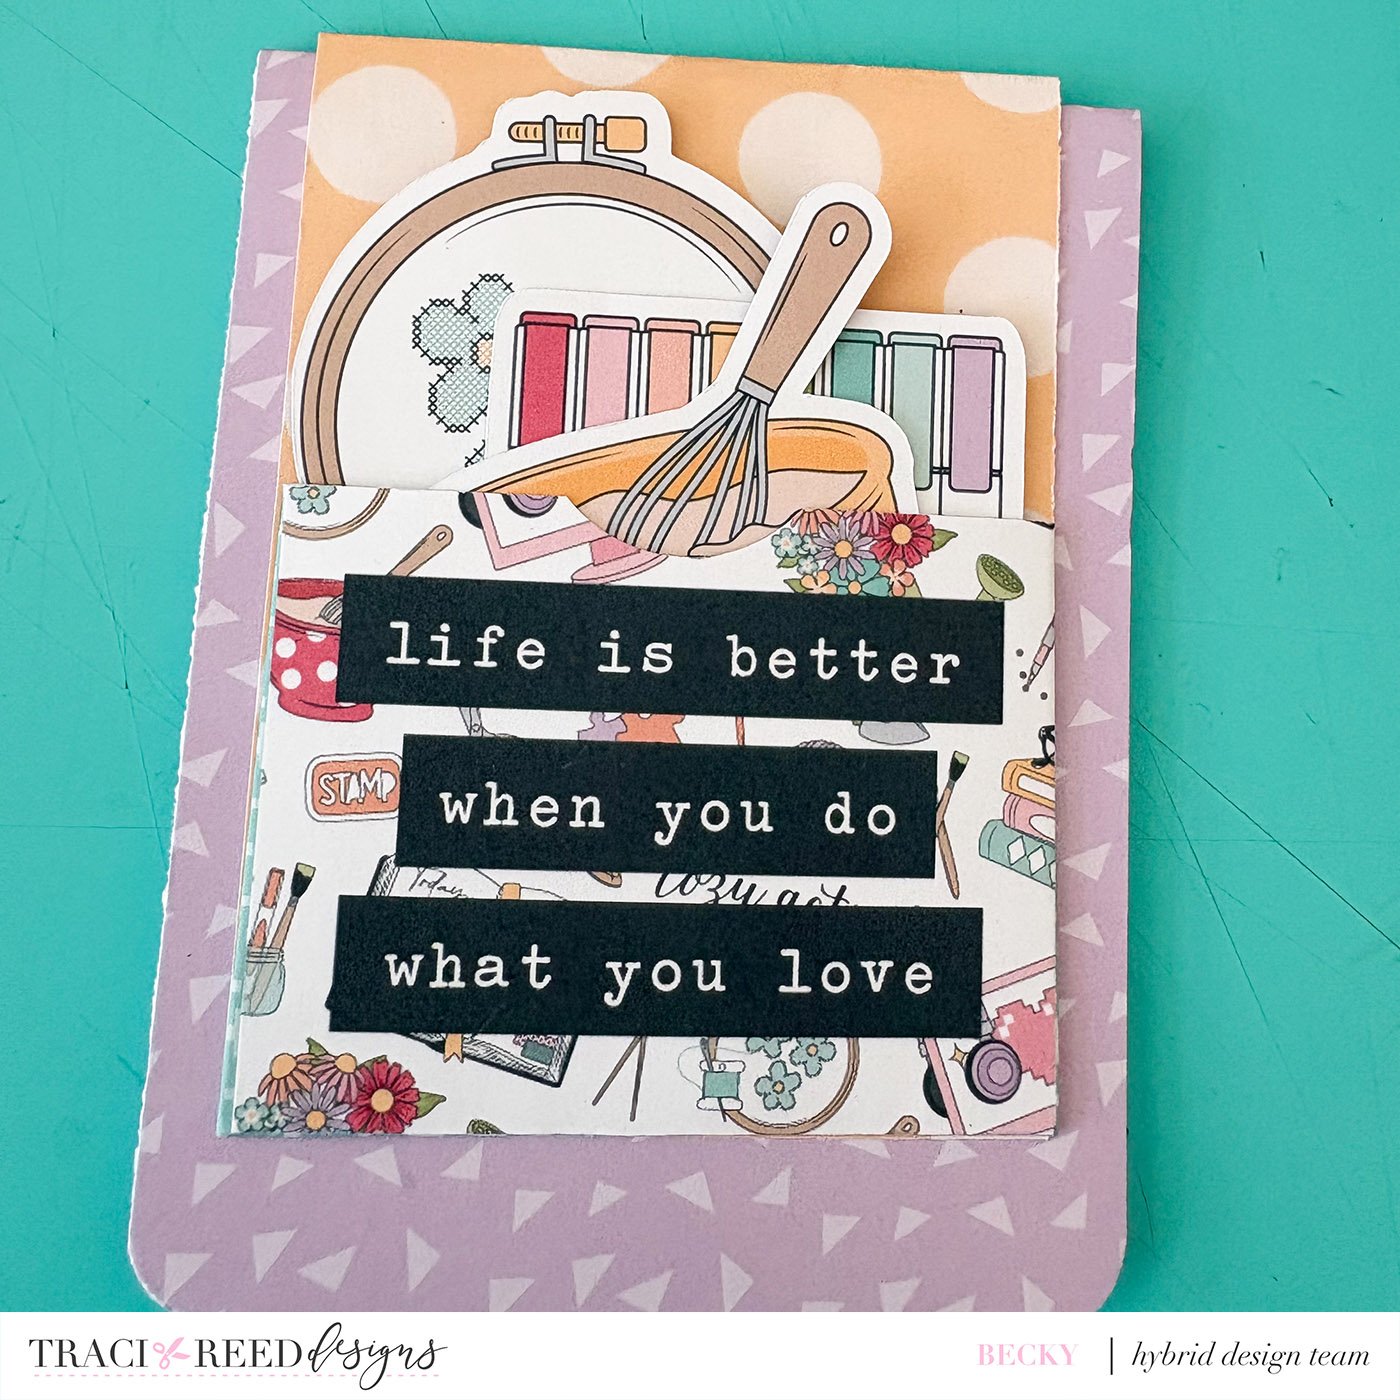
There are many variations you can do to these bookmarks and they can be used in many places including a journal. This one I made for a journal and added a pocket to it and popped some embellishments into the pocket. You could add stickers into the pocket too so they are ready and handy to use in your journal.
You can make these so many sizes, just adjust according to the size of the paperclip used. I have added some to mini books, they made excellent added embellishments or you can add them with pockets and pop extra photos into the pockets.
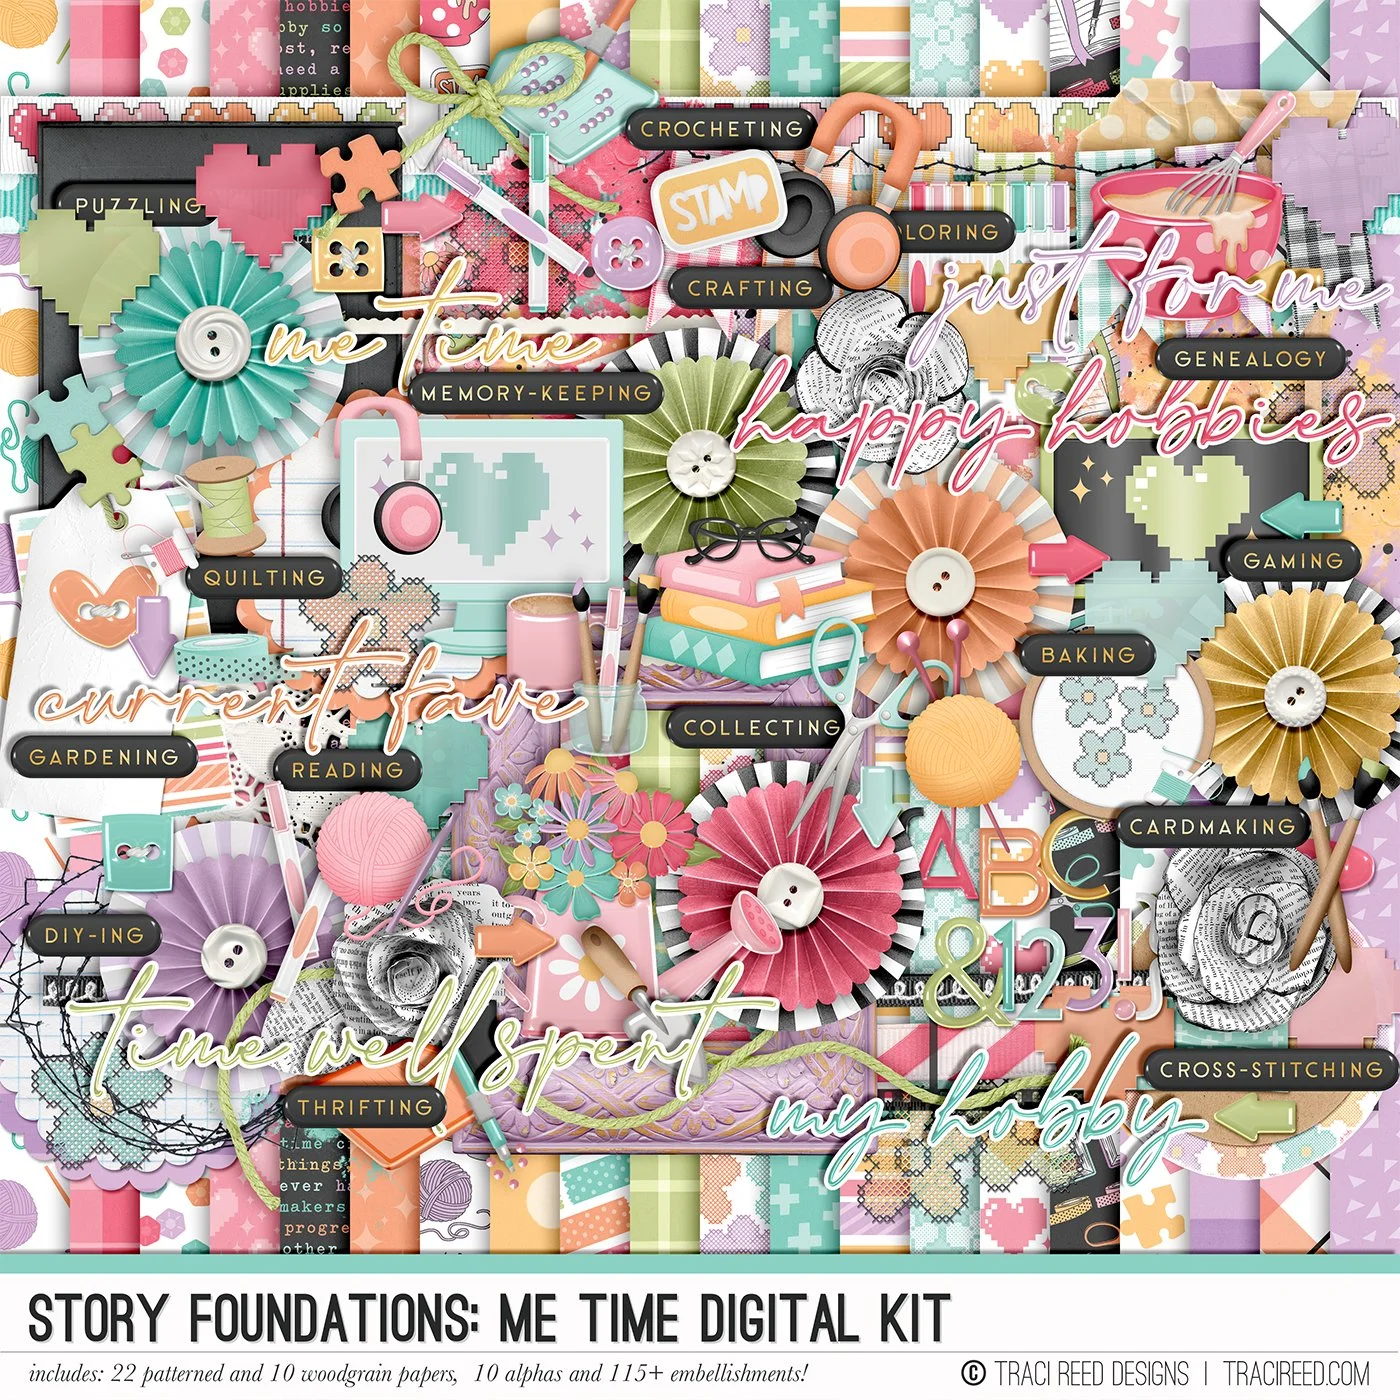
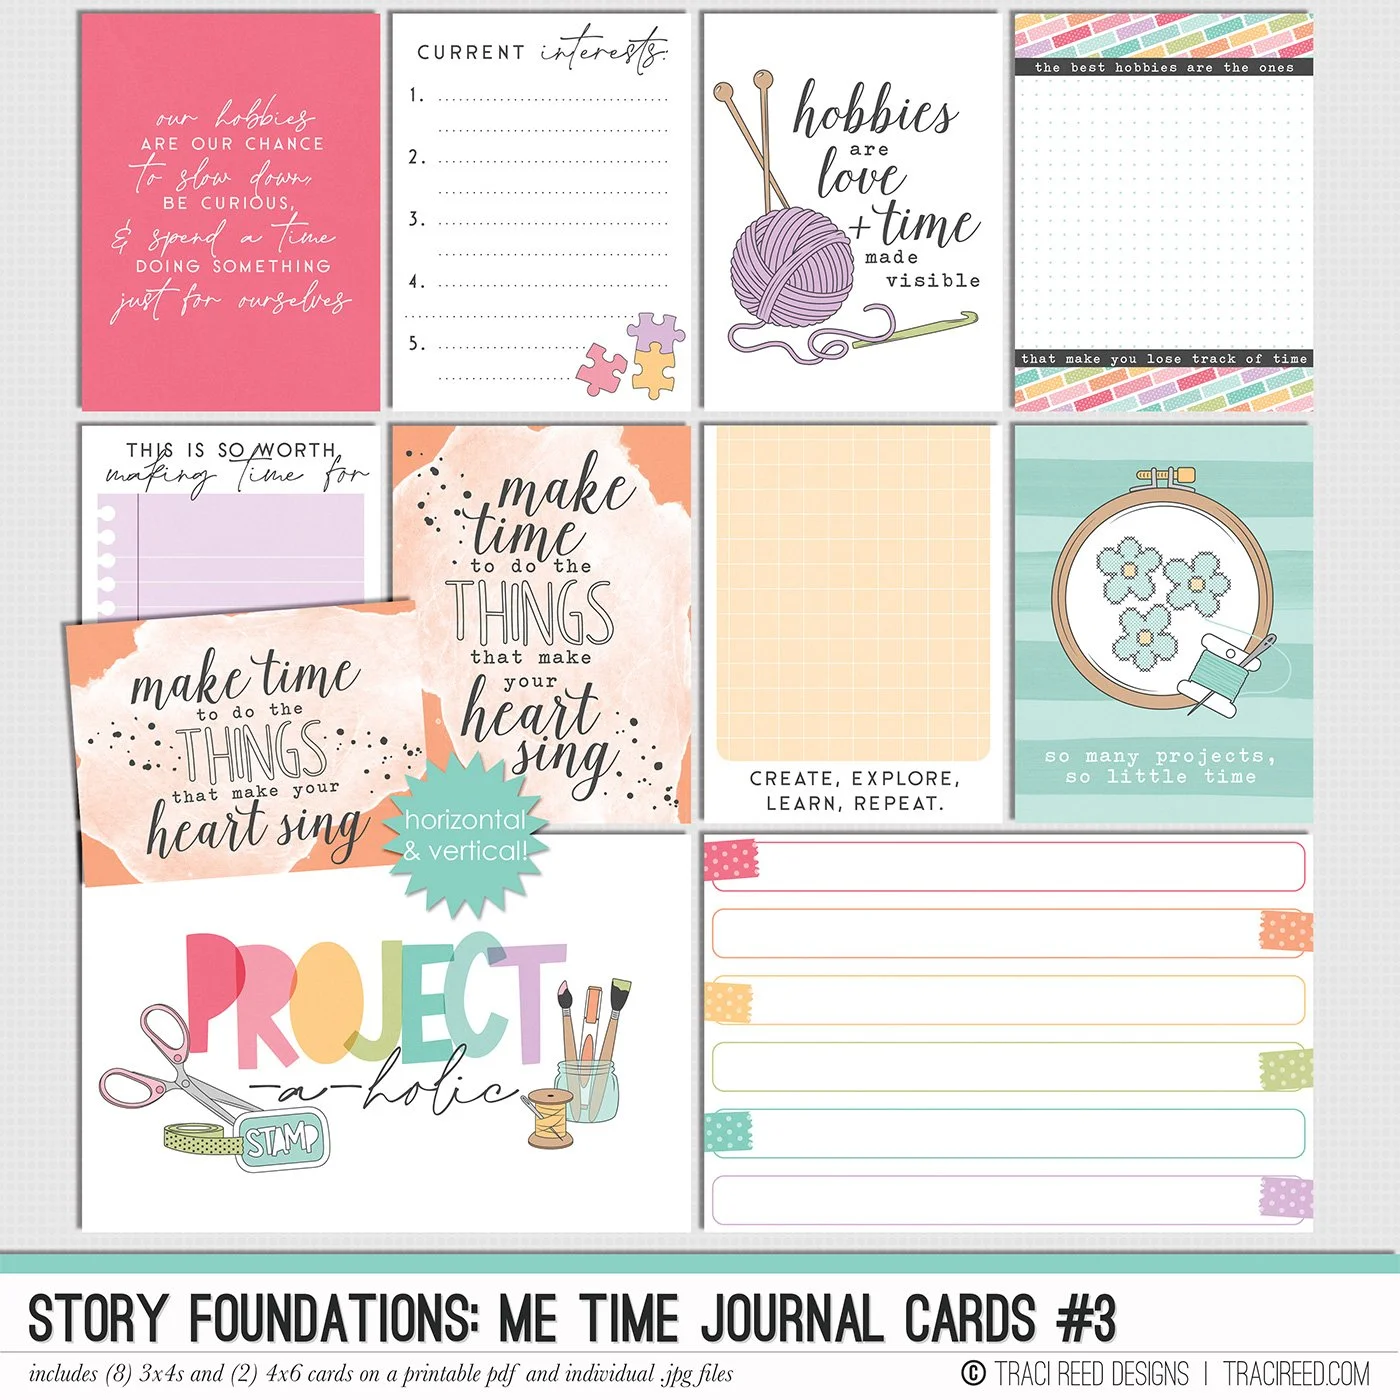
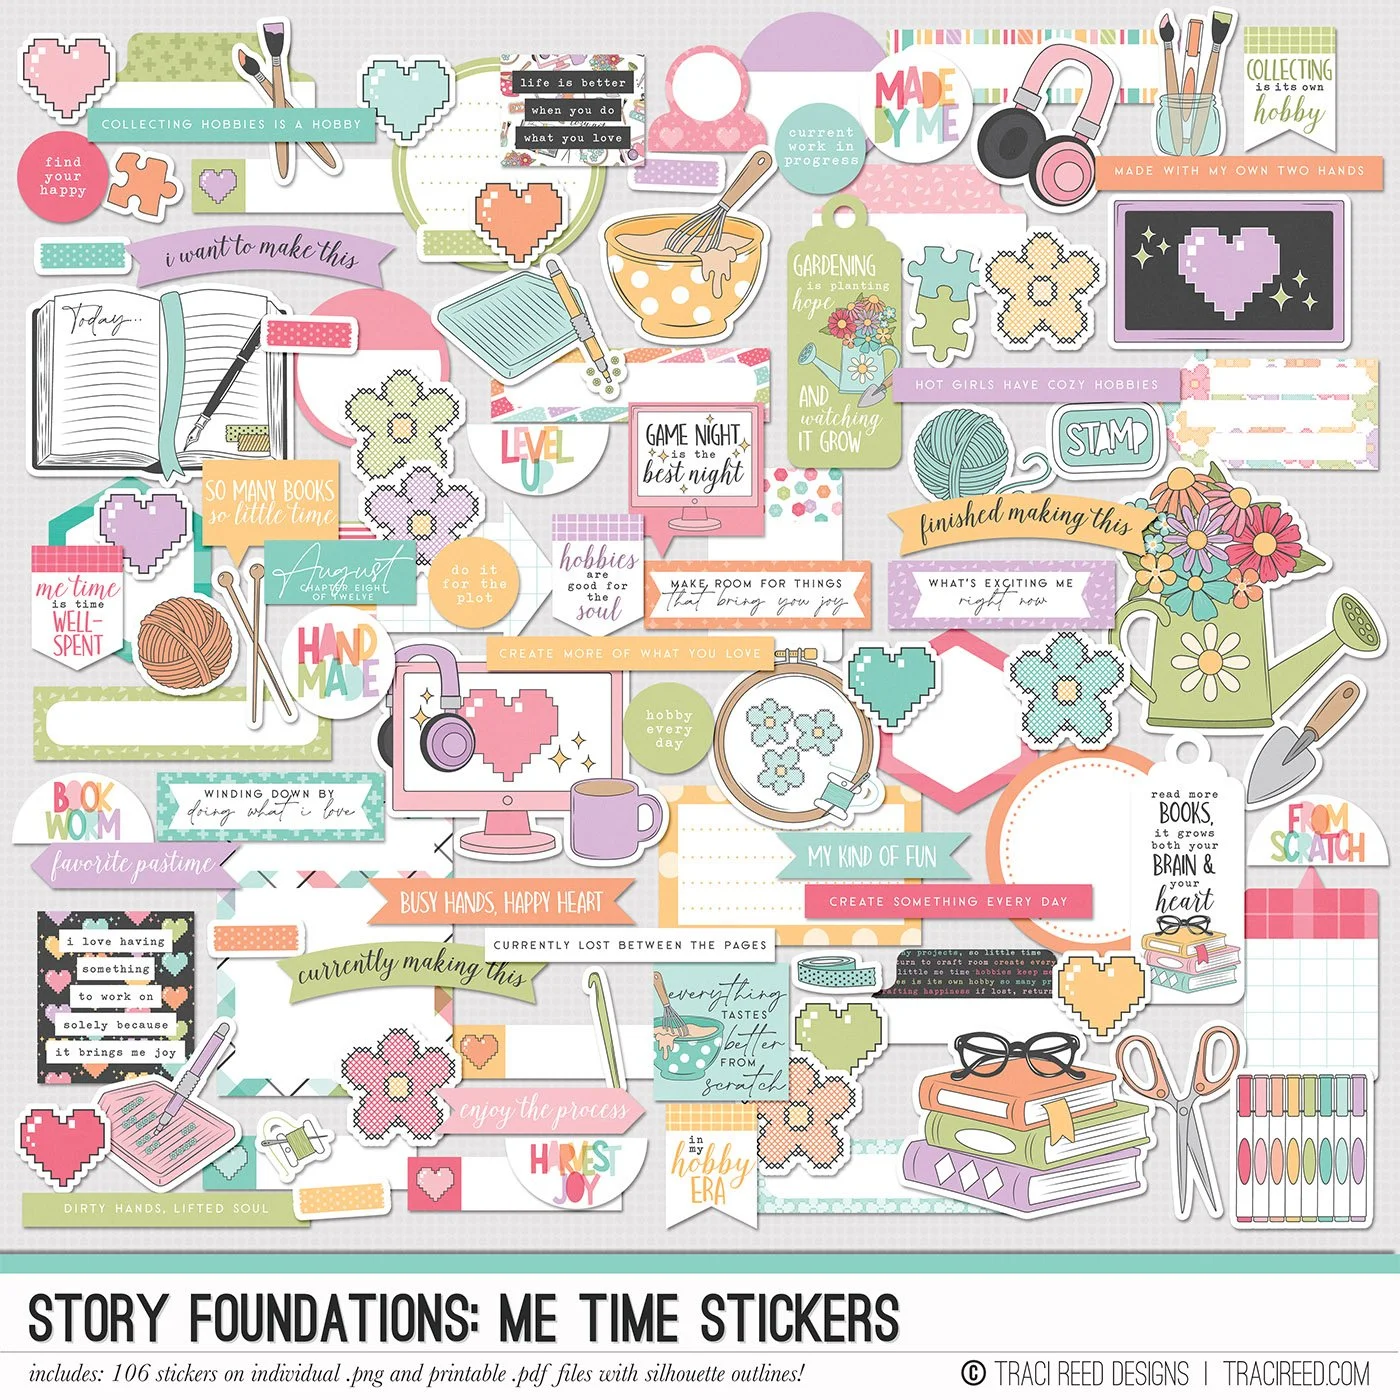
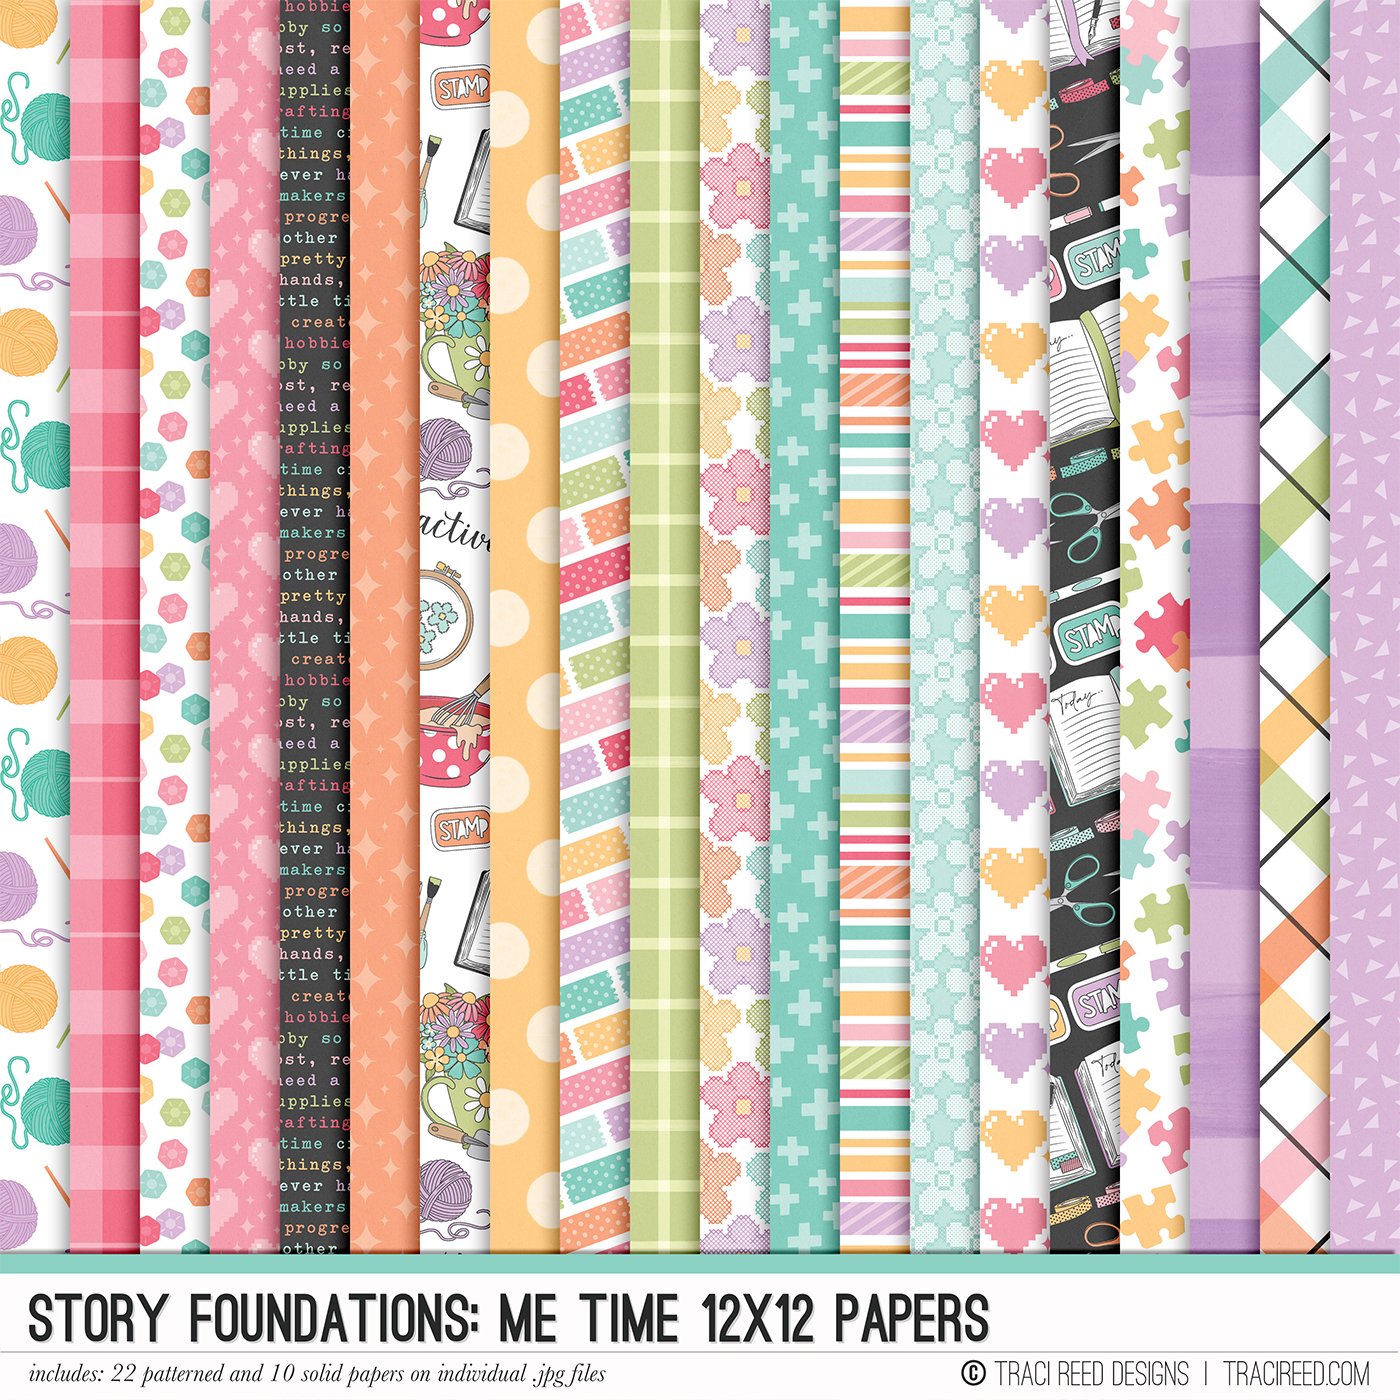
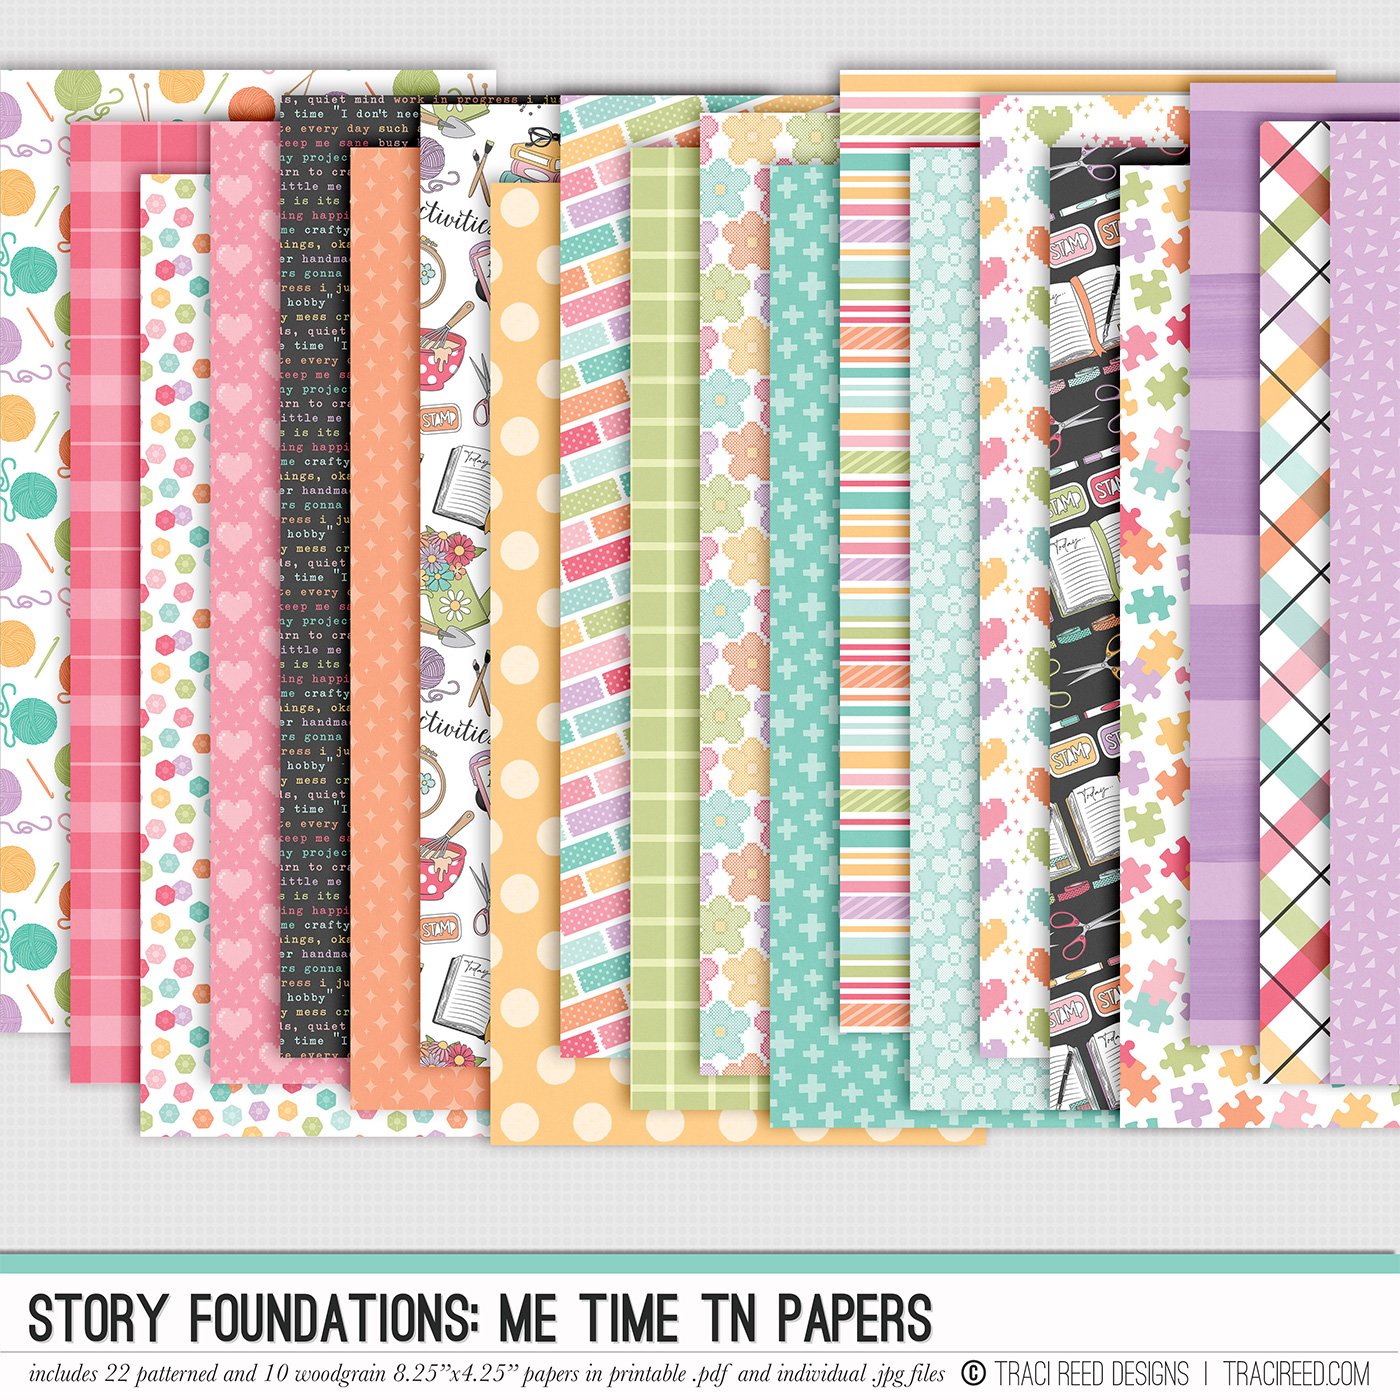
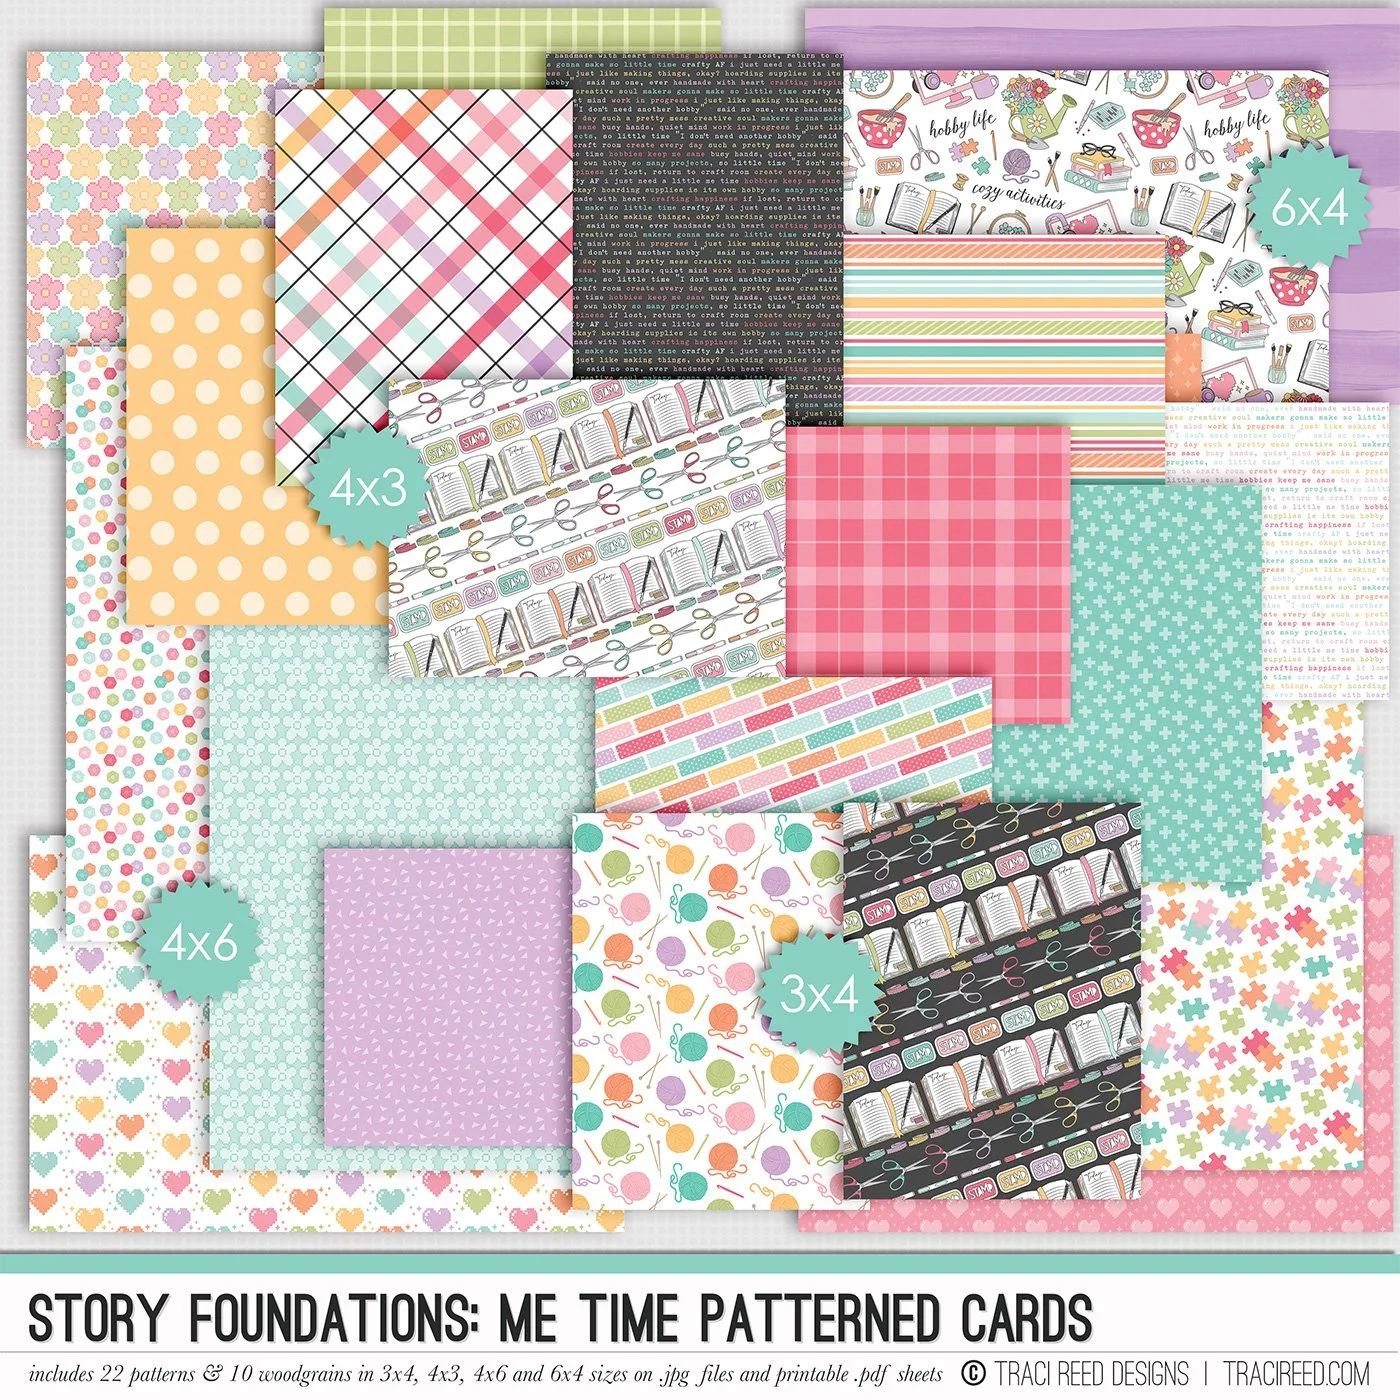
Story Foundations: Me Time is all about making space for the things you love and celebrating the hobbies that make your time your own. Inspired by quiet afternoons with a good book, creative projects at the table, time in the garden, baking something from scratch, or settling in with a favorite pastime, this chapter is designed to help you tell the stories of the things you do simply because they bring you joy.
Filled with dozens of hand-drawn icons and playful embellishments, you'll find everything from books, yarn, embroidery hoops, paint brushes, gardening tools, mixing bowls, puzzles, gaming, and journals to all the little details that make your favorite hobbies uniquely yours. The colorful palette coordinates beautifully with the rest of the Story Foundations series while remaining versatile enough to pair with your favorite hobby and everyday collections.
Whether you're documenting a longtime passion, a new hobby, a creative project, or simply how you love to spend a quiet afternoon, Me Time gives you a fun foundation for capturing the activities that make you happiest.
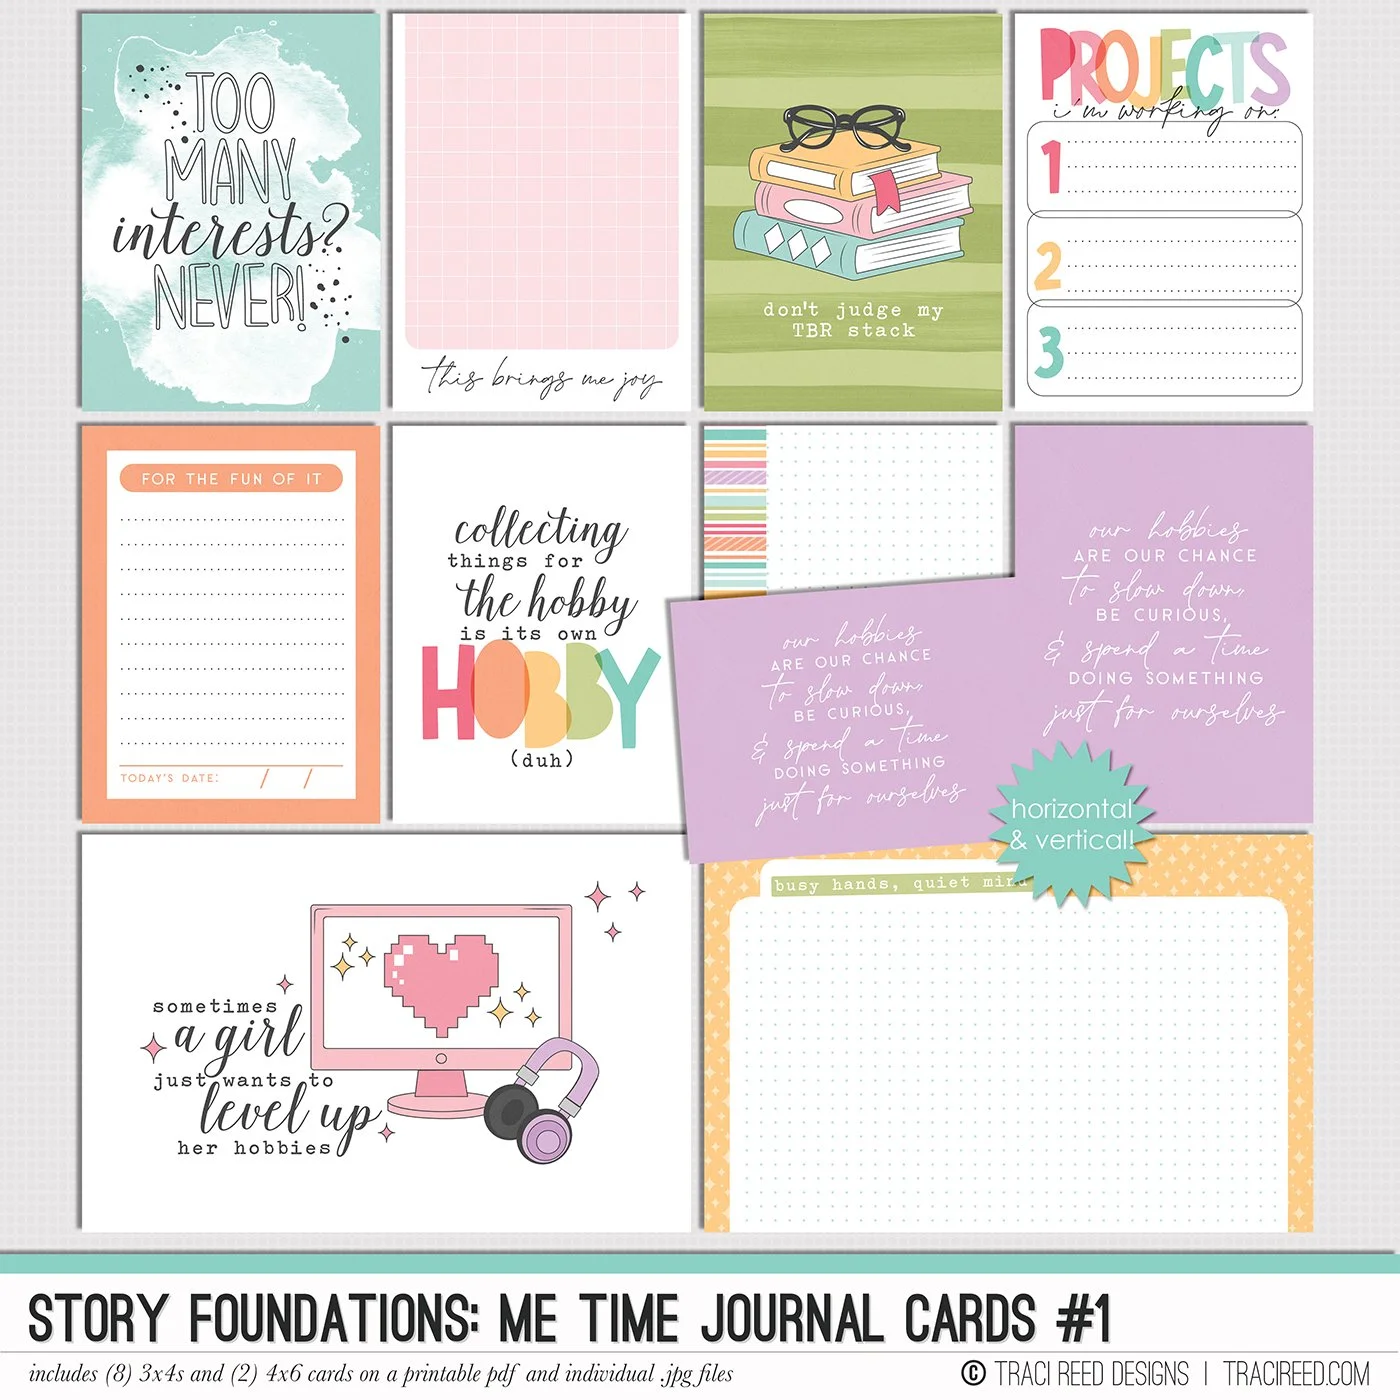
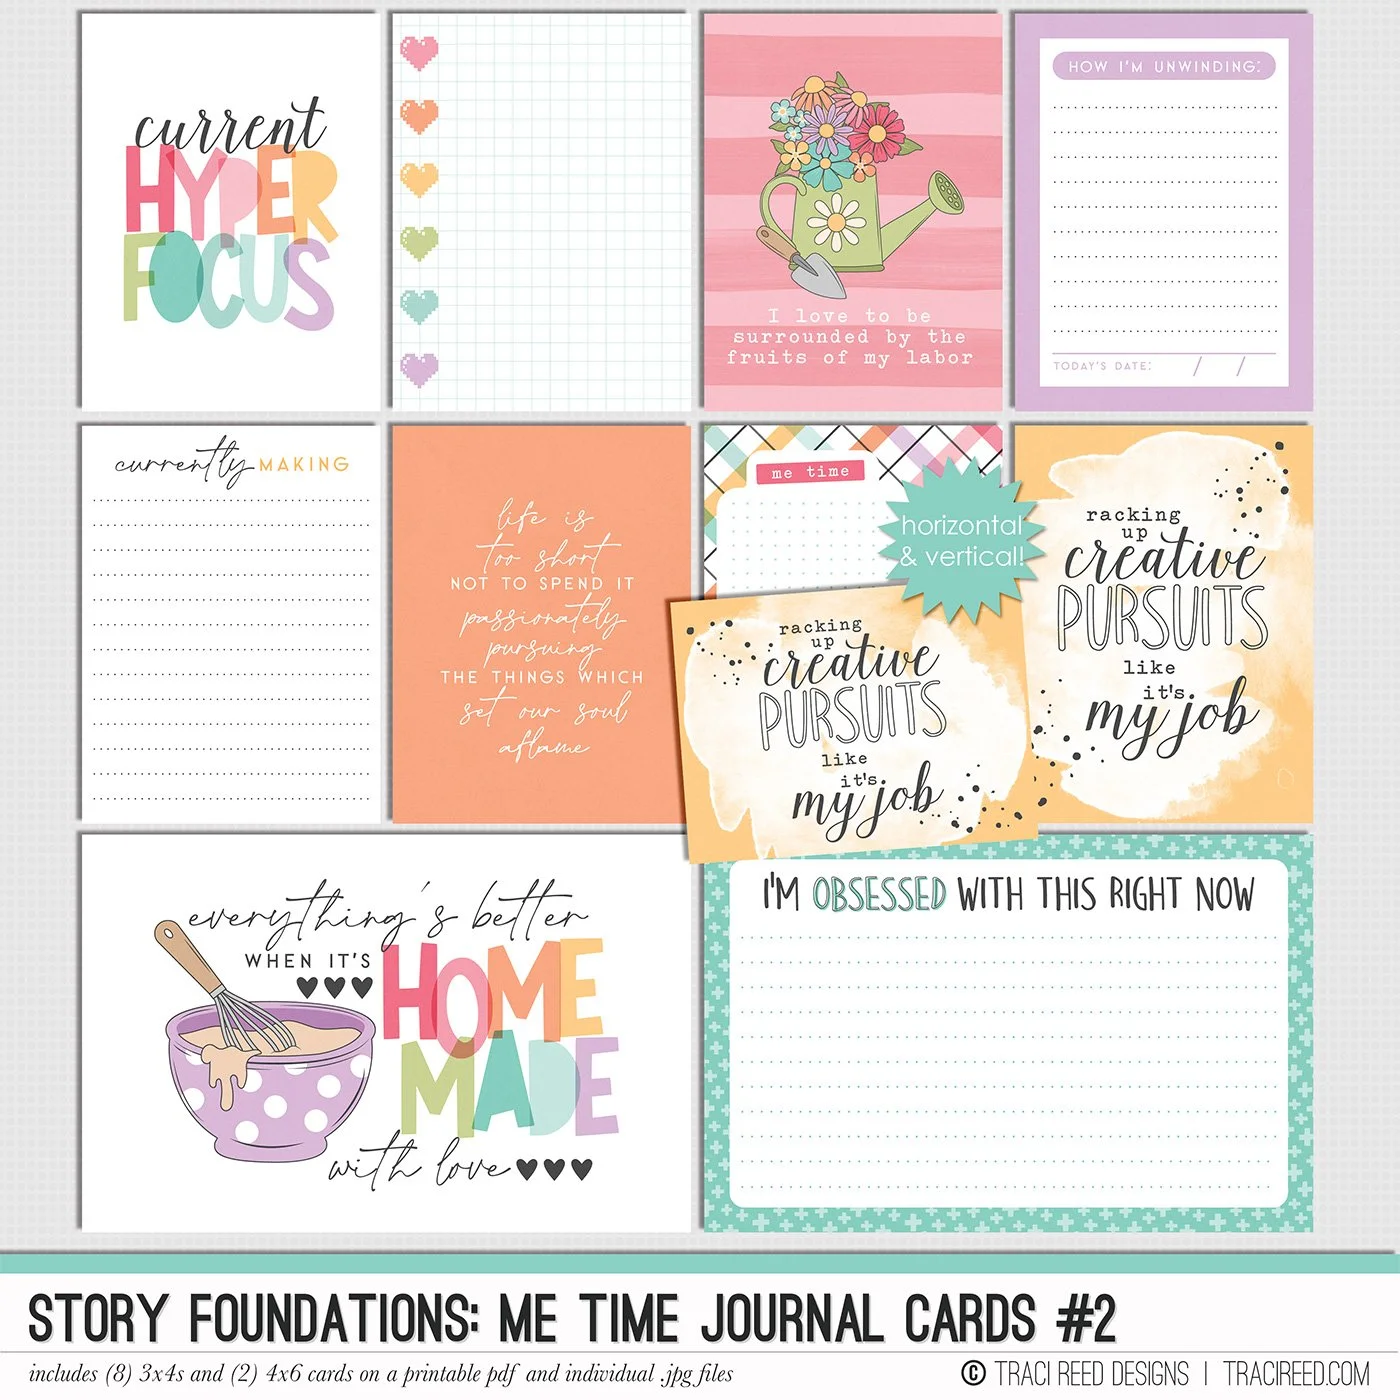
With patterned papers, journal cards, stickers, and embellishments designed to mix, match, and layer effortlessly, Story Foundations: Me Time makes it easy to celebrate your interests and creative pursuits...because the things we love to do just for fun are stories worth remembering, too.
See the unboxing and example images for the Story Foundations: Me Time collection HERE.
Don’t forget, the entire 2026 Story Foundations Collections are meant to mix and match and pair with each other! You can see all the Story Foundations Chapters HERE.
BUNDLE INCLUDES:
Story Foundations: Me Time Digital Kit, Cards 1, 2, &3 + Stickers!
BUNDLE DOES NOT INCLUDE:
Story Foundations: Me Time TN Papers or Patterned Cards