Create an Interactive Potion Bottle Page with Caroline!
Hi everyone,
I am so excited to be here on Traci’s blog today sharing one of the foundation pages for my October Daily album. I am working with the spooky cute, new Jack & Skelly collection for this page. I am in love with the whole collection but when I first flipped through the 6x8 papers and signature papers … these potion bottles caught my eye.
I immediately thought how fun it would be if I could pull the corks from the top of the bottles to reveal something hidden away. So that was my challenge for myself and let me talk you through how I created just that!
Step One - Print and Cut!
First I printed two copies of the same paper. I sized them to 8.25” high and 6.70” wide to work in the album I am

This meant that I fussy cut the bottles out of one copy. I opted to keep the cute bats on the bottles that I fussy cut at this point, but I actually cut them off in the end as they were making things a little awkward by the time I assembled the pocket.

Step 2 - Create the Pocket
Now this stage was made more awkward for myself because I haven’t used my craft knife for ages and the tip was blunt … and I had no replacement blades!! Which is why you’ll see a rough cut over on the left hand side where I started creating my slit and then had to turn to scissors. It's OK though, as I have plans to cover that area as you’ll see!
For my pocket I decided to follow the shape of the bottles rather than create a straight edge. I wanted the pocket to be really hidden! It was important to cut the paper so that I left the corks as part of the background … because I want the corks from the insert to be on top.ish tale banner on each strip of paper.

Next I checked that the insert moved in and out properly before turning the page over and creating a pocket on the back with some scrap copier paper. I used tape runner mainly but some liquid adhesive around the intricate areas of the bottles. My aim here was to make sure the pocket was well sealed and the insert moved in and out easily.
Here is the pocket with the potions insert cunningly tucked inside!

Step 3 - Embellish the page
The next part of my process was to embellish the page so that it was ready to go into my album. I turned to the sticker pack and opted to add in more of those cute bats so there was added dimension. These also helped me hide that rough cut so that no-one will ever know it was messy!!
I also added some of the stars in a scattering, a pumpkin and my number down in the bottom left of the page for a visual triangle of embellishment. I adore all of the stickers in this collection and am already on my second print and cut of the bats and stars!!

Step 4 - Create a shaker insert
I wanted my potion insert to be extra fun so I decided to turn it into a shaker! I opted to use vellum as my shaker foundation to give the bottles a fun frosted-glass effect.
I laid a piece of vellum over the top of the potion bottles and then carefully stitched around it leaving a gap.
I then added a mix of sequins before stitching the whole thing closed and trimming off the excess vellum.
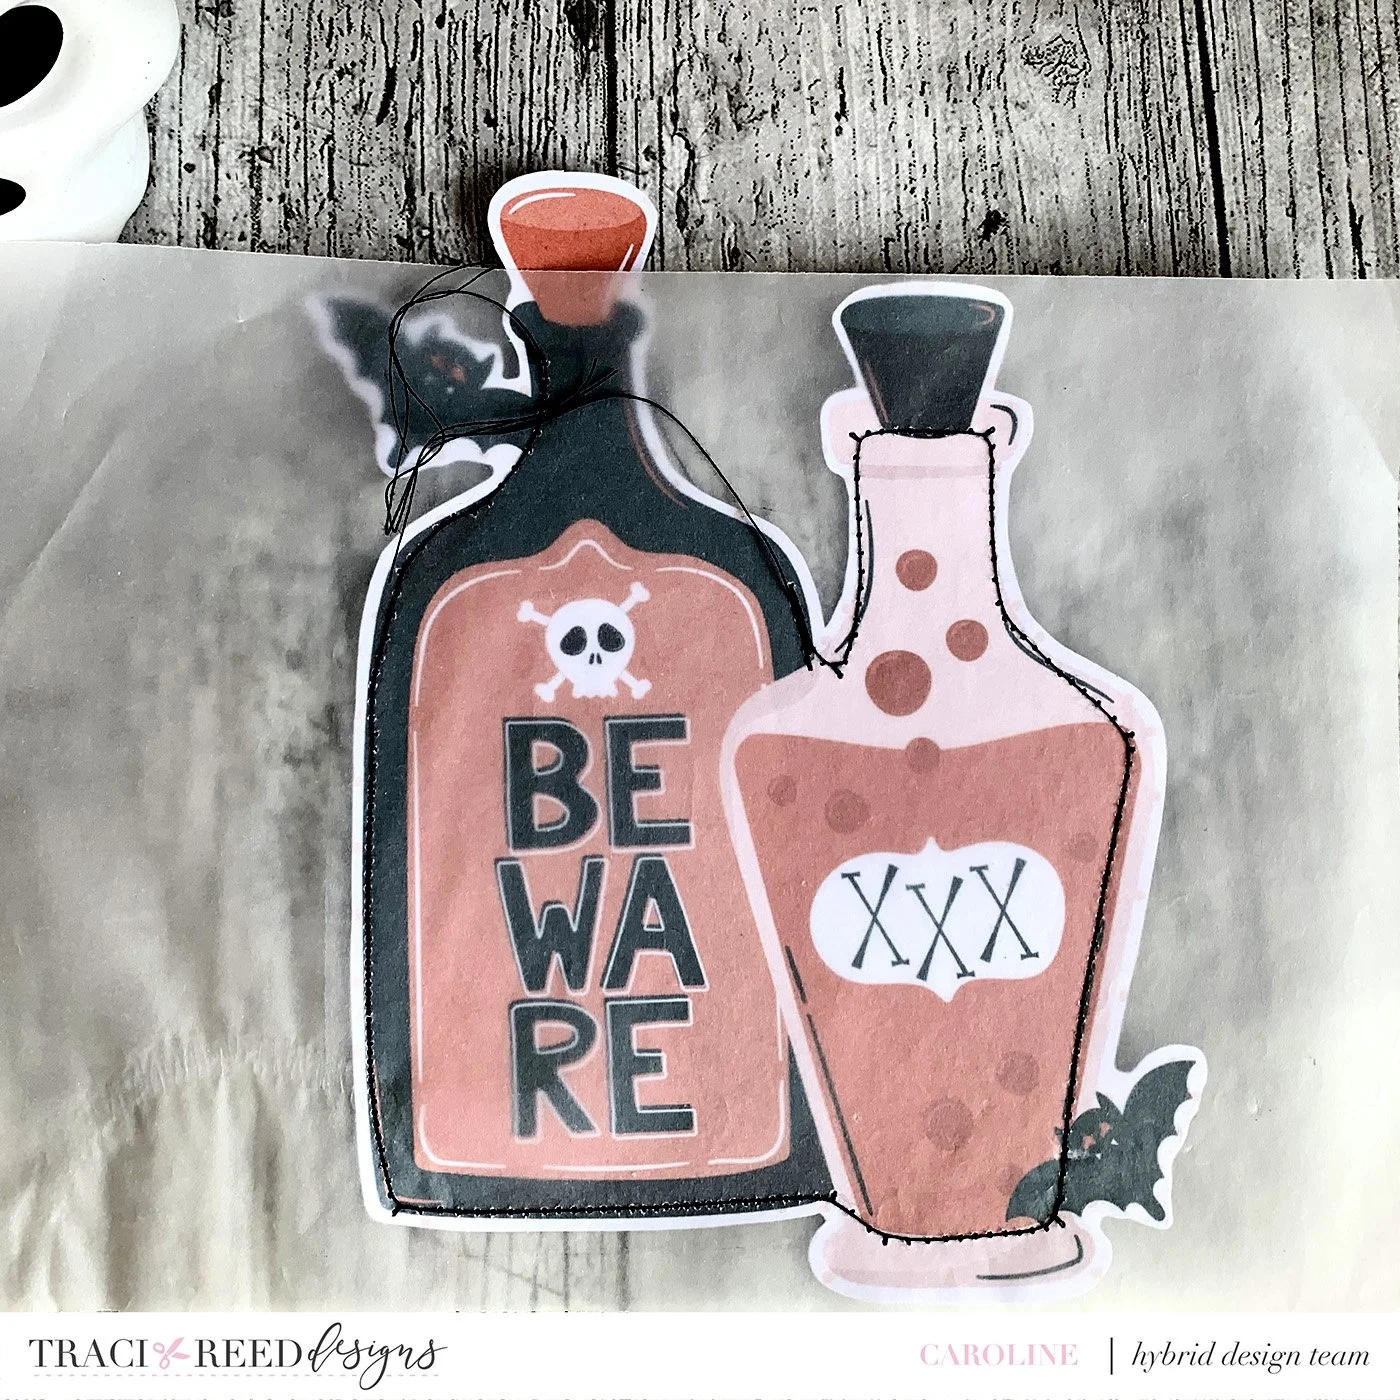
At this point I have left the little bats on there but I do cut those off and you can’t tell because of the vellum edge.

Step 5 - Finishing touches
I wanted to add some additional texture to my finished page so chose to add a messy stitched border with my machine around the whole page. I also opted for some black pom pom trim along the edge just to really finish the whole page off.

I am so happy with this cute interactive page. As this is a foundation page I don’t have anything on the back of my insert yet but my intentions are to add a small photo and some journaling on there. If I have a photo for this day that I want to print as a full sized photo then I will add that to the right-hand side of the spread and include my journaling on the back of the bottles. If I do end up with that full page photo alongside this page then I will use the potion bottles from the sticker pack to embellish the photo so that everything works and coordinates in terms of my theme. I’ll be sharing my completed page later in the month on my Instagram page.
I hope you have enjoyed this walkthrough and are tempted to try and create an interactive potion bottle page for yourself using this super cute collection.
Bye for now,
Caroline
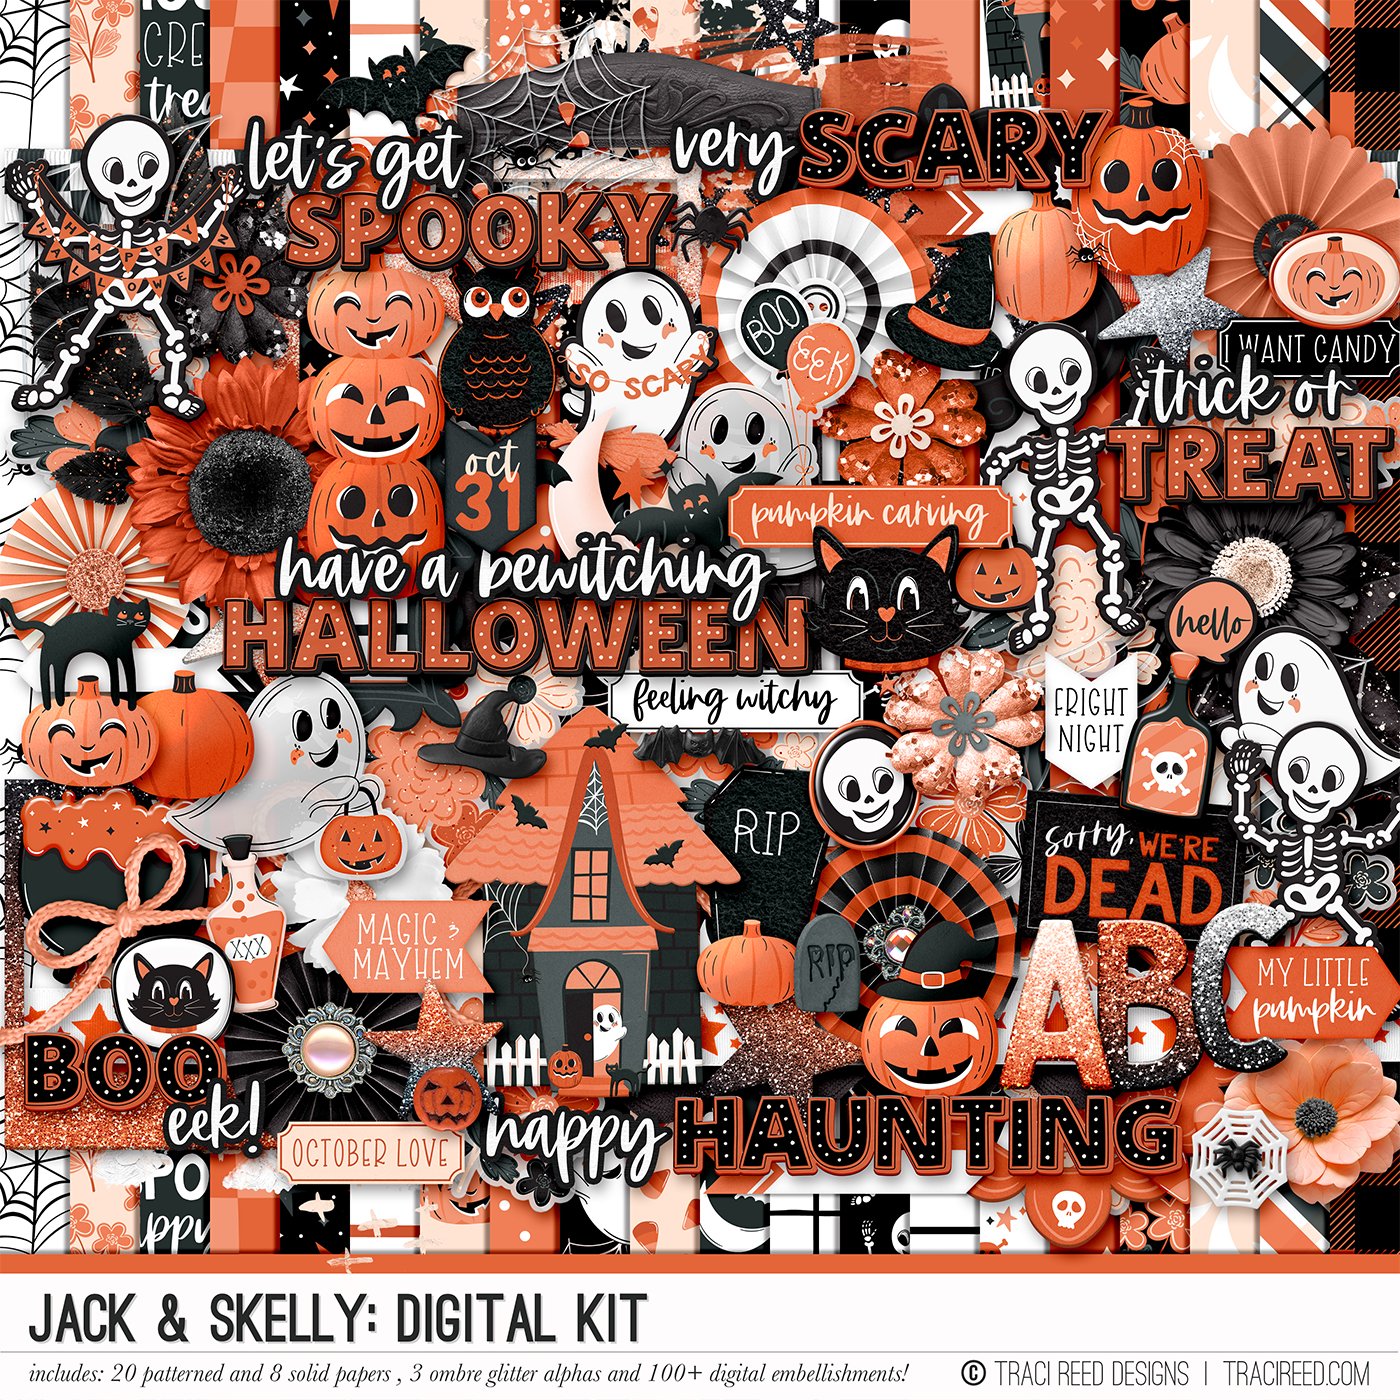

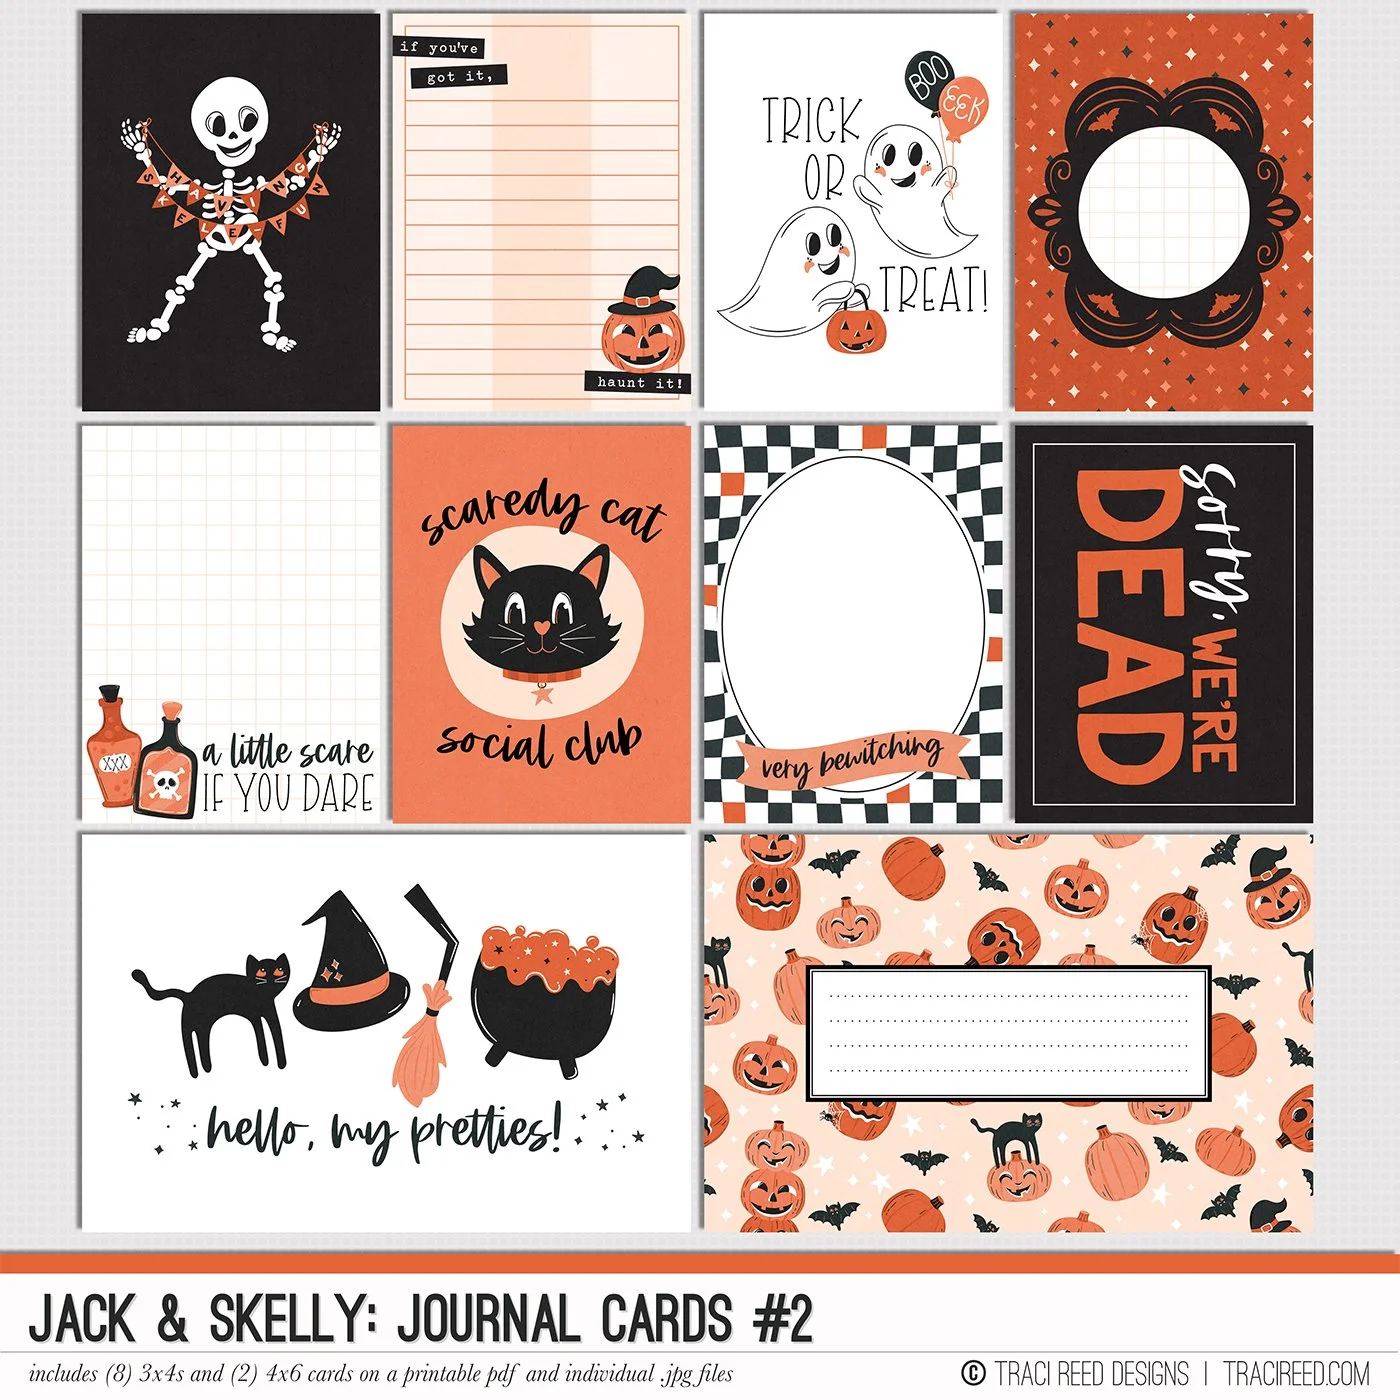
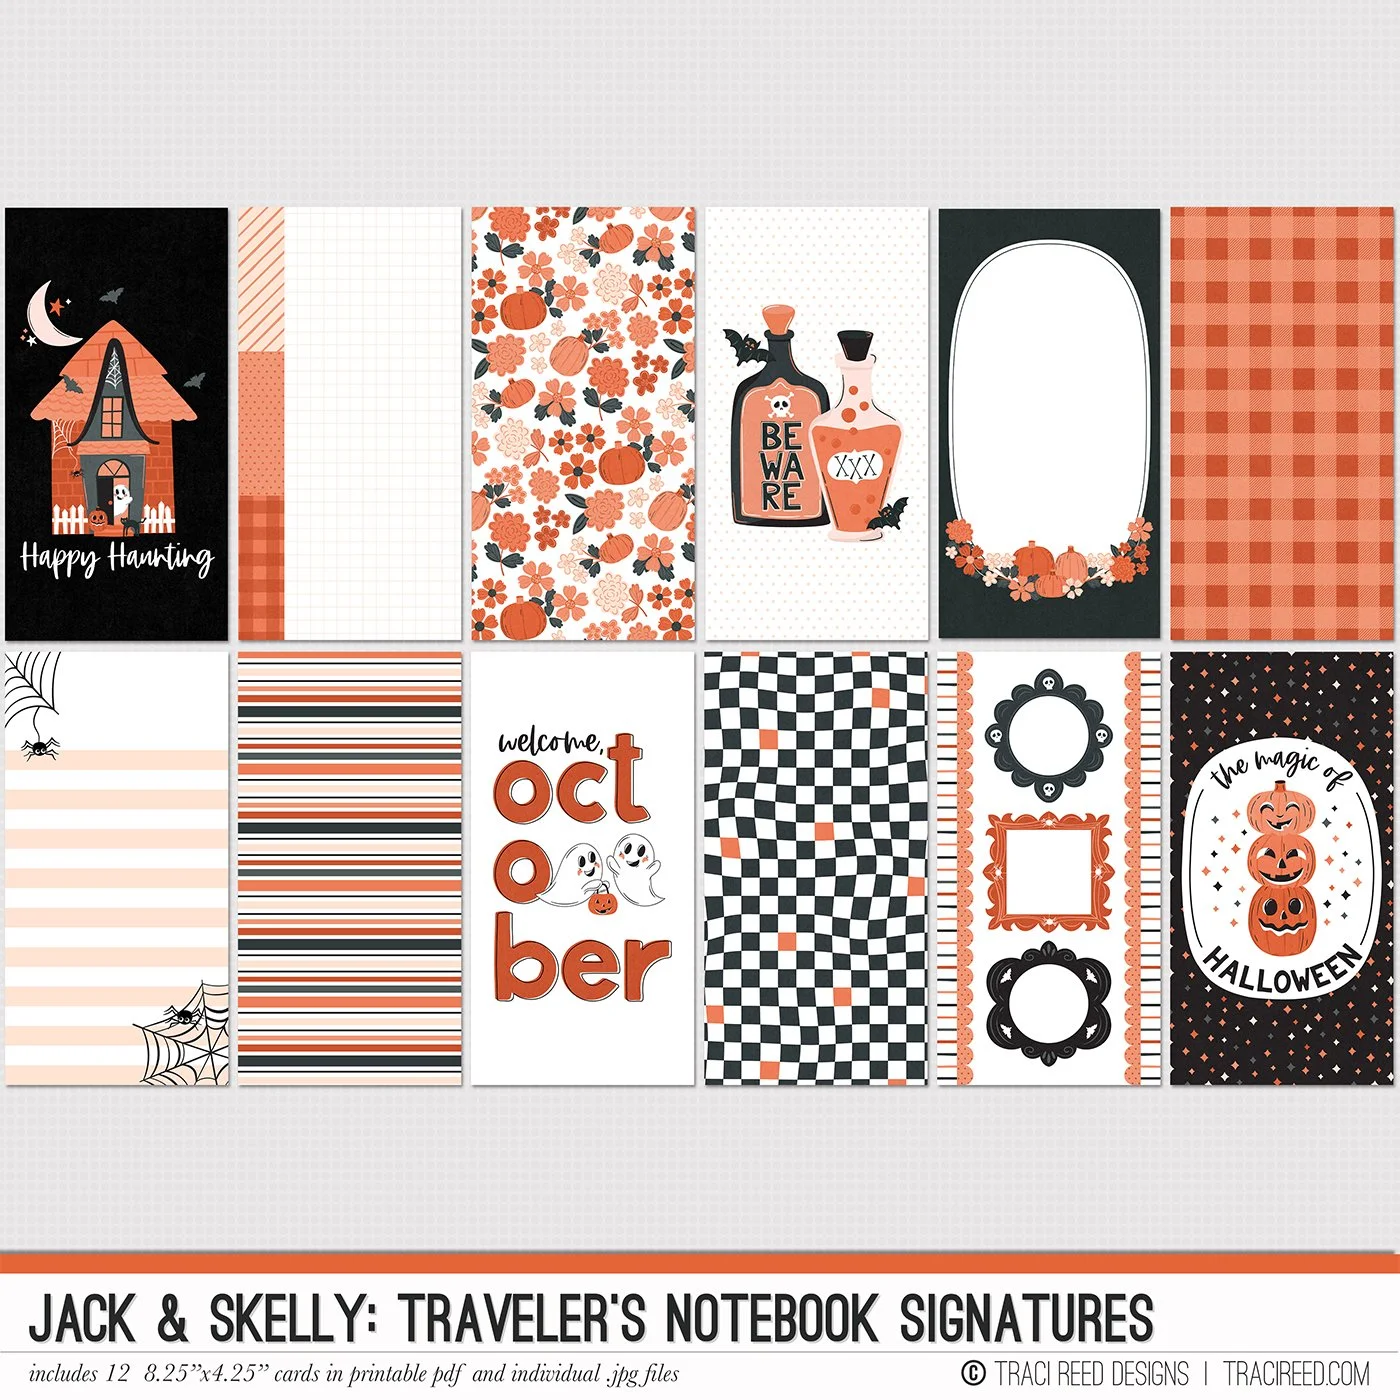
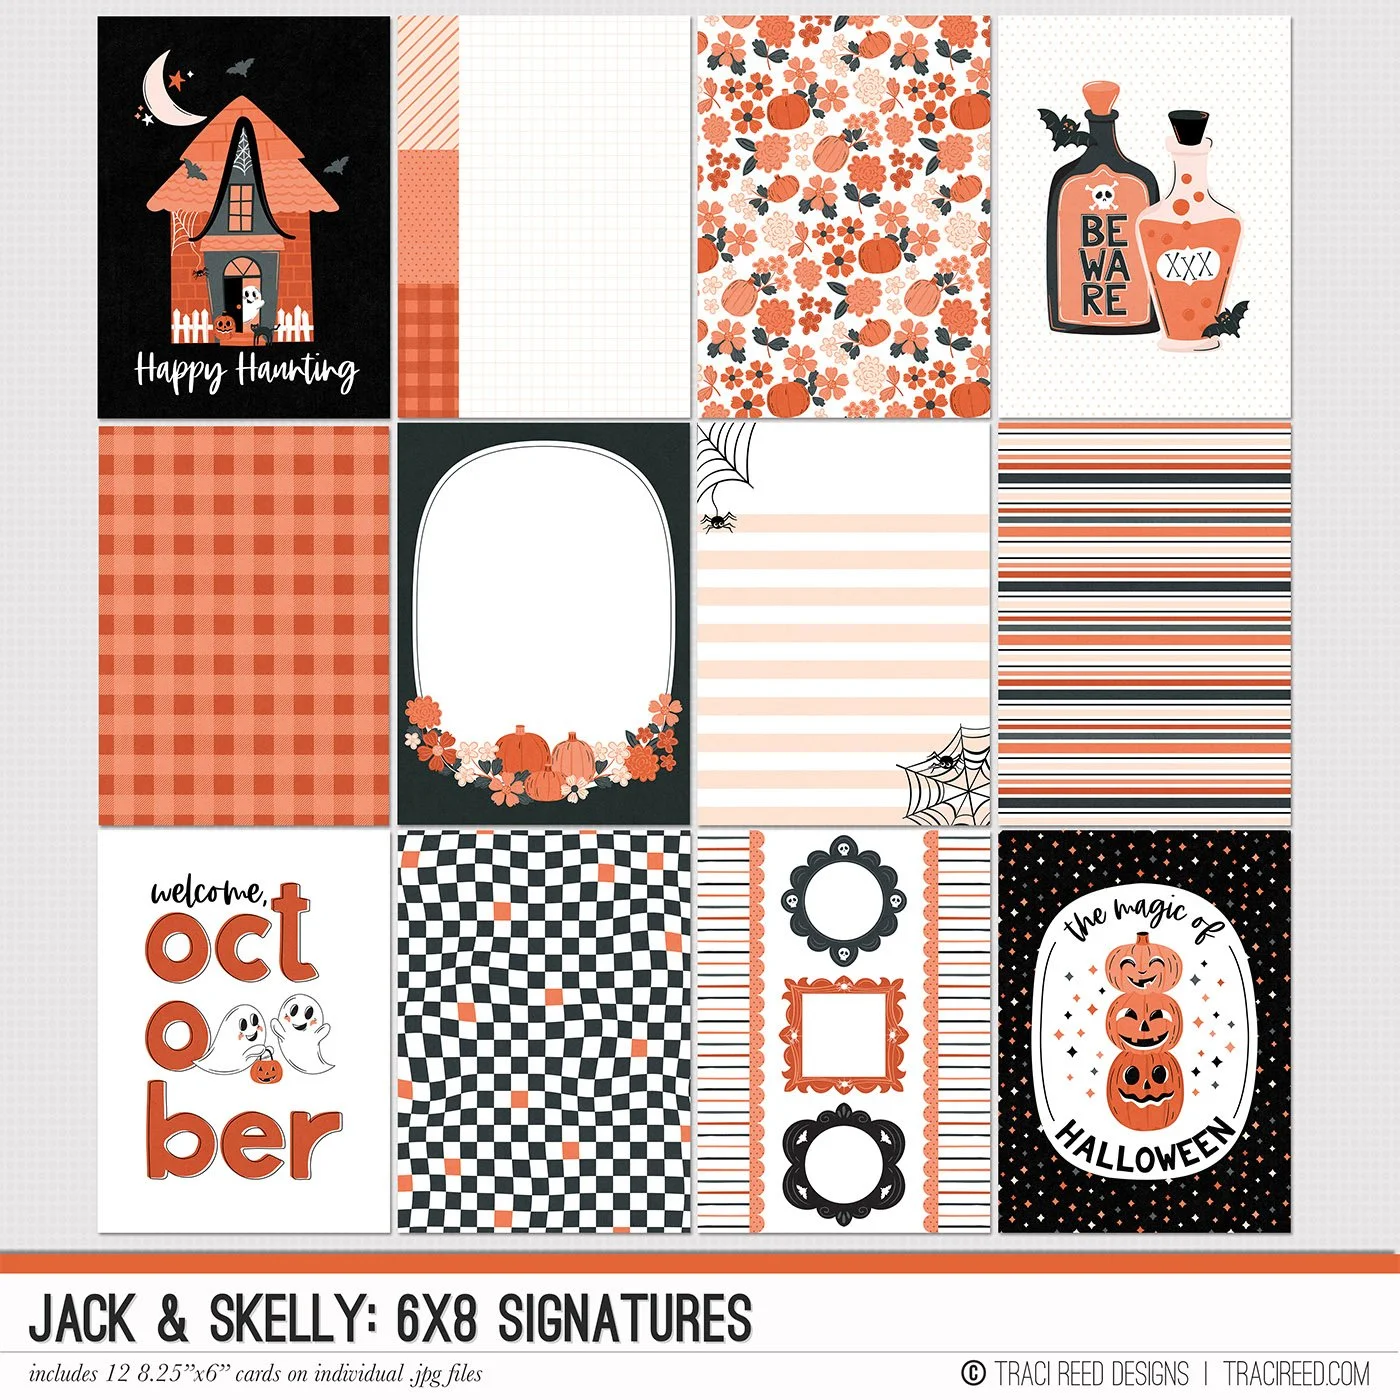
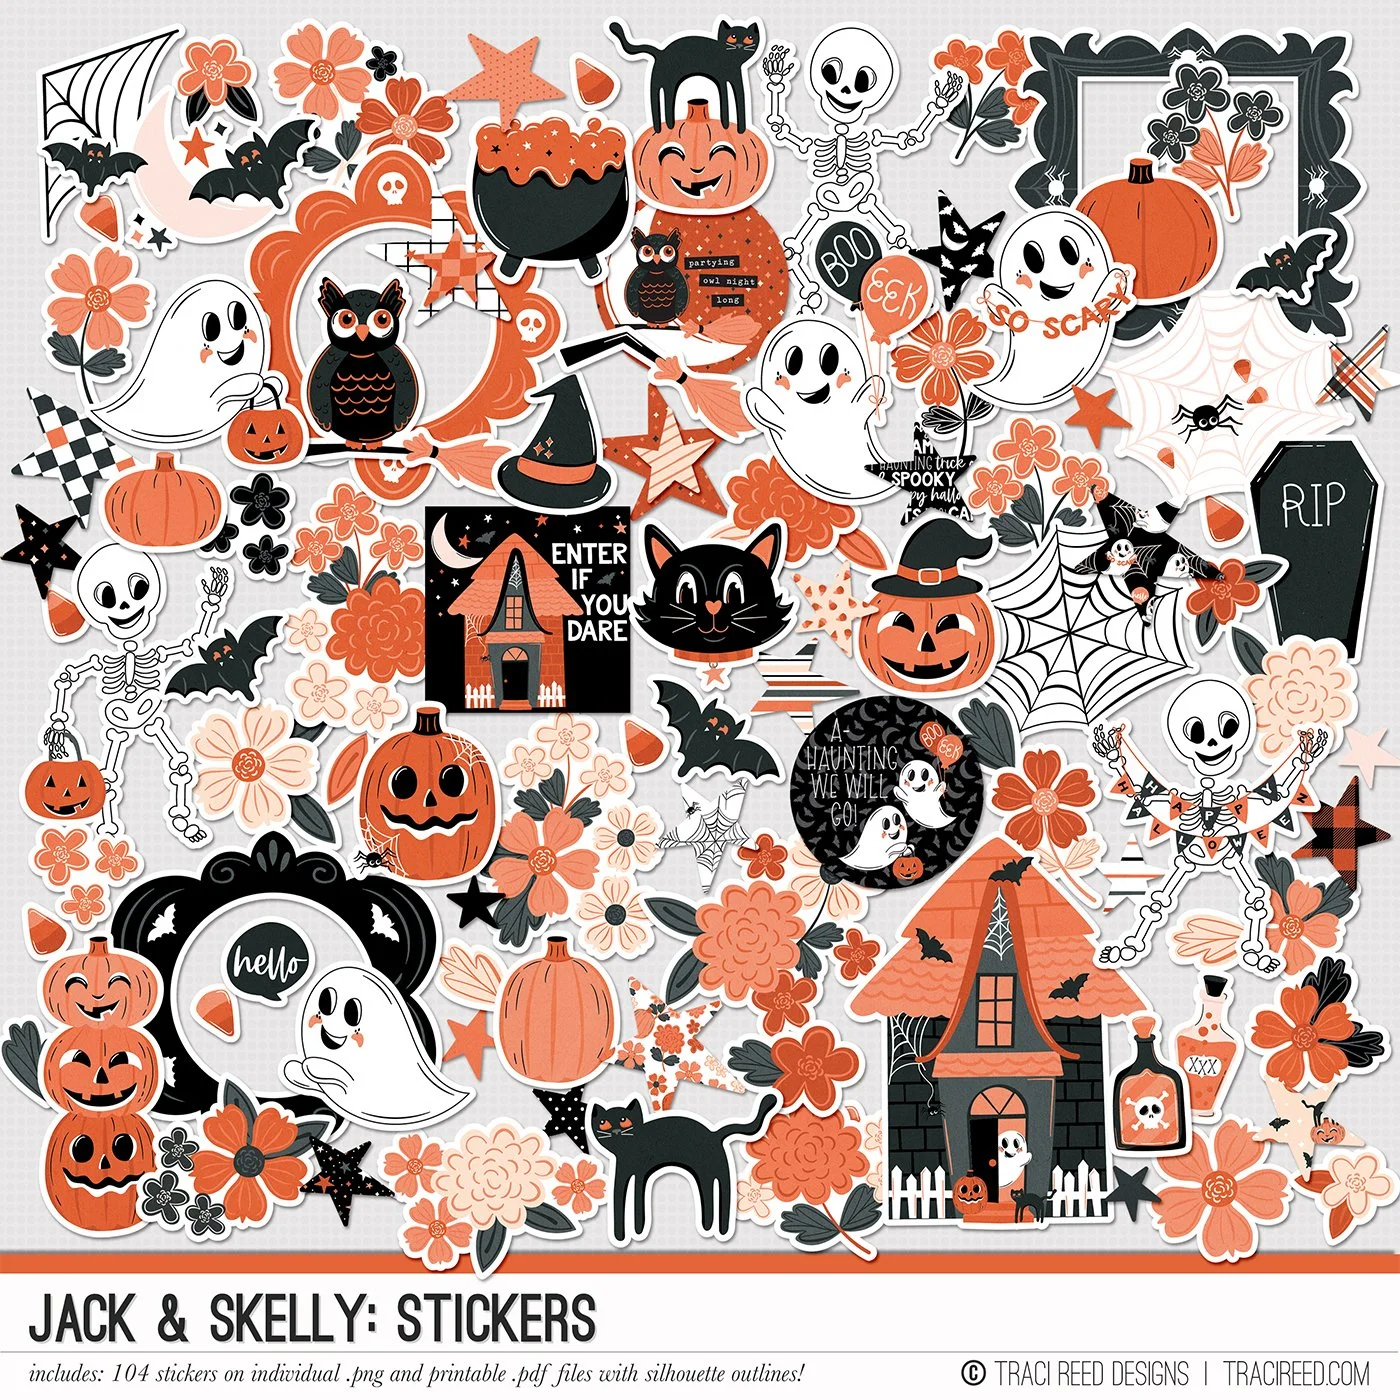
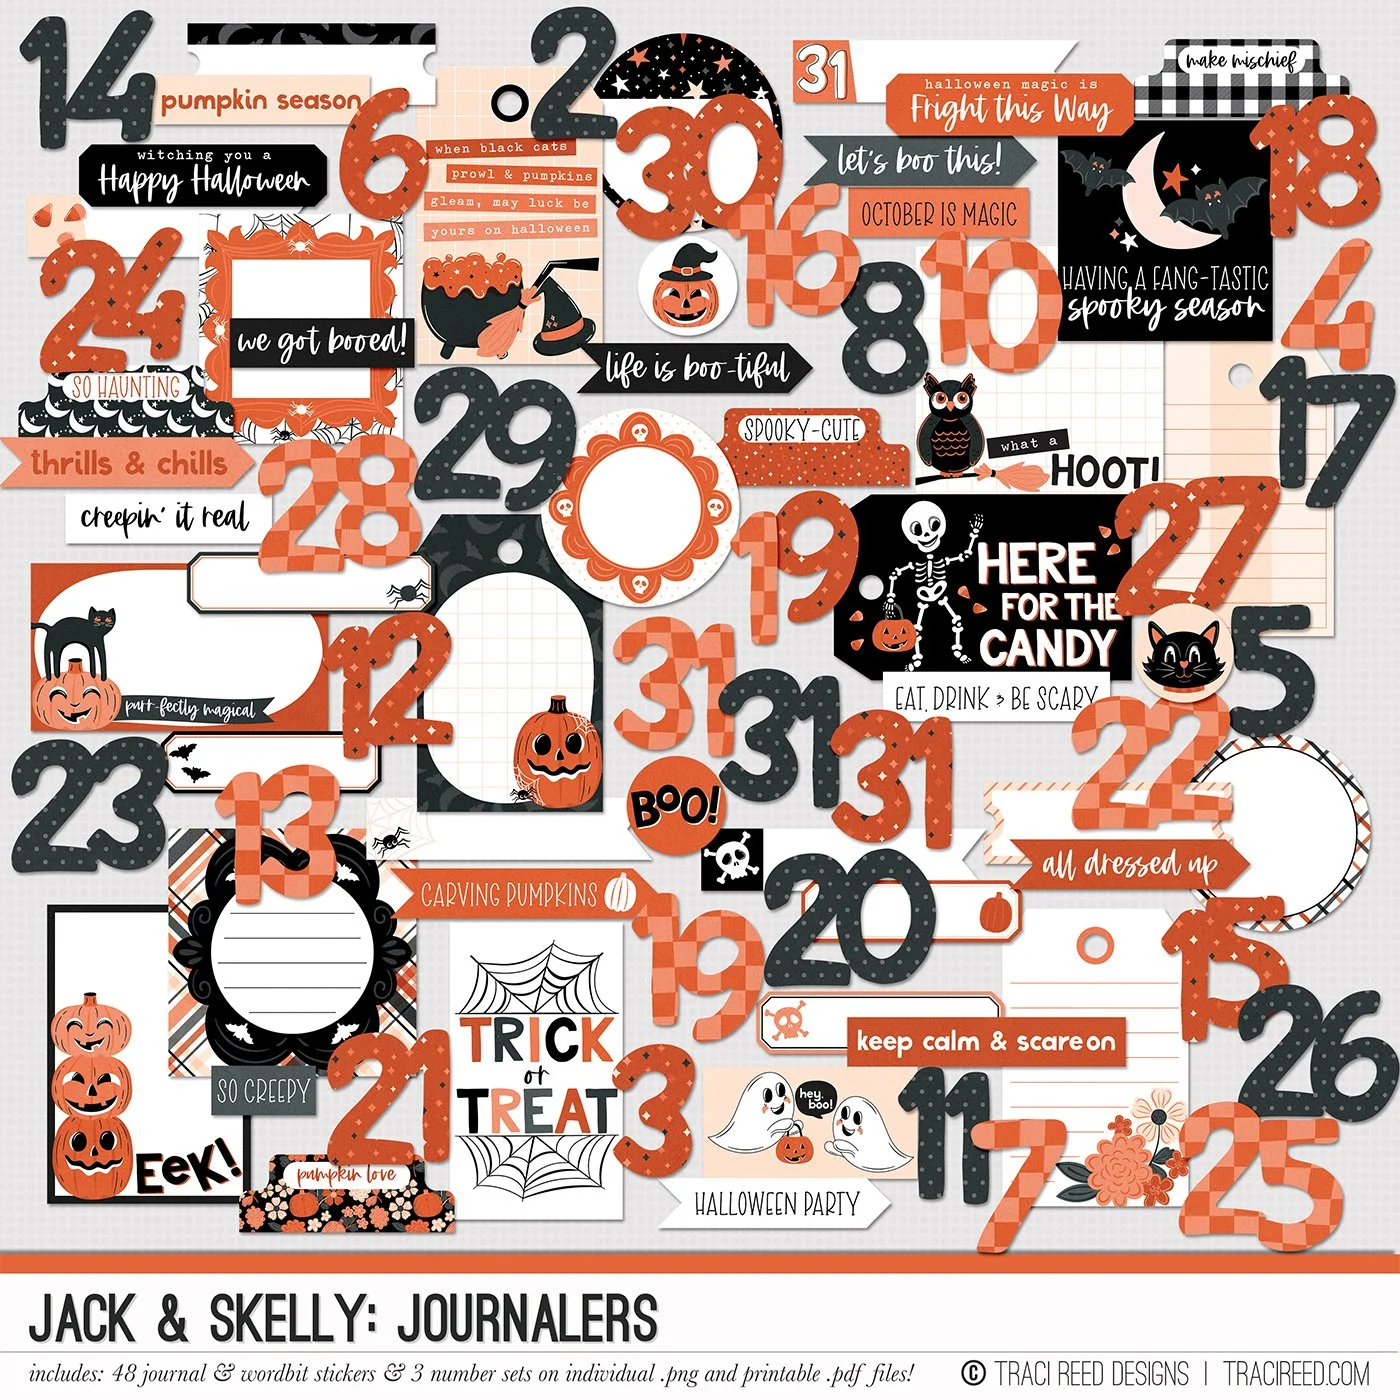
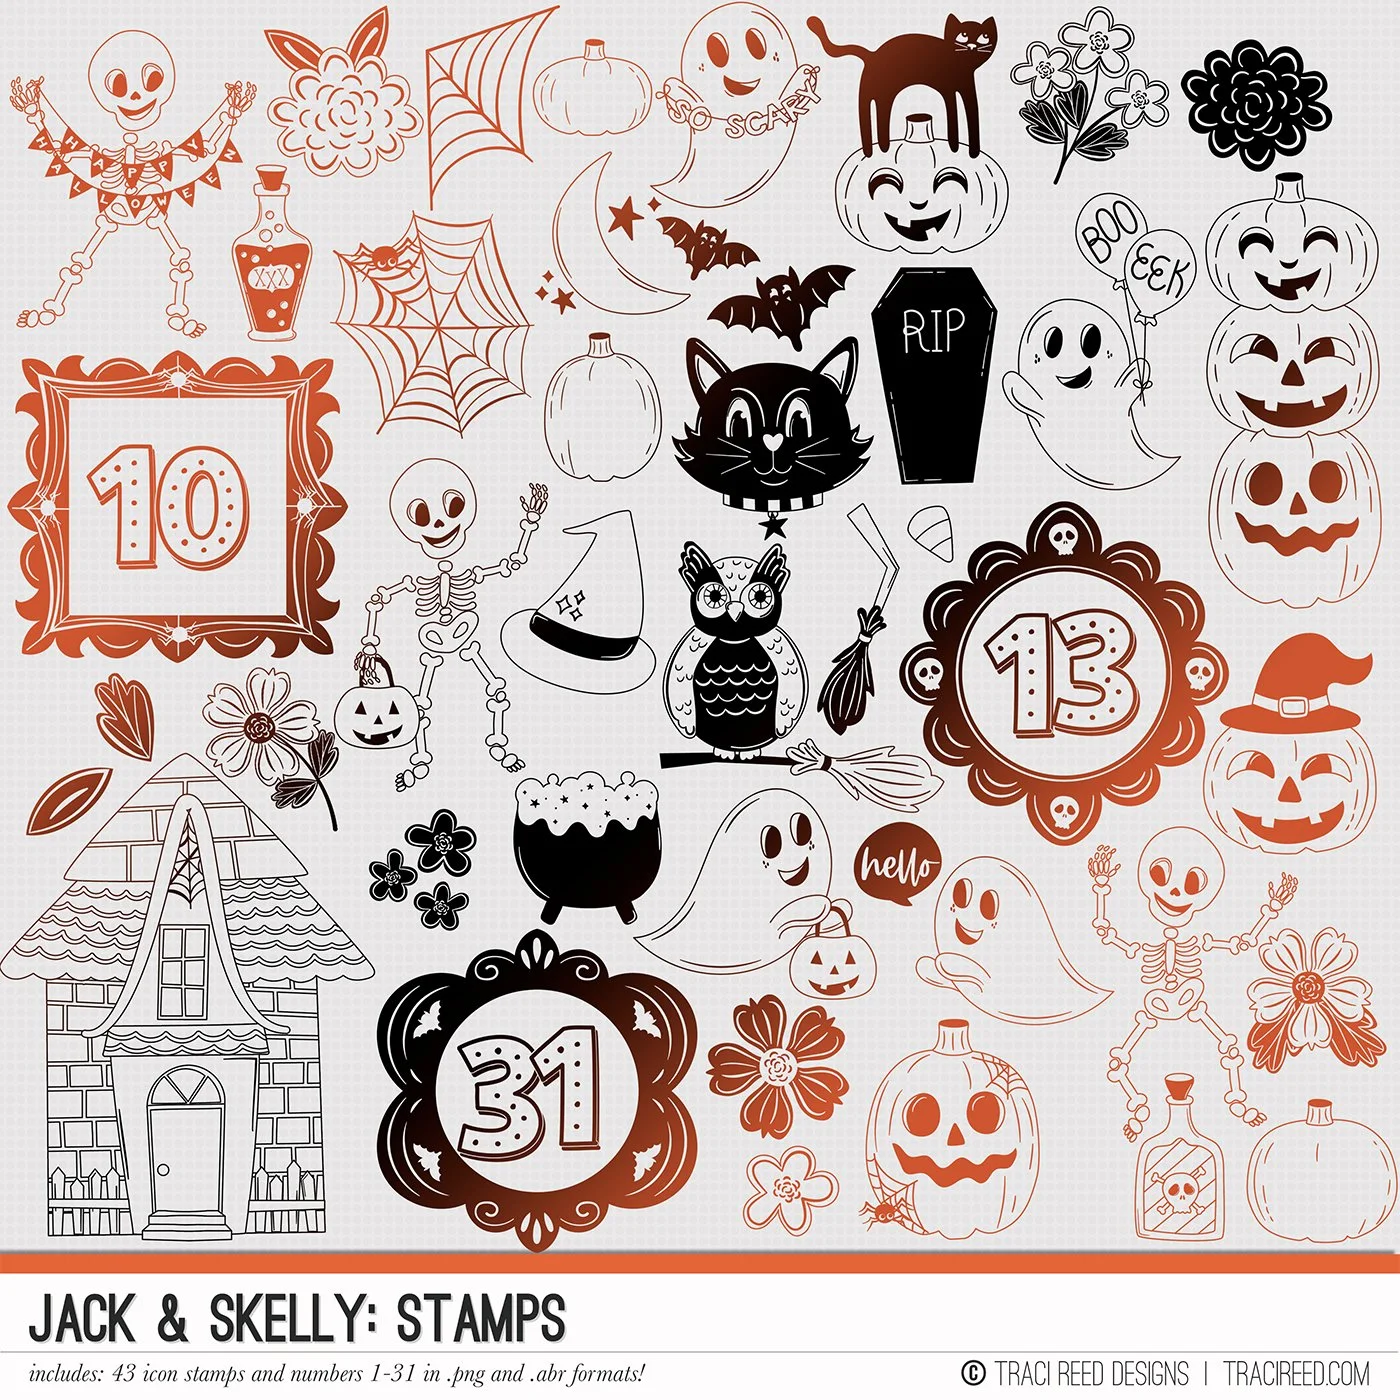

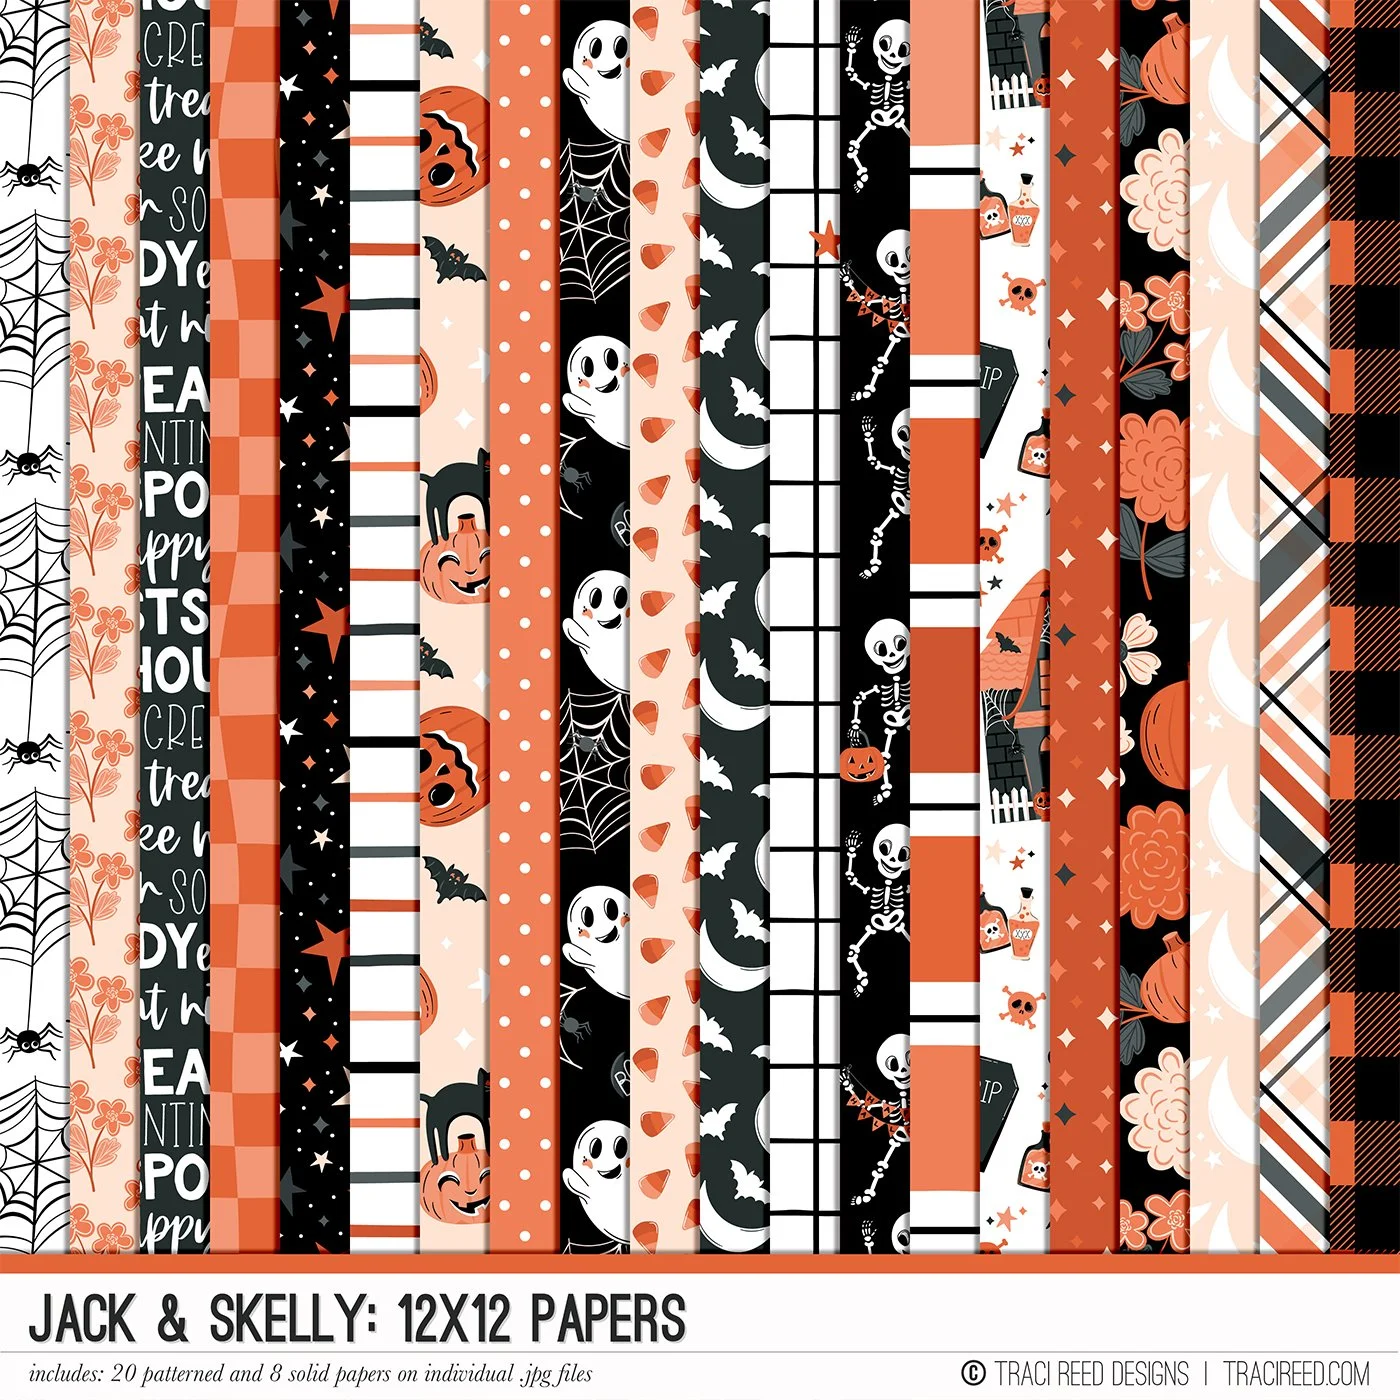
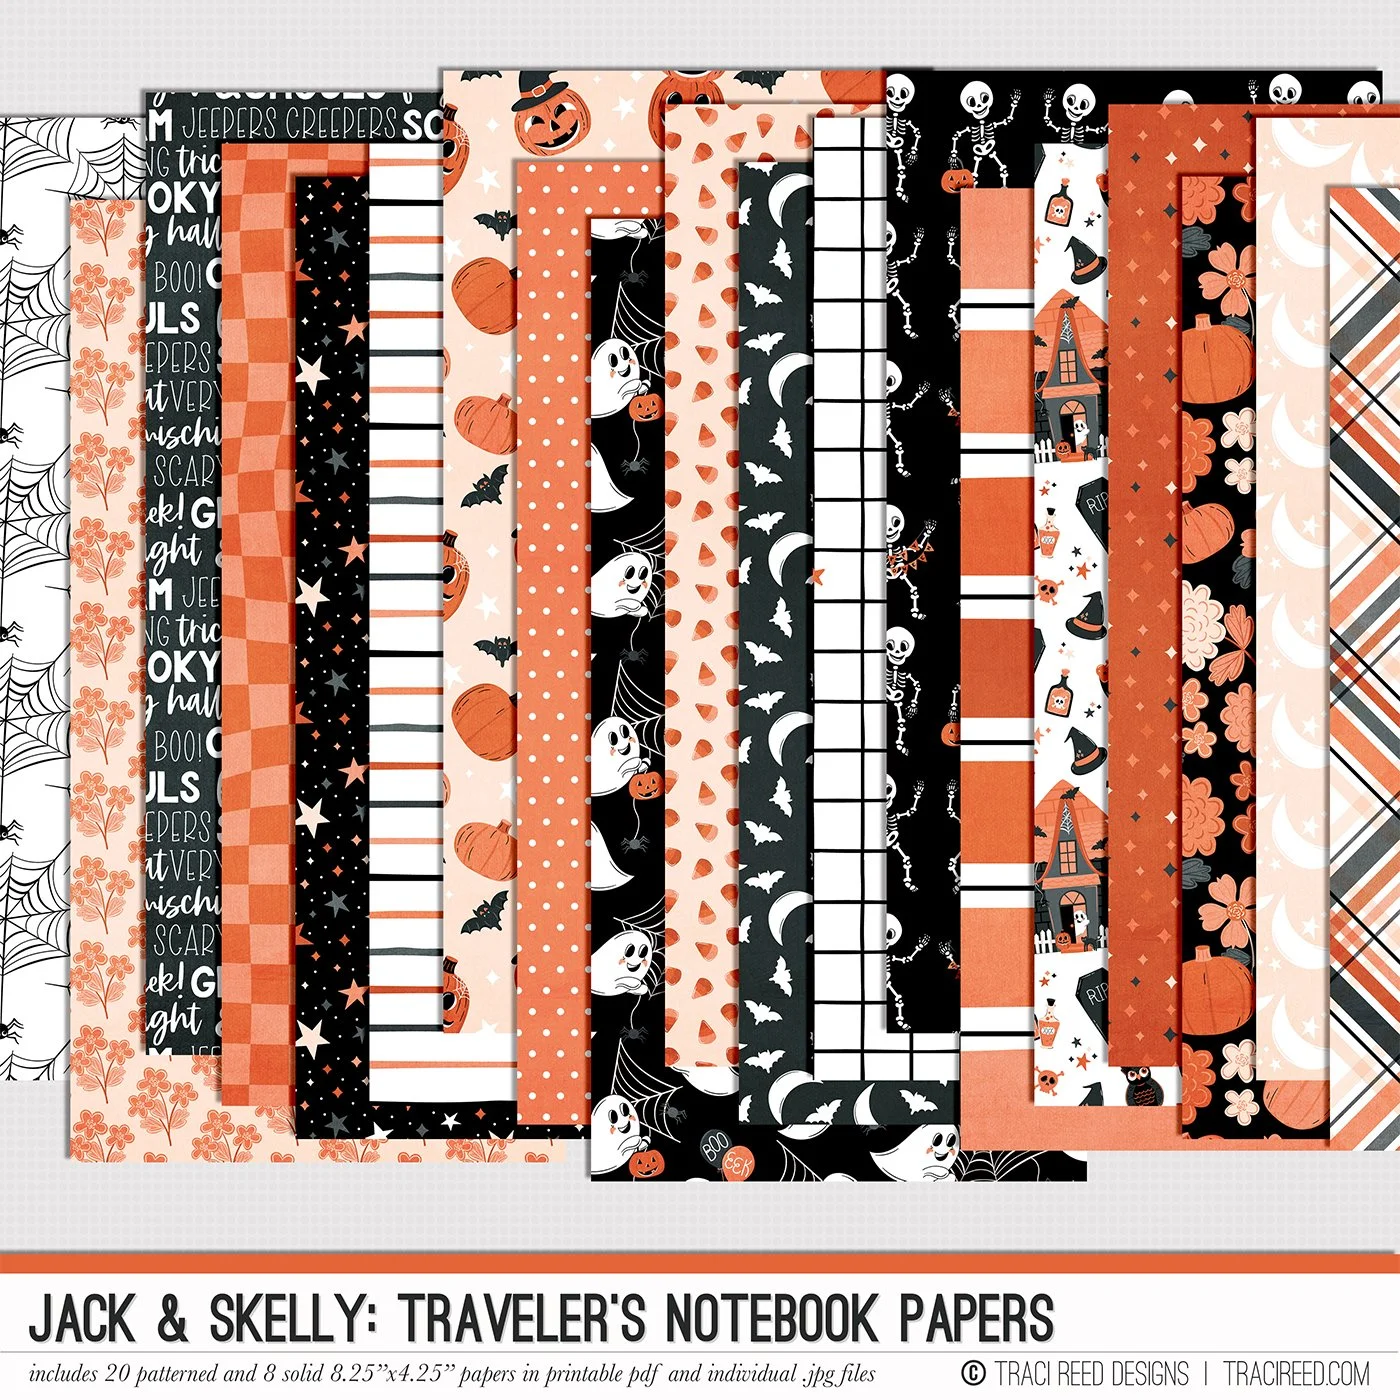
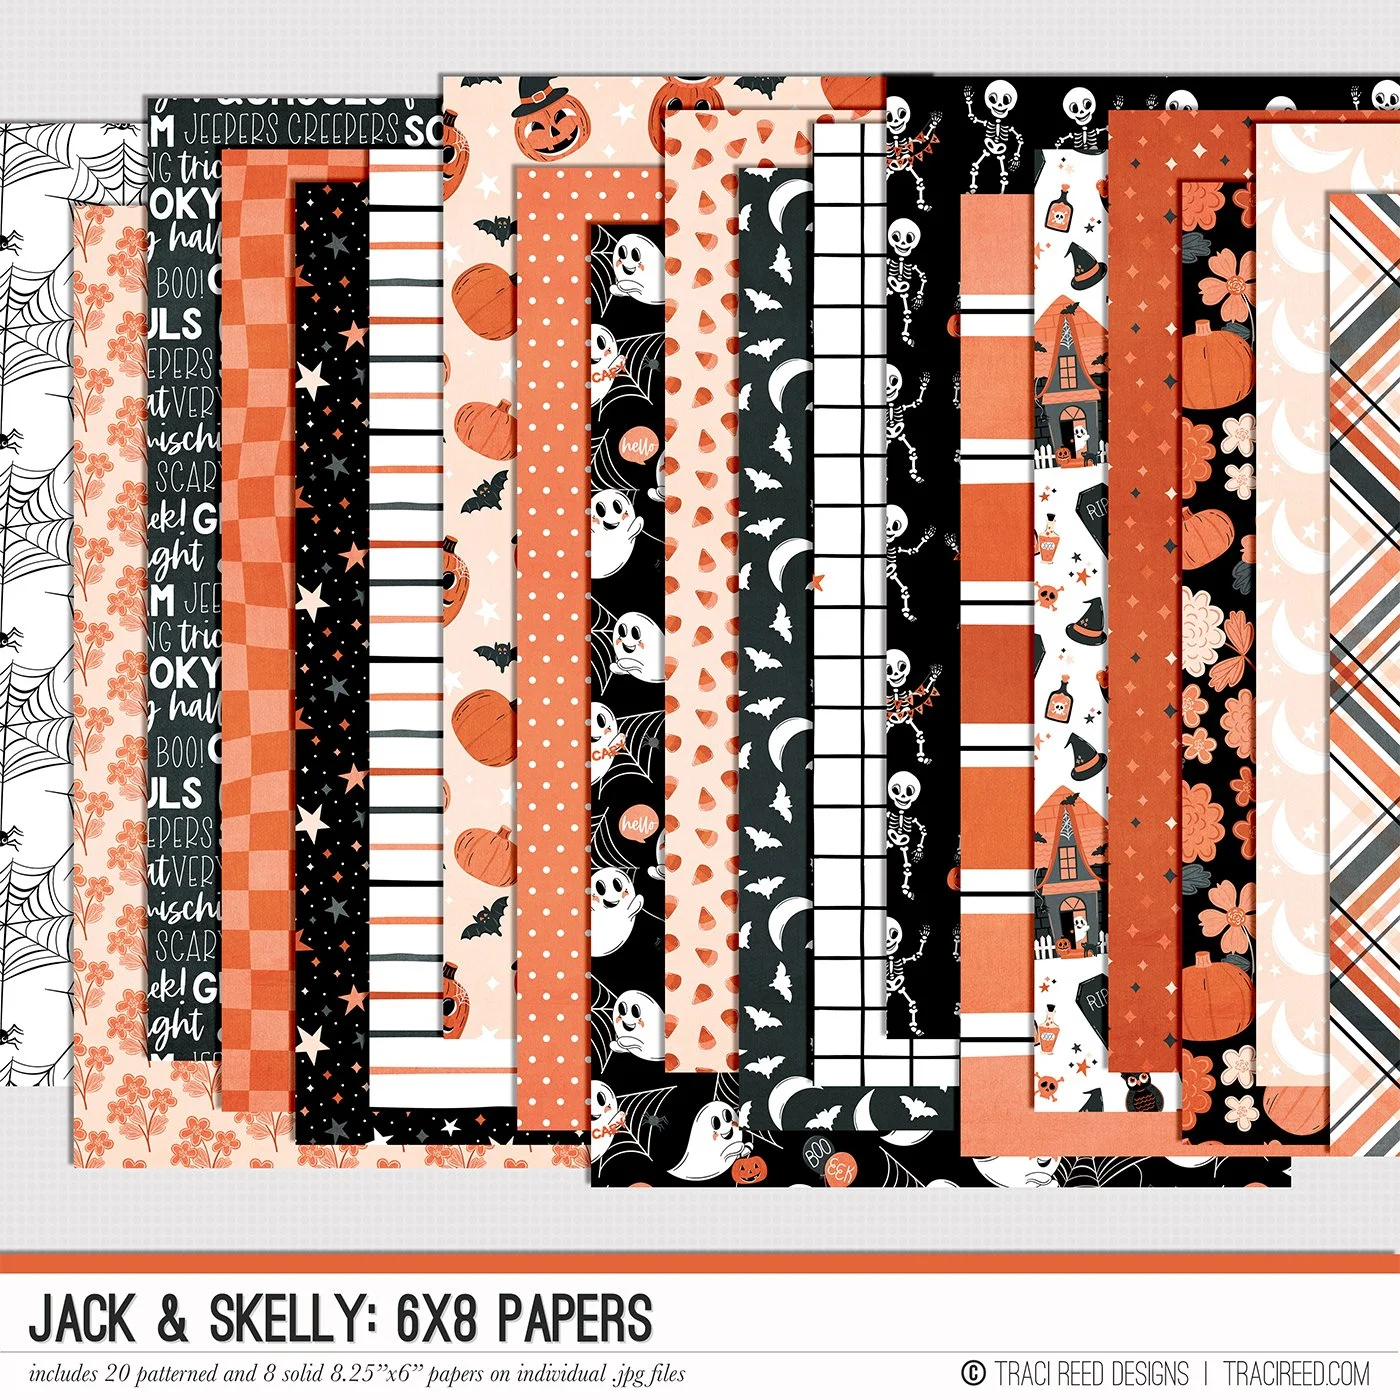

Introducing the Jack & Skelly collection, a Halloween-inspired digital and printable scrapbook collection that perfectly captures the spooky sweetness of the season! Designed in the classic orange and black color palette, this collection is brimming with charm and whimsy. Whether you're documenting costume parties, trick-or-treating adventures, or cozy nights carving pumpkins, Jack & Skelly adds a playful and not-too spooky touch to your layouts.
Jack & Skelly features hand-drawn illustrations of all your favorite Halloween icons. From friendly skeletons and smiling ghosts to mischievous jack-o-lanterns and eerie haunted houses, these characters are ready to bring your Halloween memories to life. You'll also find whimsical spiderwebs, mysterious black cats, wise owls, fluttering bats, and a sprinkle of witchy magic to top it all off!
Each piece in the Jack & Skelly collection has been thoughtfully crafted to bring a magical, vintage feel to your scrapbook projects. These illustrations strike the perfect balance between spooky and sweet, making them ideal for both fun and nostalgic moments. Whether you're crafting for a kid's Halloween party or celebrating grown-up ghoulish gatherings, this collection has something for everyone.
Designed with versatility in mind, Jack & Skelly is perfect for digital or printed layouts, mini albums, cards, and more. Whether you're capturing the enchantment of Halloween night or simply love to get into the seasonal spirit, this collection is your go-to for all things Halloween magic!
See all the Jack & Skelly products, unboxing and example layouts on the Jack & Sally blog post HERE.
BUNDLE INCLUDES:
Jack & Skelly Digital Kit, Cards #1 and #2, TN Signatures and Stickers!
BUNDLE DOES NOT INCLUDE:
6×8 Papers or Signatures, TN Papers, Patterned Cards, Stamps, Marquee Alphas or Journalers!