December of Memories 2021: Hybrid Christmas Cards with your Silhouette!
Hey friends, Melinda here with you today sharing some more Christmas card inspiration with you all using the Candy Coated Christmas collection!!
I have actually designed these in my Silhouette Studio software from beginning to end which I am sharing in a tutorial on YT, check it out below!

I know that it took me a long time to find and use all of the features of benefits of my Silhouette and figured that there would be plenty of others out there that would love some more ways to get the most out of the program and machine!
Here’s a very brief tutorial but make sure you check out my video for more details!
Open each individual file in the Studio software. This can be each paper (I have used the 4x6 pattern cards from the collection) design you want to use, each individual sticker, label, phrase or alpha!
The first thing you’ll want to do is re-size the paper to the card front size you want to create using the toggle squares in each of the corners so you don’t change the perspective.
From here is the super fun part! Using your card “base” grab each of the elements you want to use and play with the design; layering florals on top of labels and phrases on top of florals or whatever design ideas speaks to you! One of the best things about digital collections is that you can re-size any or all of the elements to whatever size you want to use!!
Once you have all of your elements chosen and sized you will need to select your paper size that you are printing onto and turn on the registration marks. Make sure you shrink these down as far as you can so you can use as much space as possible on the paper! Thanks for that tip Traci ;)
Next, you’ll want to lay all of the individual pieces onto your digital mat – making sure not to change the size – so you can send it to your printer and then to the Cameo to cut everything out.
Once you have all of your pieces you can assemble the cards the exact same way you would with a pre-printed collection! Using foam squares, along with regular adhesive, to add dimension helps to lift your designs also and add extra interest!
And there you have it! As many cards as you designed in the Studio software printed, cut and glued ready for your personalized message!

I really love how my cards came together even though they are a little different to my digital design! And once I had all of the elements ready to go it was quick and easy to put them together!
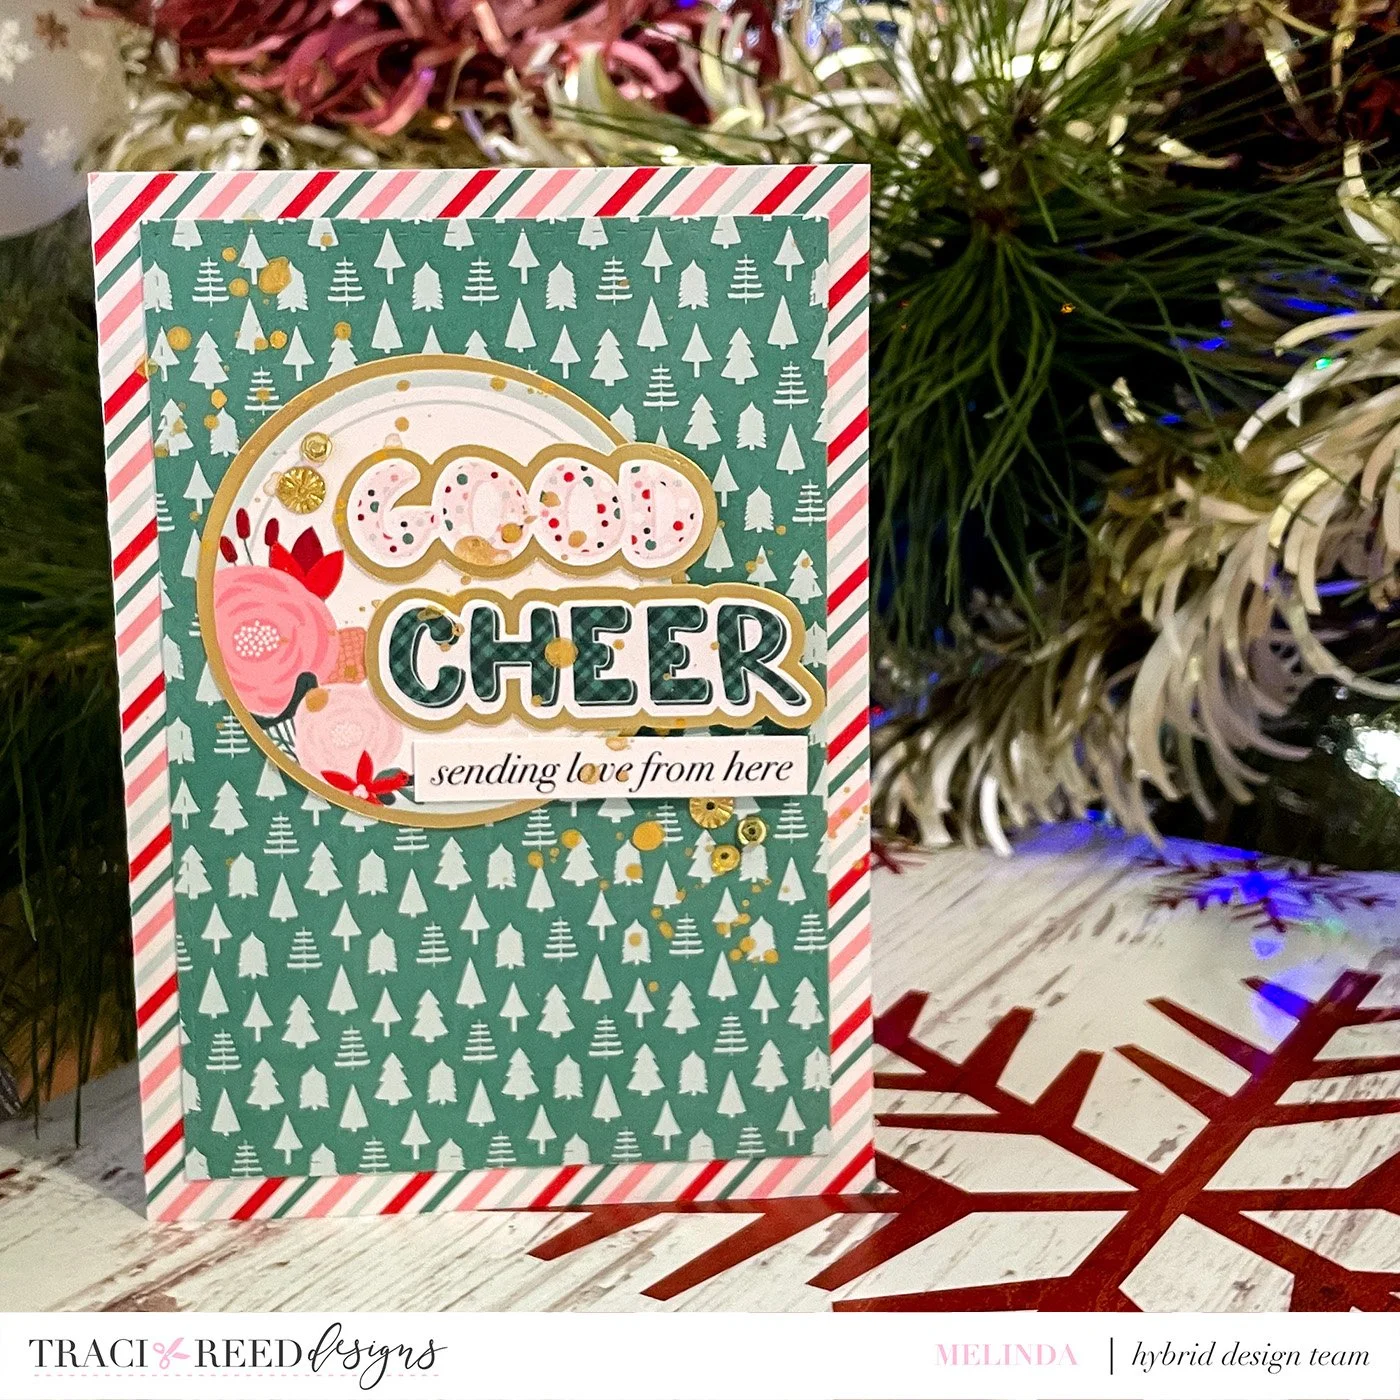
I did finish each of my cards off with either some sequins from Spiegelmom Scraps and/or some gold splatters!

I hope you found my little tutorial helpful! If you do create anything that I have inspired please do tag me, I’d love to see your creations!!
Melinda
