Four Ways To Add Stitching Detail To December Daily with Caroline!

I am absolutely in love with the new Festive collection from Traci and my December Daily album is going to be filled with it! One of the things I really enjoy adding into my December album is ALOT of texture. I also enjoy spending a little bit more time on creative play than I might at other times of the year. This year the promise of the twinkle lights and coziness have inspired me to snuggle up with an audio book, printables and … stitch!
1. Add Texture to the Signature Papers

The “Oh, what fun!” signature page was my inspiration for my stitching fun in my album. As soon as I saw it I wanted to use it exactly as it was in my album … but I wanted to add texture. The font Traci has used for the text is just PERFECT for stitching over. ***TIP*** I spent some time with a paper piercer first putting holes into the paper to make my cross stitching easier - this step is a MUST if you follow along with this and want to avoid any paper tearing.
I went through my stash of embroidery floss and was lucky enough to have colours that matched the palette in the collection well. Next it was a simple case of sitting down with an audio book and filling in the text with stitches. I only ever do stitching on scrapbook pages so I embrace messy stitching and imperfection!!
With this signature I decided to add in more texture by re-printing the page on acetate and adding glitter glue to each dot.

I love the effect when it is layered over the stitched page.
2. Hand-Stitch a Foundation Page
Next I decided to create a foundation page with a simple tree design. I opted for a simple grid format with hand stitching (again embracing the imperfections).
Next I filled the grid with space for photos, journal spots and embellishments.
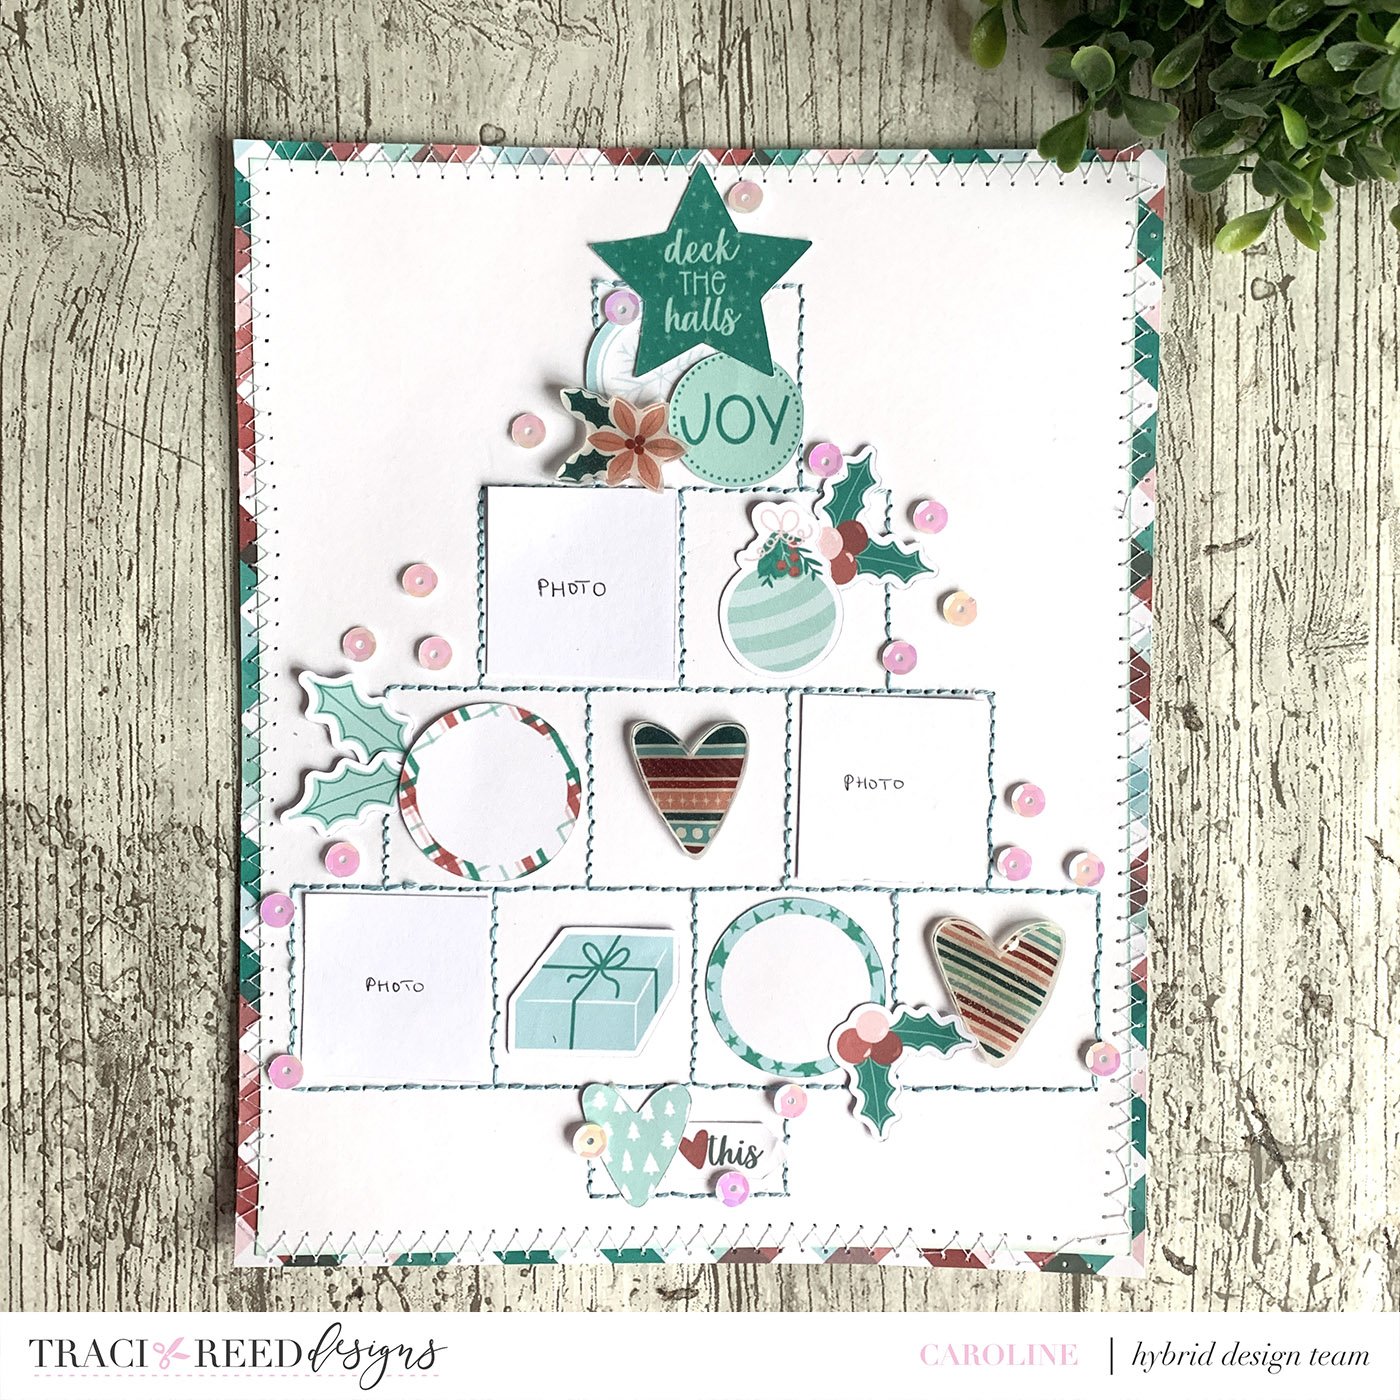
I wanted the page to pop a little more than it was doing so I trimmed off the edges of my white card, added the page to the top of a piece of patterned paper from the collection and then added machine stitching around the edge for extra texture.
3. Create Pockets

One of my go-to ways of adding stitching onto pages is to create pockets. I really love interactive pages and a pocket is a simple way of creating some interactive fun.
On this page I decided I wanted vellum pockets for the peekaboo effect it can give. I created my own vellum by printing one of the patterned papers on to vellum first.
Next I used my sewing machine to stitch some trim to the top of each piece of vellum.
All I had to do then was to stitch on three sides of the vellum to create two pockets on my page.
I am using these pockets to hold 6 of the “currently” tags from the Festive collection. I love that Traci included these prompt tags in the collection as they are perfect for a day when I don’t have a lot of time to scrapbook but still want to create. I may simply add in the journaling or if I have more time, I will adhere photos to the back of the tags.
4. Construct a Page With a Transparent Element

My final technique for working with stitching is to use it in page construction. I love printing the patterned papers onto acetate to create my own transparencies and in this page I decided I wanted only half of my page to be transparent.
I took one of the 3x8 journal pages from the collection and used a zig zag stitch to adhere that to one of my transparencies.
Next I decided to create a vertical stack of circles for photos, and embellishments on top of the transparent part of the page. I absolutely love this page and am so looking forward to using it. Creating the page with that stitching holding the two pieces together has made it nice and sturdy which is what I had hoped for.
I hope you have enjoyed this look at how stitching can add texture, fun and a little something different to your scrapbook pages. It is so good to engage in creative play without worrying about perfection or if something goes ‘wrong’ … worse case scenario is I simply print papers again and keep playing!!
TRD Collections Used In This Post:
