Tutorial: From Digital To Physical - Setting up a Digital Page for a Hybrid Scrapbook Layout
Hi friends, it’s Theresa here and I have another hybrid tutorial for you! I am working right now through my 2024 October Daily album, which is a 6x8 album format and today’s layout is for Day 25, about attending the first annual Winston Salem Witch’s Walk. I am using the Ex Libris Galaxias collection because it has a very subtle witchy/wizardly vibe. I mostly fell in love with these gorgeous wood grain alphabets in the collection and thought they were perfect for a vellum tip-in! Combined with the patterned papers to make an insert, these two elements will make a great gatefold to reveal the full page photo of a building in downtown Winston Salem that I took that night.
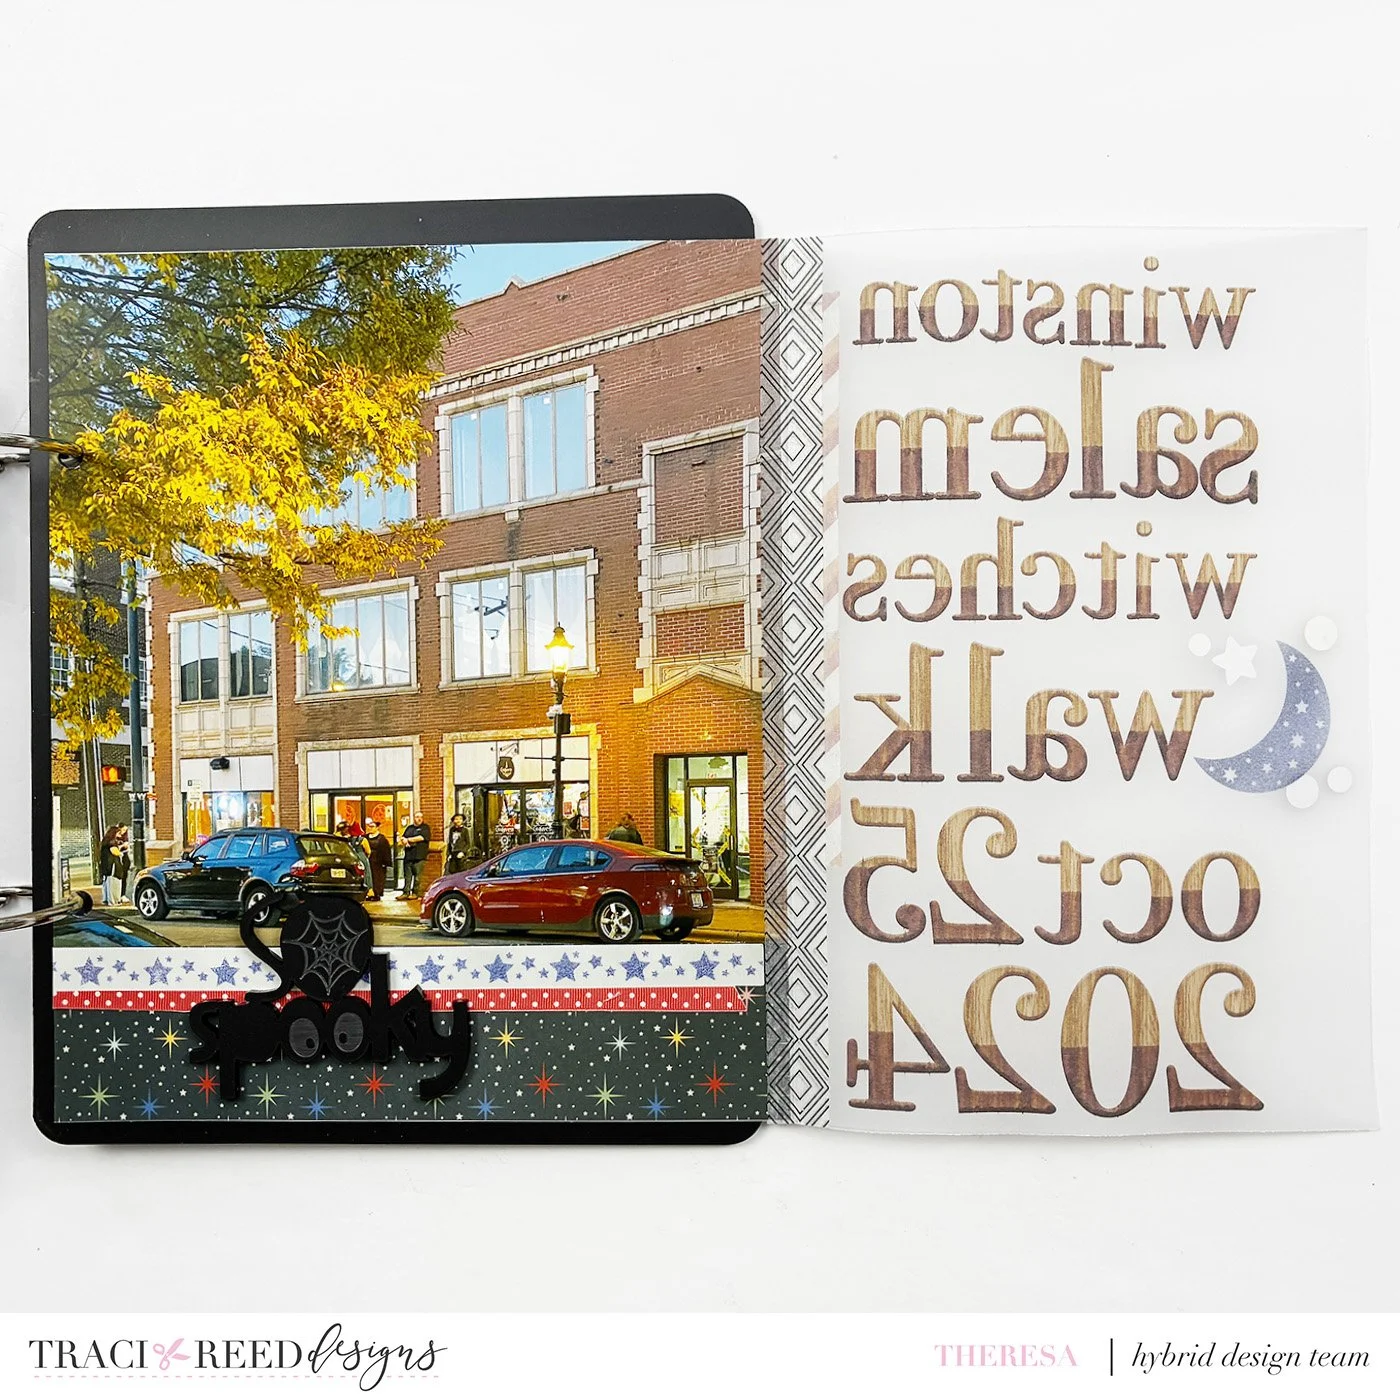
First create the vellum with subway title.
The vellum is intentionally a bit short of the width of the photo so it won’t interfere with the punched edge. Here is how to easily create the subway styled word art in Photoshop:
Create a New Layer and go to your Text tool on the left hand sidebar.
At the top of your screen go to File > Scripts > Load Files Into Stack
The box that opens up will allow you to select all of the alphabets that you need to form your title, so you can open them all up in the same tab. The Browse button will give you access to your files.
Select your alphabets and click OK. You will see the Photoshop screen blip and bleep as it loads all of your letters.
Once they are all loaded, go back to the top of your screen and Select Image > Canvas Size and another box will come up.
Make sure you are on the bottom most Layer of your canvas and that the Layer is empty. Add a New Layer if you need to. Then size your Canvas up, I typically like to make it 12x12 so I know the scale of what I am working with.
Now you have all of your alphabets in one place and you can easily arrange them and copy as needed in order to create your title!
Once you have your title created, Select all Layers and Dplicate them all into your original Canvas. Size them down as you need to, to fit onto the vellum. In this instance, I merged all the letters of each word together individually, and then sized them to fit across the vellum. This creates different sizes from each word and gives it the Subway feel!
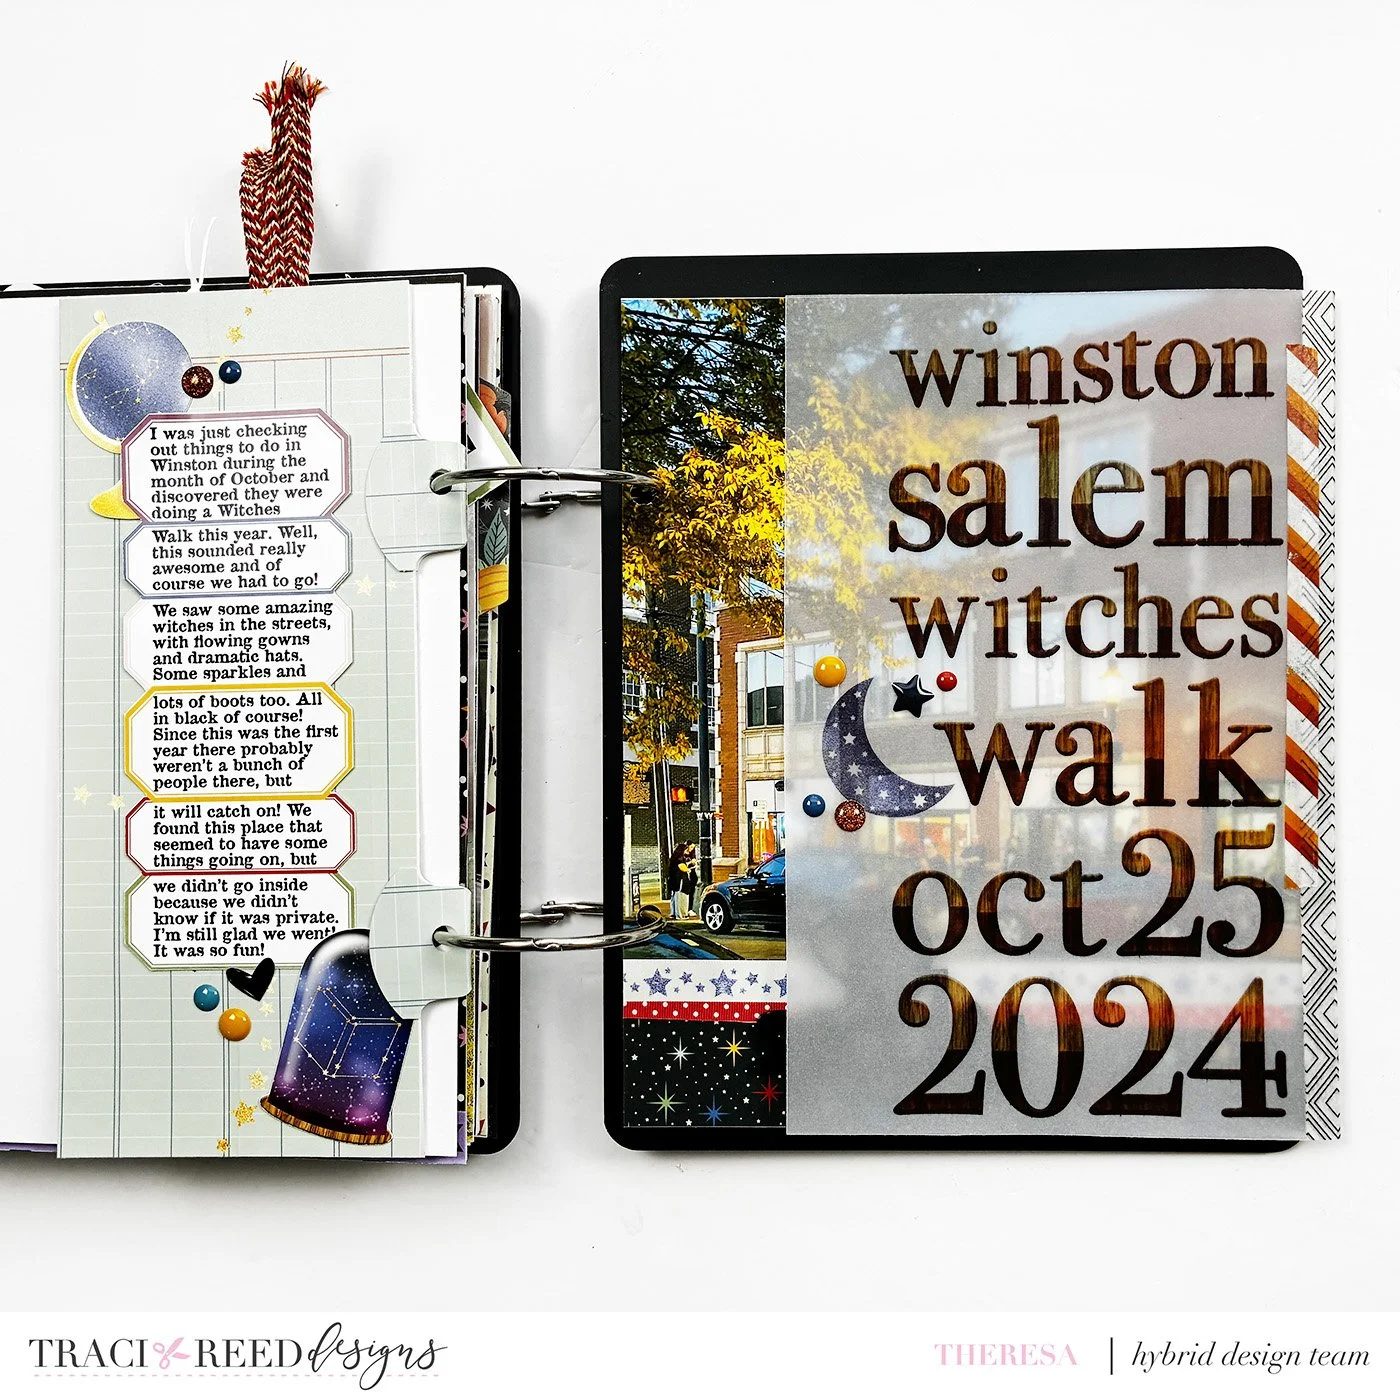
Second create the traveler’s notebook size insert.
Mine are sized at 3.5” w x 8.25” h. I know this is not a standard TN size, but it works for what I wanted, which is a place to house the photo of myself and Alan, and on the other side to house the strip of labels for my journaling.
In Photoshop, create a New Document sized the size you need it, at 300ppi.
Use the Rectangle Tool to create two rectangles the size of your insert.
Bring in your patterned papers for the background. This collection has a fabulous selection of TN signatures and also has the patterned papers already sized down for you. Since my insert is slightly off size from the standard, I went ahead and brought in the full size papers and scaled them down to 9” square.
Use the Create Clipping Mask tool in the Layers menu to crop your papers to the rectangles you’ve created. This will ensure that you get the finished size you want.
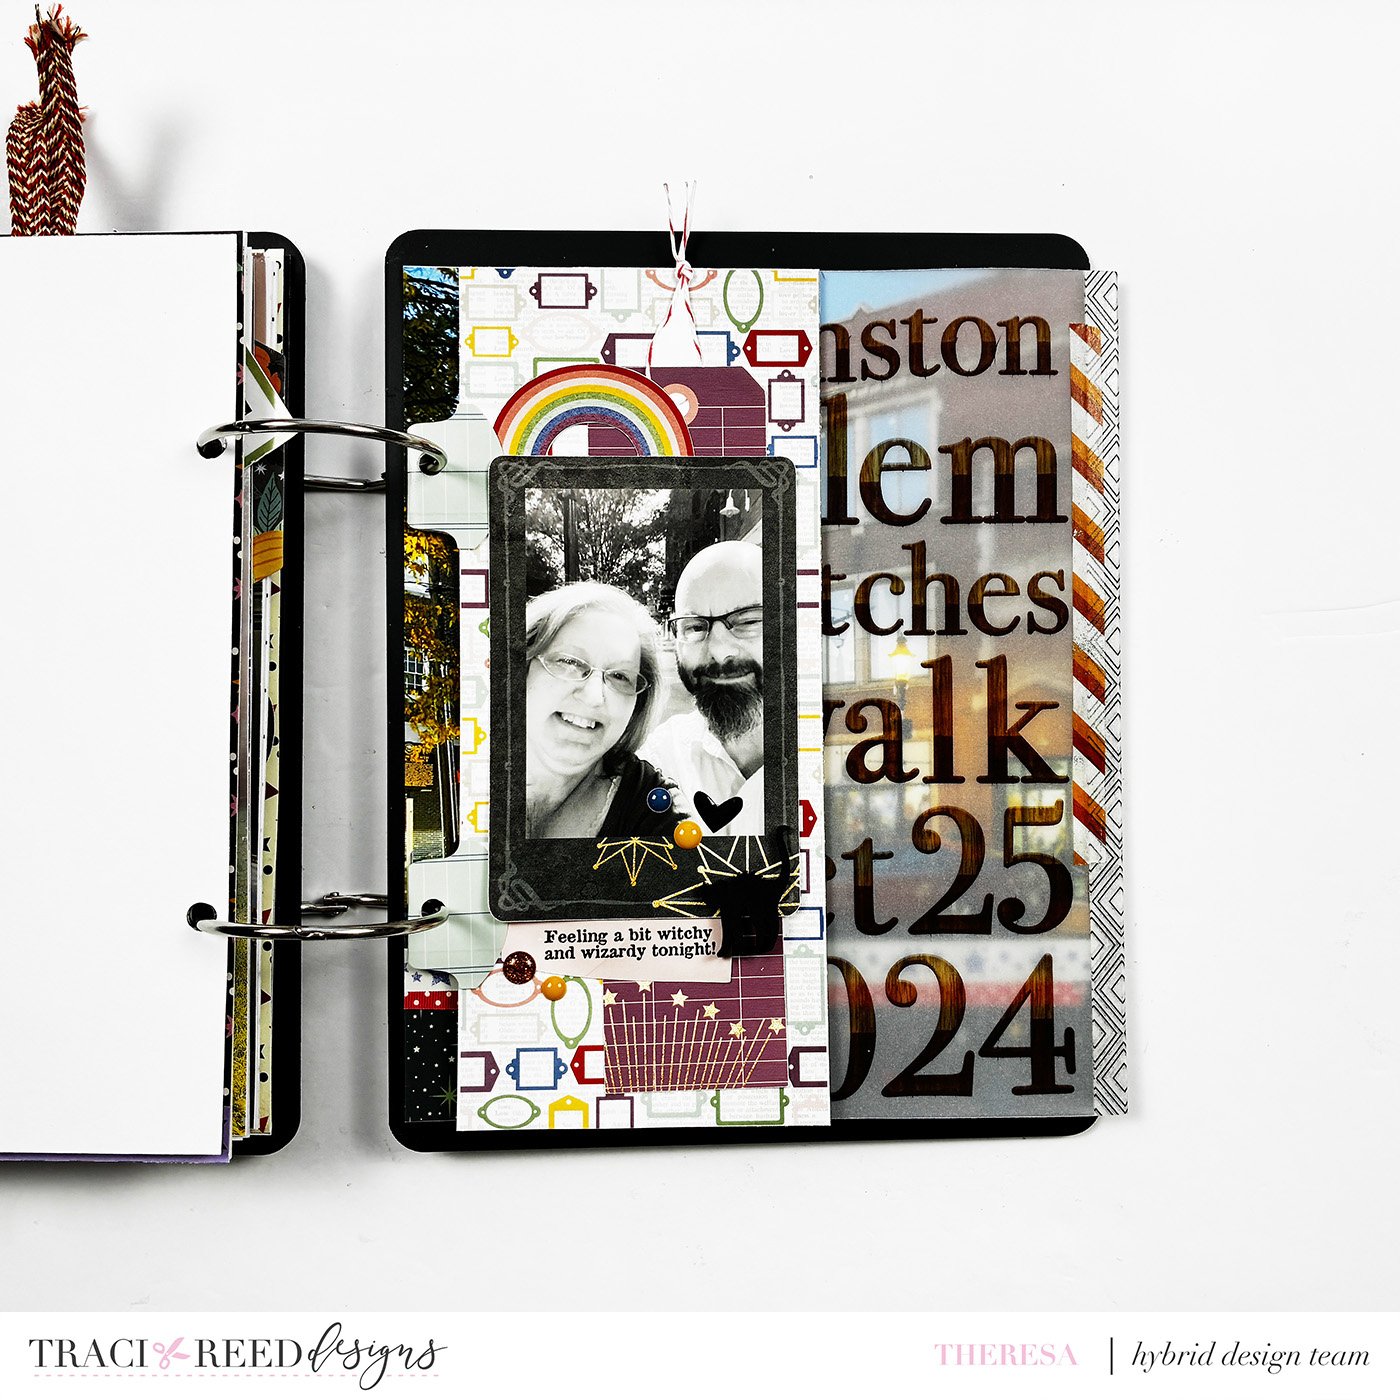
Now print and cut your elements for your layout.
Now you can bring in your photo, elements, and the photo frame to lay everything out. This is where you can size the elements up or down to fit the scale of your page, and you can also add your journaling. I love adding my journaling at this point because it looks great printed out!
Printing your papers and elements is fairly straight forward now. Turn all the Layers off and just leave the two patterned papers On, and print those as they are.
For the Elements, turn off the patterned papers and turn all the elements back on. Move the elements around so they can all be brought into Silhouette as individual pieces. Make sure that one piece is touching the top of your canvas, and another piece needs to be touching the bottom of your canvas. Make a note of the size of your canvas from top to bottom, because this will help you size the elements appropriately in the Silhouette.
Save your elements as a PNG, with a transparent background.
Bring your PNG with all the elements into your Silhouette.
In the Silhouette, size your elements down to the size you need. Remember how we made note of the height of our PNG as we were saving it in Photoshop? Here is where you are going to enter that height into the Height text box at the top of your screen, when you are in the Move tool. Now the elements are the same size as you made them in Photoshop.
You made need to rearrange your elements to fit onto the page with your Registration marks, but before you can do that, make sure the elements are selected and then go up to Object > Release Compound Path. This will ensure that the Silhouette now sees all of your elements as individual items. Watch out for tags and other elements that might be reading little cuts inside of the element, such as the hole at the top of a tag. As you move your elements around make sure you are grabbing those or cleaning them up so you don’t have strange little cuts in unwanted places.
Now you are free to print and cut your elements!
Bonus Update to editing photos in Photoshop CC.
You can also edit and print your photo to size. My photo is a full page insert so it measures 7”w x 8.25”h to match page protectors for that album size. I use three very simple tools in Photoshop to edit my photos:
Brighten your image using the Adjustments > Curves tool on the right sidebar of your screen. The Curves tool will allow you to brighten the bright spots differently than the darker spots in the photo. When you open up the Curves tool, you will see a curve. I typically create what looks like an S shape on that curve, where the right side swerves up and the left side swerves slightly down. It all depends on your lighting situation and what you want your photo to look like. Merge all your Layers.
Sharpen your image. This makes photos look crisp and clear, especially once you crop it to the size you need. At the top of your screen, go to Filter > Sharpen > Unsharp Mask. This tool requires a really light hand, because sharpening too much can be off-putting. In the box that comes up, set your Amount to 99%, your Radius to 1.0 pixels, and Threshold at 5 levels. Click Ok.
Last step is to Crop your image. The Crop tool is over on the left hand side, and clicking on it will bring up a row of settings across the top of your screen. If you use Photoshop CC, there was just a new update and you will now see the AI Assisted and the Pro Editor. Don’t touch those for your photo editing, as you might get results that you’re not looking for.
What you want to do is set your aspect ratio to Width x Height x Resolution. Then in the next three spots set those dimensions. You can use pixels or inches, and for Resolution you want 300px/in. This will give you the best setting for printing!
When you clicked on the Crop tool, you probably noticed that it set a boundary box on top of your photo. That shows you how it is cropping your photo. Here you want to click and drag corners to set the parameters of your crop to get a good composition. Use the grid to help you establish the Rule of Thirds, where your focal point hits one of the points of intersection on that grid.
Once you have it set to Crop how you want it, double click within the boundary box and it will crop the image for you. This is also new with the new PS update, because in the past you had the check mark in the top row of the screen to finalize the Tool.
How fun is that! I hope this breaks down the steps of a hybrid layout to make it easy and manageable for you. You can see my process video, which shows the elements and papers printed out and being pulled together for the completed layout.
Happy Creating!
~Theresa
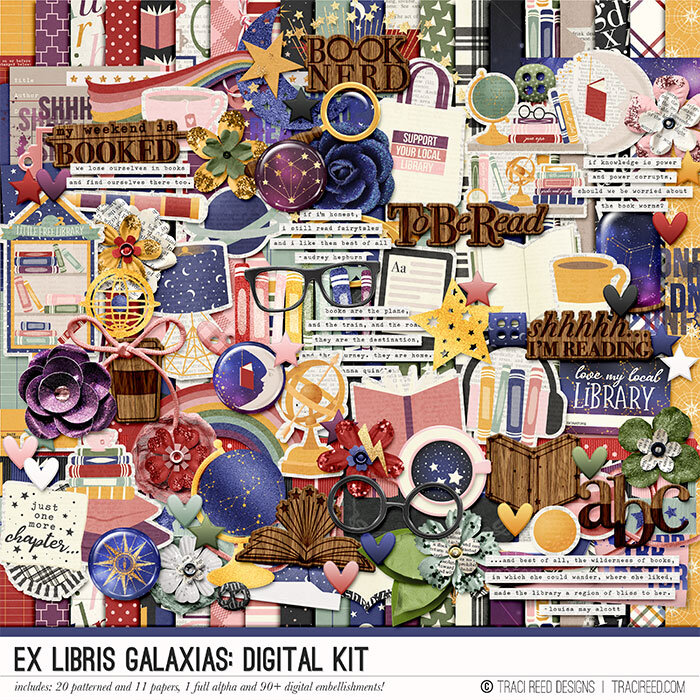


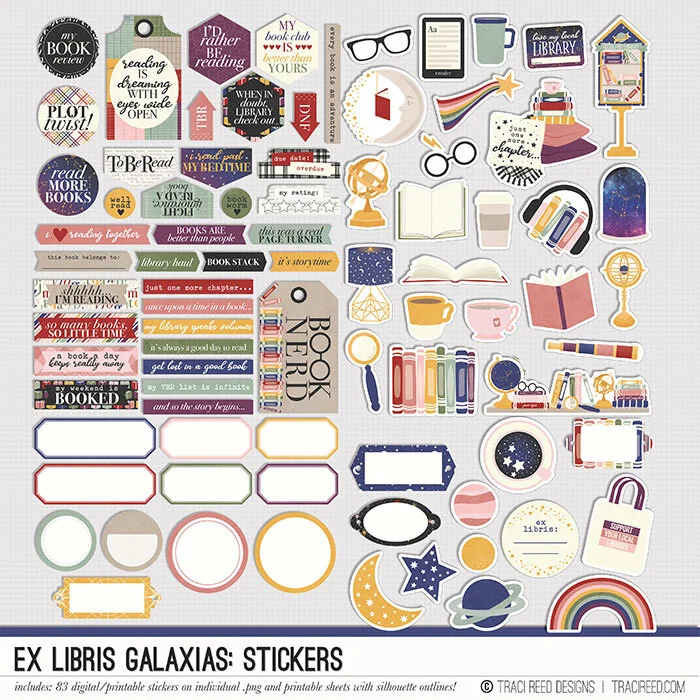




Ex Libris Galaxias translates to “From the Library of the Galaxy” and this collection captures all the magic and wonder of books and the adventures they contain. With tons of gorgeous hand-drawn illustrations that capture both the joy of reading and the beauty of the galaxy, Ex Libris Galaxias is a book lover’s DREAM!
BUNDLE INCLUDES:
The Ex Libris Galaxias Digital Kit, Cards #1, Cards #2, Stickers and Stamps!
BUNDLE DOES NOT INCLUDE:
The Ex Libris Galaxias TN Papers, Patterned Cards, Galaxy Papers or Mixed Media