Documenting Big Stories in a Small Album with Ronnie

Documenting big days/weeks such as birthdays or other celebrations, in a Travelers Notebook size, can be daunting. You take 10,000 photos… now what? I experienced this struggle recently when it came to documenting Emella’s birthday celebrations. I had over 90 photos over the course of two days and I felt overwhelmed. Here are some tips that helped me document these photos.
1. Narrow It Down

At the end of the day, you don’t need to print and document ten photos of the same or similar moment. Choose your favourite photos that capture the “essence” of the day and store the rest digitally. You can still see them digitally whenever you want, but you don’t need to physically print every photo. Give yourself permission to only print the most important images.
2. Break It Up

Even after narrowing it down, you may still have a huge amount of photos. I go through the process of grouping all of my photos, with each “group” ultimately becoming one layout. For Emella’s Birthday here are the “groups” I used.
Birthday Morning
Birthday Evening
Birthday Party People
Birthday Party Decorations
Birthday Party Playing
Once I had these groups I knew I wanted to do 1-2 layouts per set. Which led me to my next step...
3. Plan Plan Plan

I spent a few hours digitally planning out all of of my projects. The more planning you do the less work there will be once you put your project together. I selected one collection - Keep Chasing Rainbows which narrowed down what I could use and made the planning process so much easier.
You can tackle the planning process by sketching out your layouts or alternatively (which is what I did), by creating your layouts digitally and them separating all of the elements for printing.
This also allows you to conserve paper. Because I planned it all out digitally, I was able to add journaling cards, smaller photos and papers from Keep Chasing Rainbows all onto one page for printing (versus printing everything individually).
4. Use Large Photos

I find that using one or two statement large photos, creates a bigger visual impact over using lots of small photos, plus it makes the process so much easier. If you use one big photo it cuts down on any creative decision making which can lead to mental burnout when documenting so many things.
5. Use Digital Ellies

This really ties into tip number 3 but this is one of my biggest tips. Use digital embellishments to build your clusters before printing out your photos and papers. Building digital clusters takes less time, and you can change them easily. The great thing about Traci Reed Ellies is that they look dimensional without actually being dimensional. You can add a bit of physical dimension too to complete the look – see tip number 7.

6. Keep it Simple

You don’t need to reinvent the wheel here or come up with the next big trendy scrapbooking technique. Go to your own tried and true hybrid scrapbooking techniques. You can even scraplift yourself or others. The 2x2 inch square layout I created is a scraplift of a Creative Team layout I did earlier this year for the Strong AF collection, and I like it just as much.
7. Use Thickers and Chipboard and Gold Splatters to Add Dimension and Texture

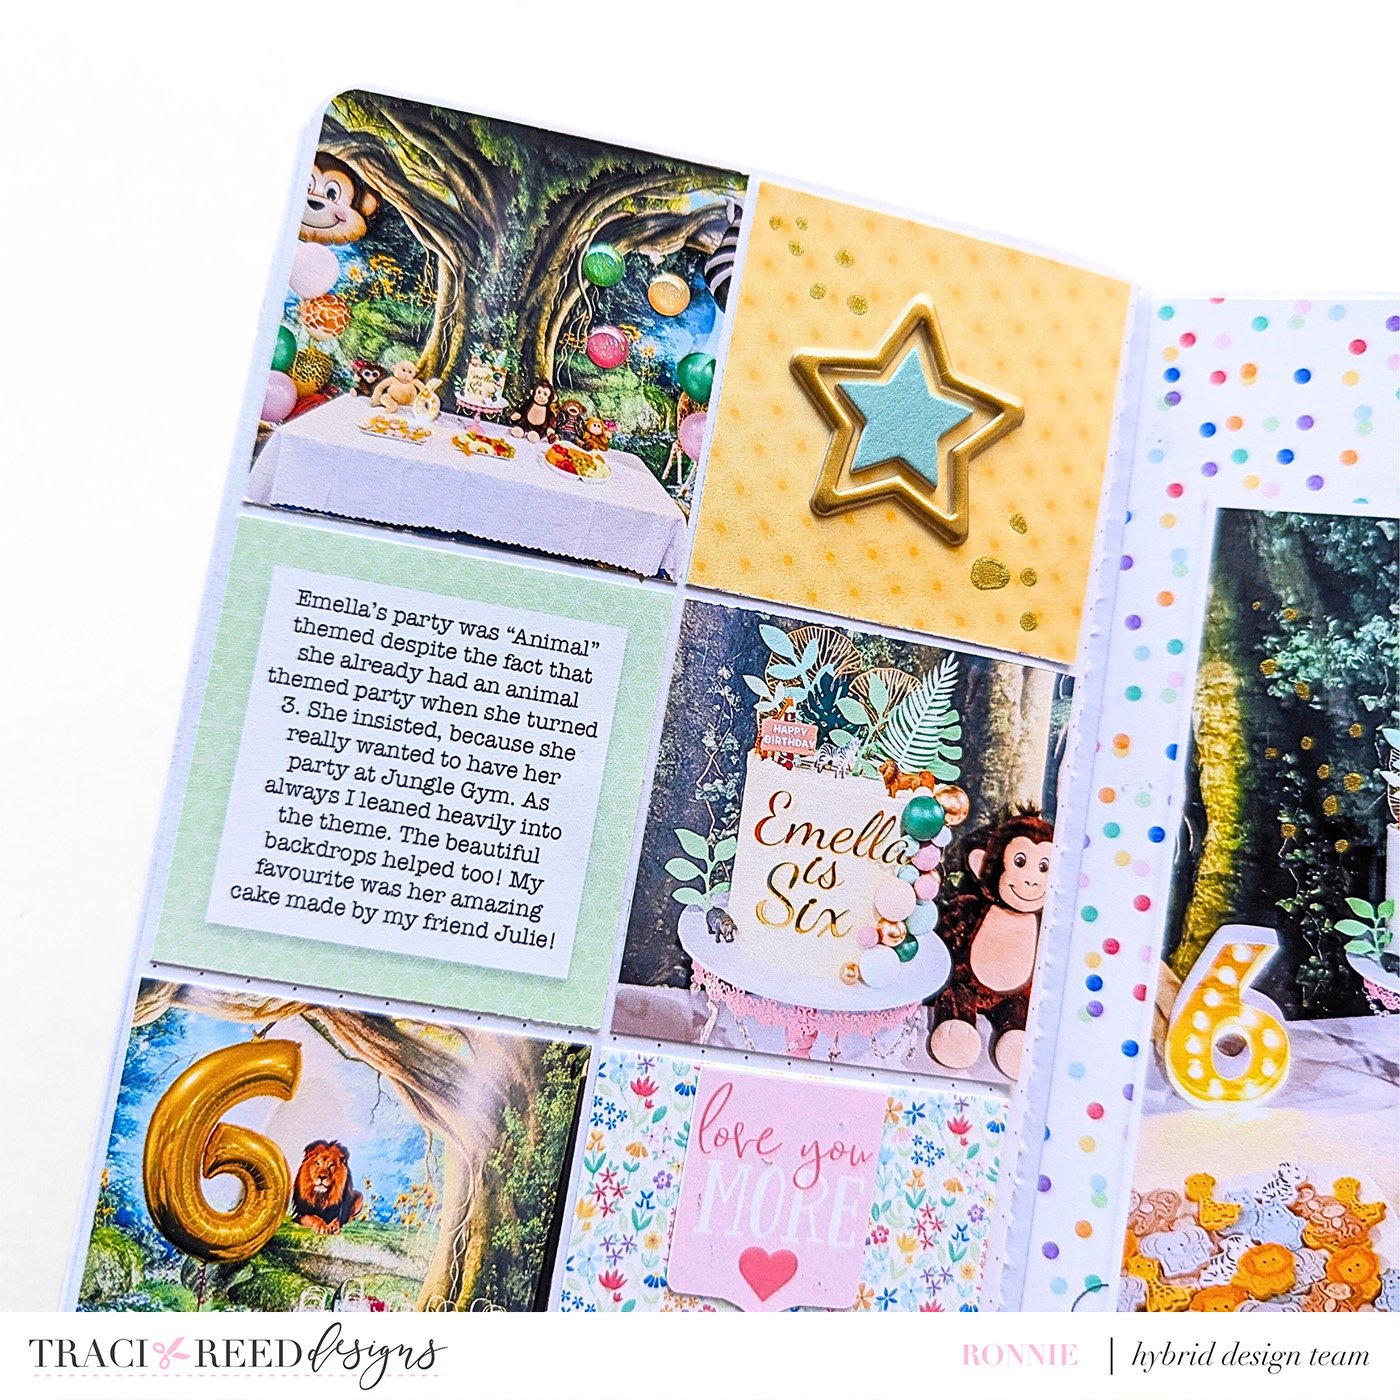
Once I had everything printed and glued into my TN, I added Stickers from the Chasing Rainbow collection and I grabbed a few Thicker and Chipboard sheets from my stash to add some dimension. This was very basic, but it really does bring the layouts together. I also added some gold splatters for a bit of shine and texture.

I still have a few layouts to complete but I am glad I was able to simply and easily finish these four pages using this bright and happy collection.

