Create Your Own Custom Planner Cover with Emiley!
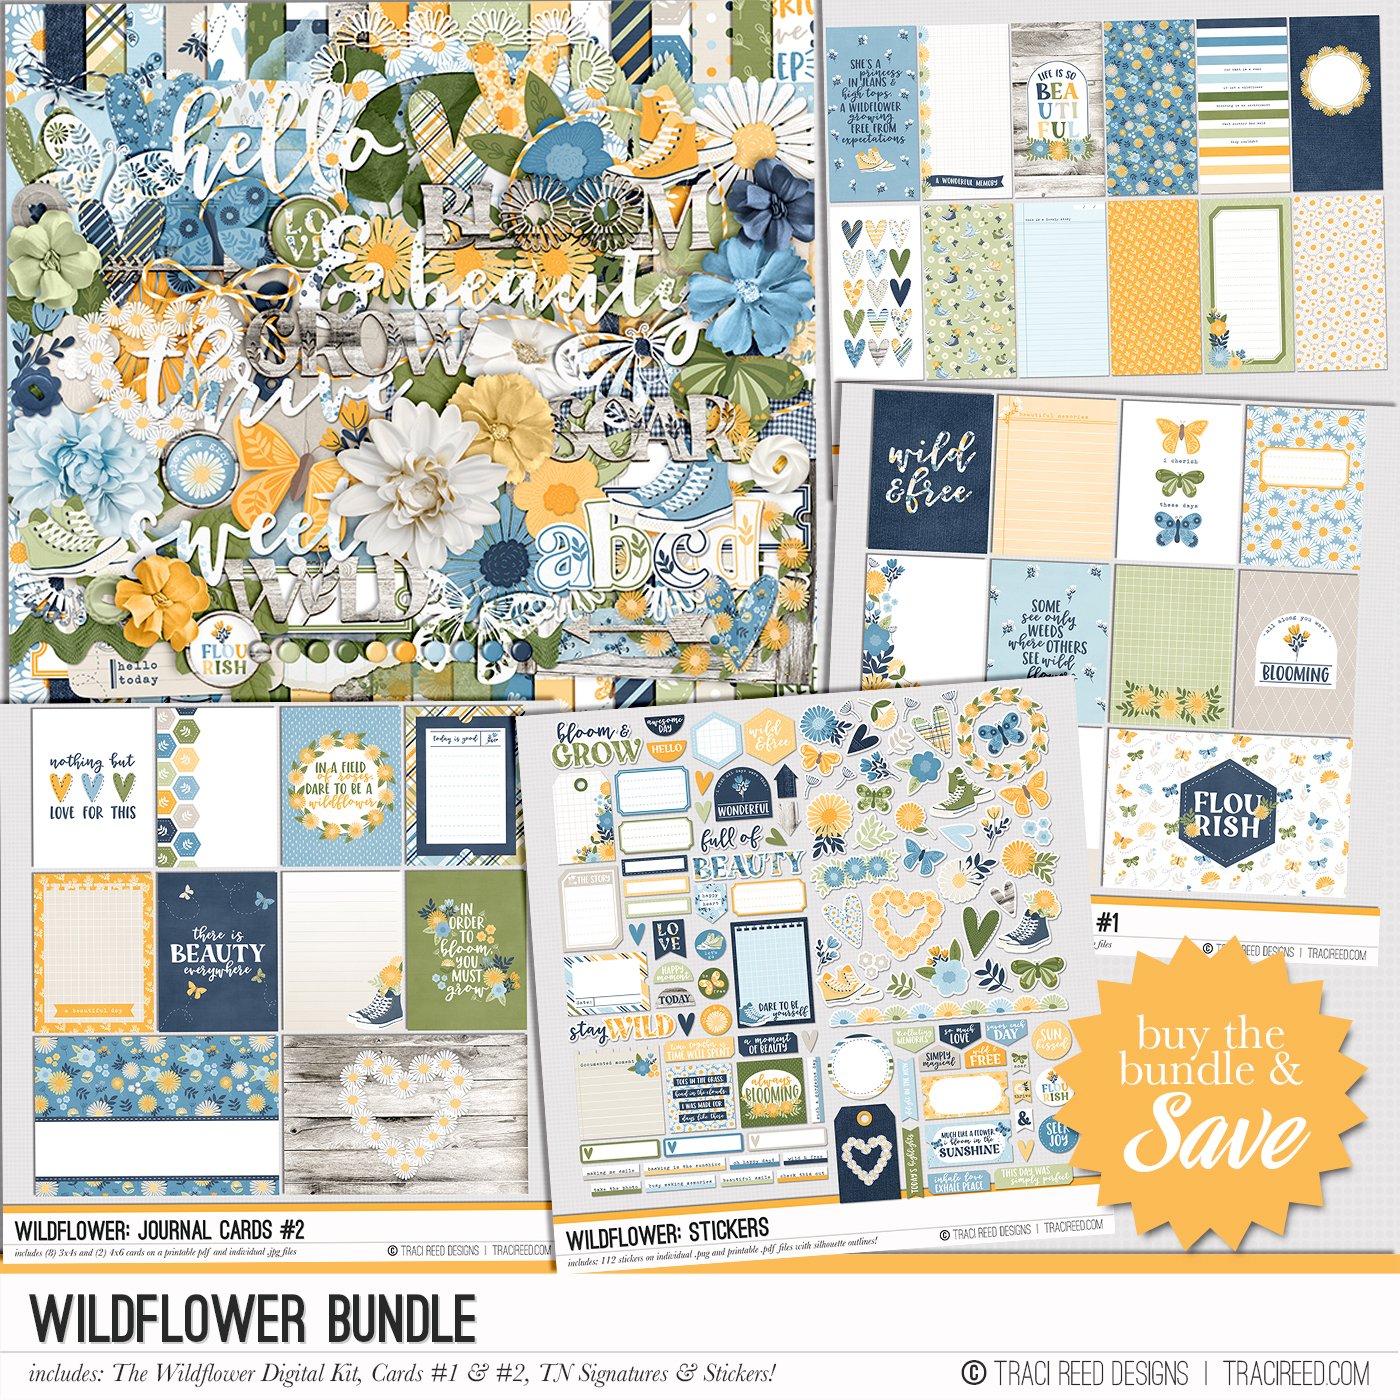
I love changing up my planner each month to keep it fun and to keep me interested in using it. I really like using new planner covers that match the seasons or my mood, but it can often be hard to find what I am looking for since planner covers tend to be very generic. Creating custom planner covers using Traci’s digital files is my favorite solution! I start by uploading the products I want to use into Canva.

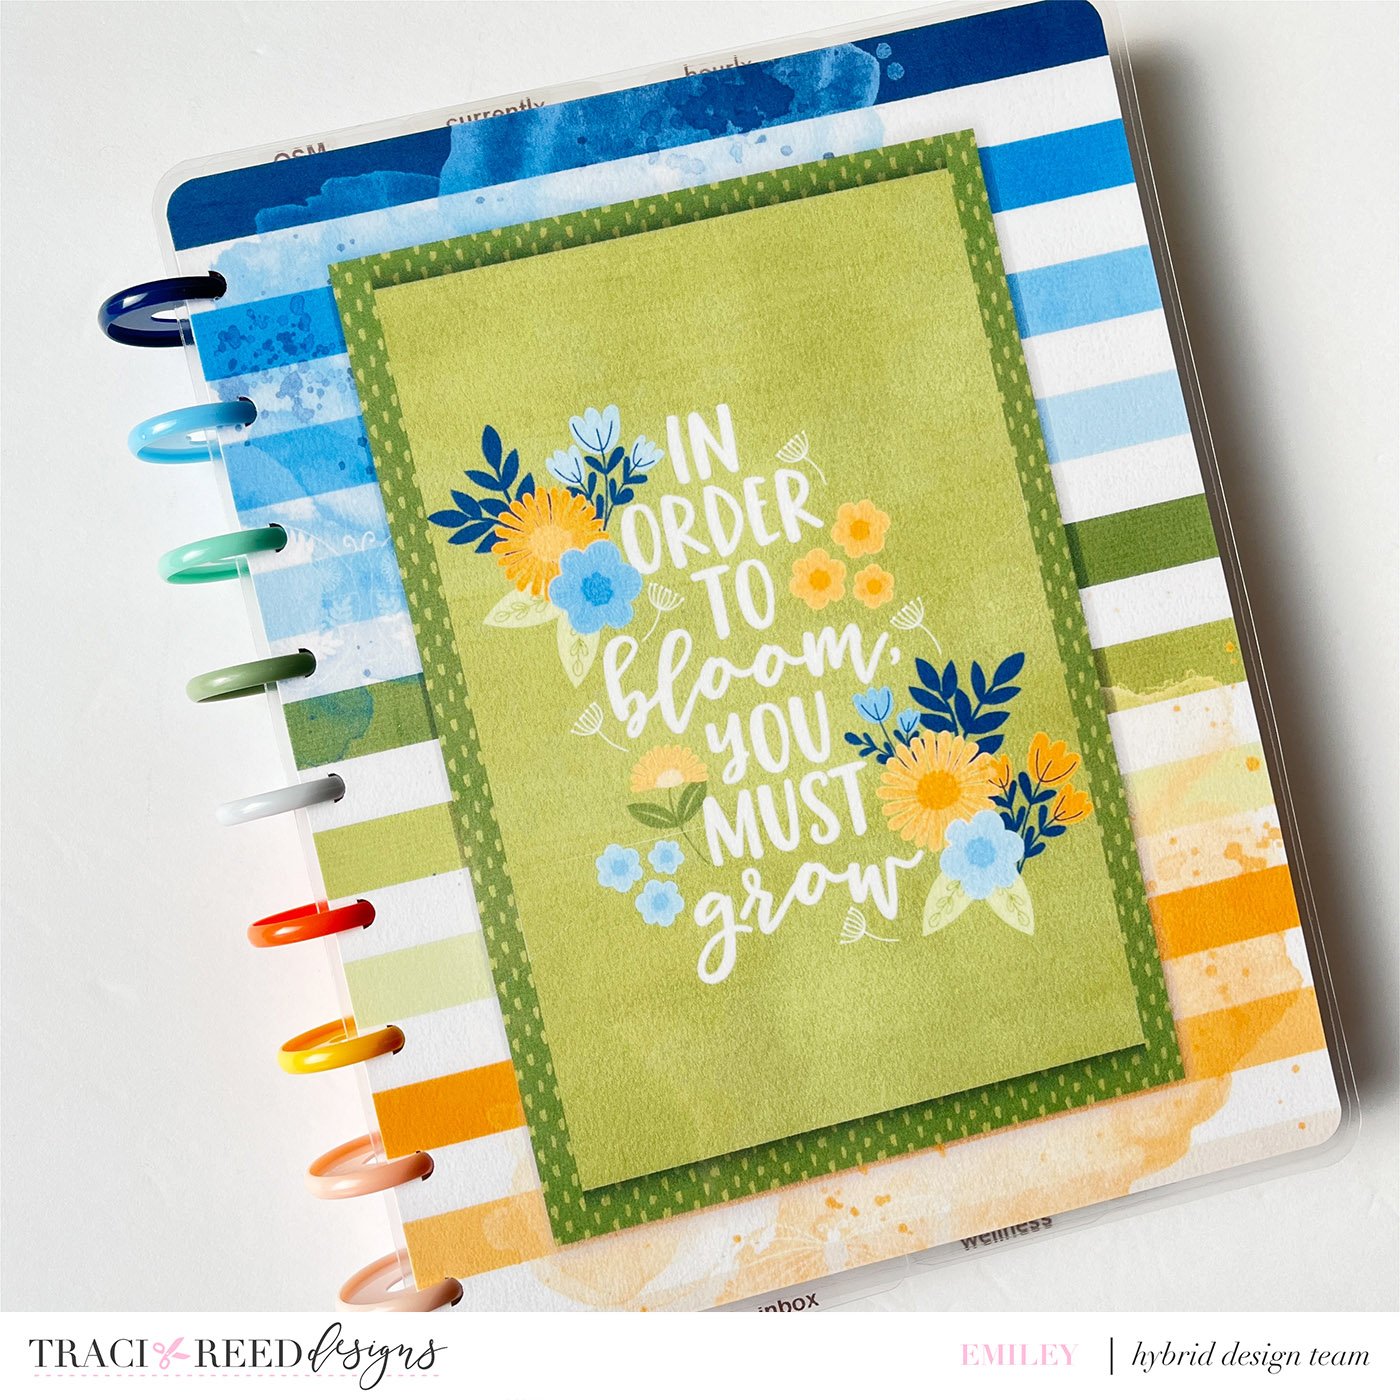
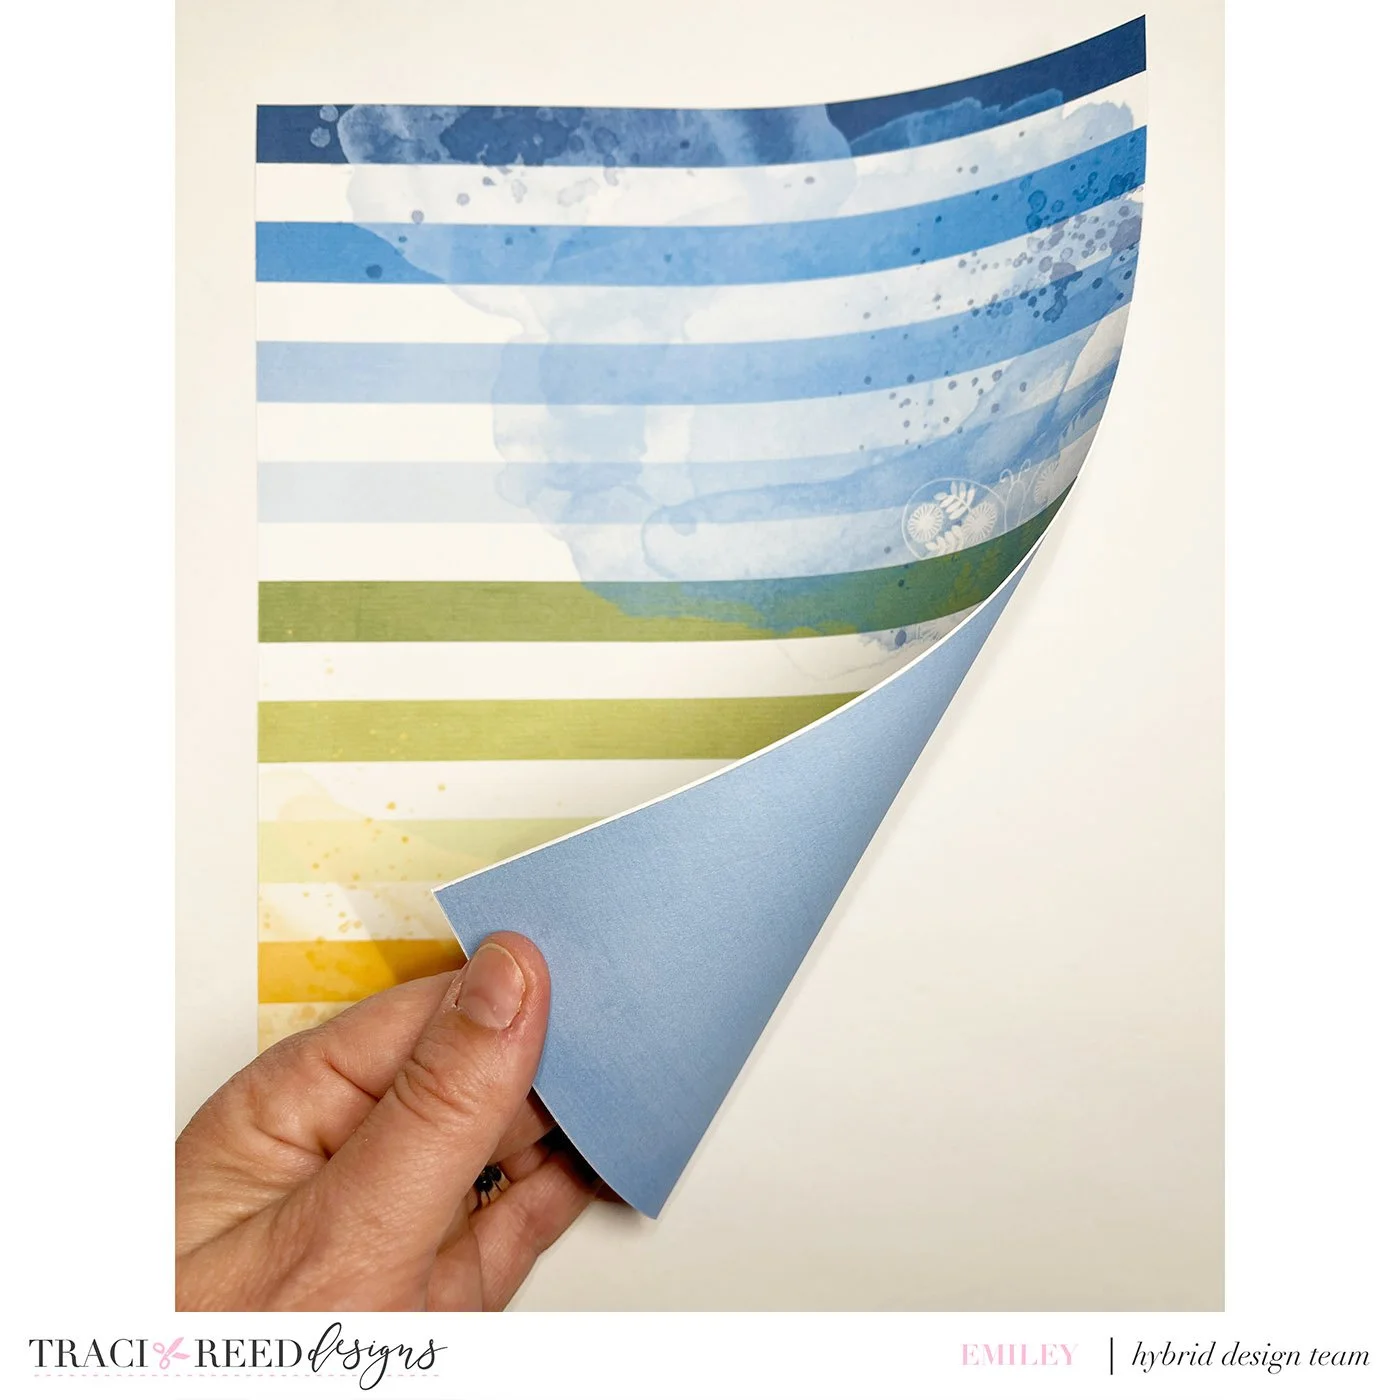
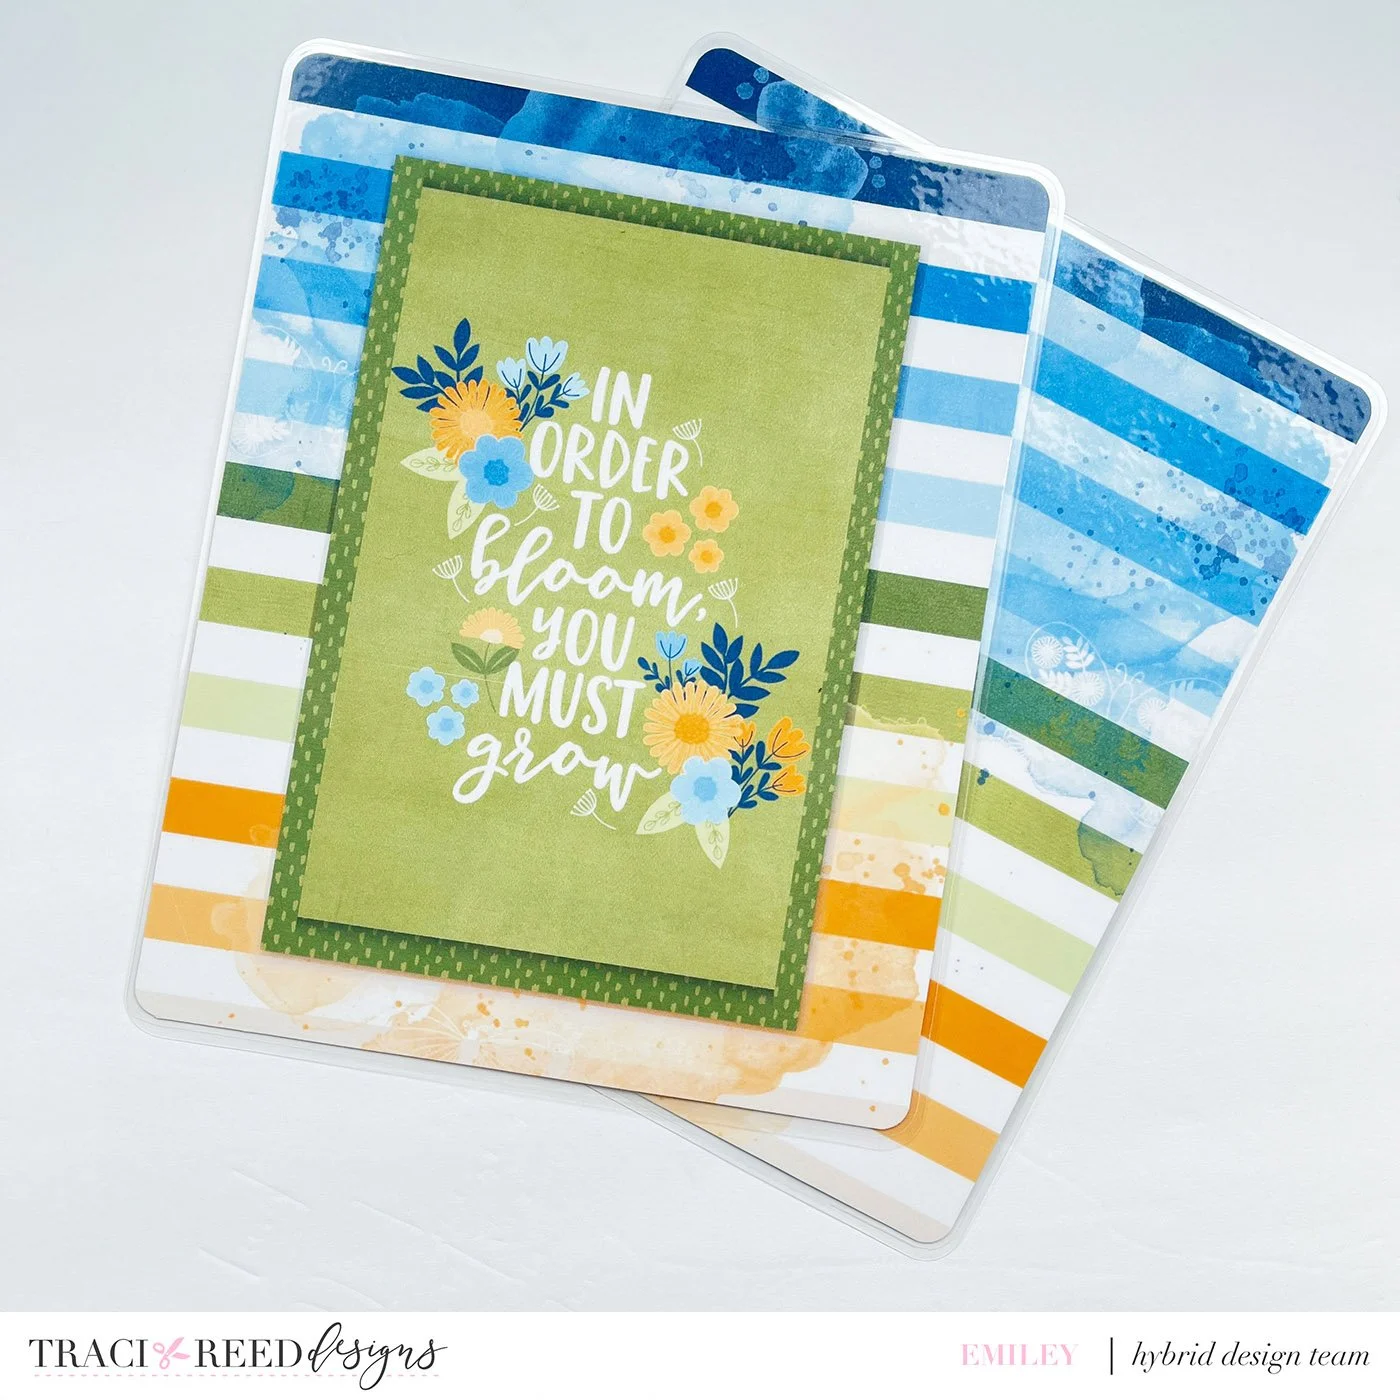
For the classic sized disc planner that I use, I created a document that is 7.5 x 9.45 inches. I played around with several papers, embellishments, journal cards, and tn signatures to create a few different options.

I decided to go with the striped cover, and then created a coordinating back cover to go with it. I also used two papers to use as the inside of the front and back covers. I then downloaded the project as a PDF and printed it onto cardstock.
After printing, I cut the cardstock down to the 7.5 x 9.45 dimensions that I needed. I used double sided tape to attach the front cover and front inside cover, as well as the back cover and back inside cover. Then I rounded the edges with a corner rounder.
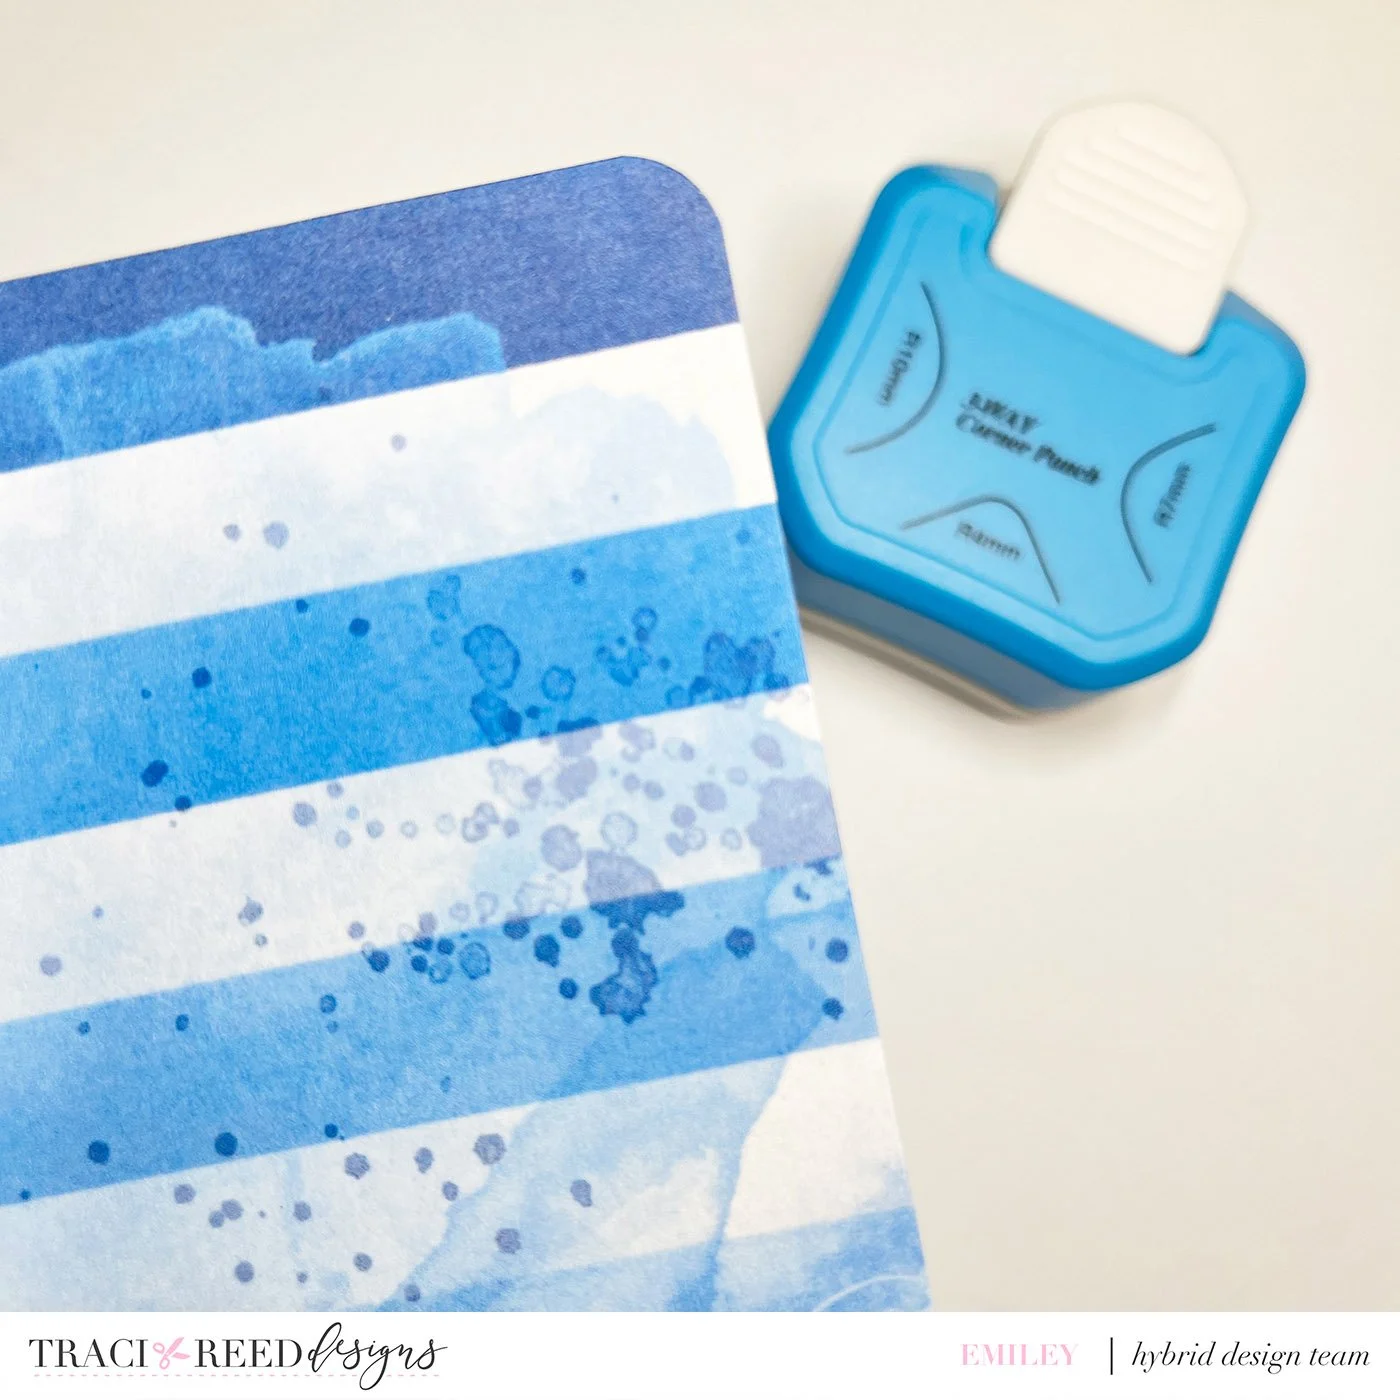
I inserted each cover into a 5 ml laminating sheet and then ran it through my laminator. If you don’t have a laminator, you could use self-seal laminating pouches. I trimmed off the excess plastic with my paper trimmer, leaving a small border around the covers. The final size of the covers (including the laminate) for my classic sized planner is 7.75 x 9.75 inches. I also used my corner rounder on the laminated edges.
Then using an old planner cover as a guide, I used my disc punch to create the disc holes. If you don’t have a disc punch, you could also use a hole punch and a pair of scissors. I found some old discs I had laying around and put the front and back covers on. I love the way this turned out! I think it will be absolutely perfect for spring!