DIY Clear Stickers From Digital Mixed Media
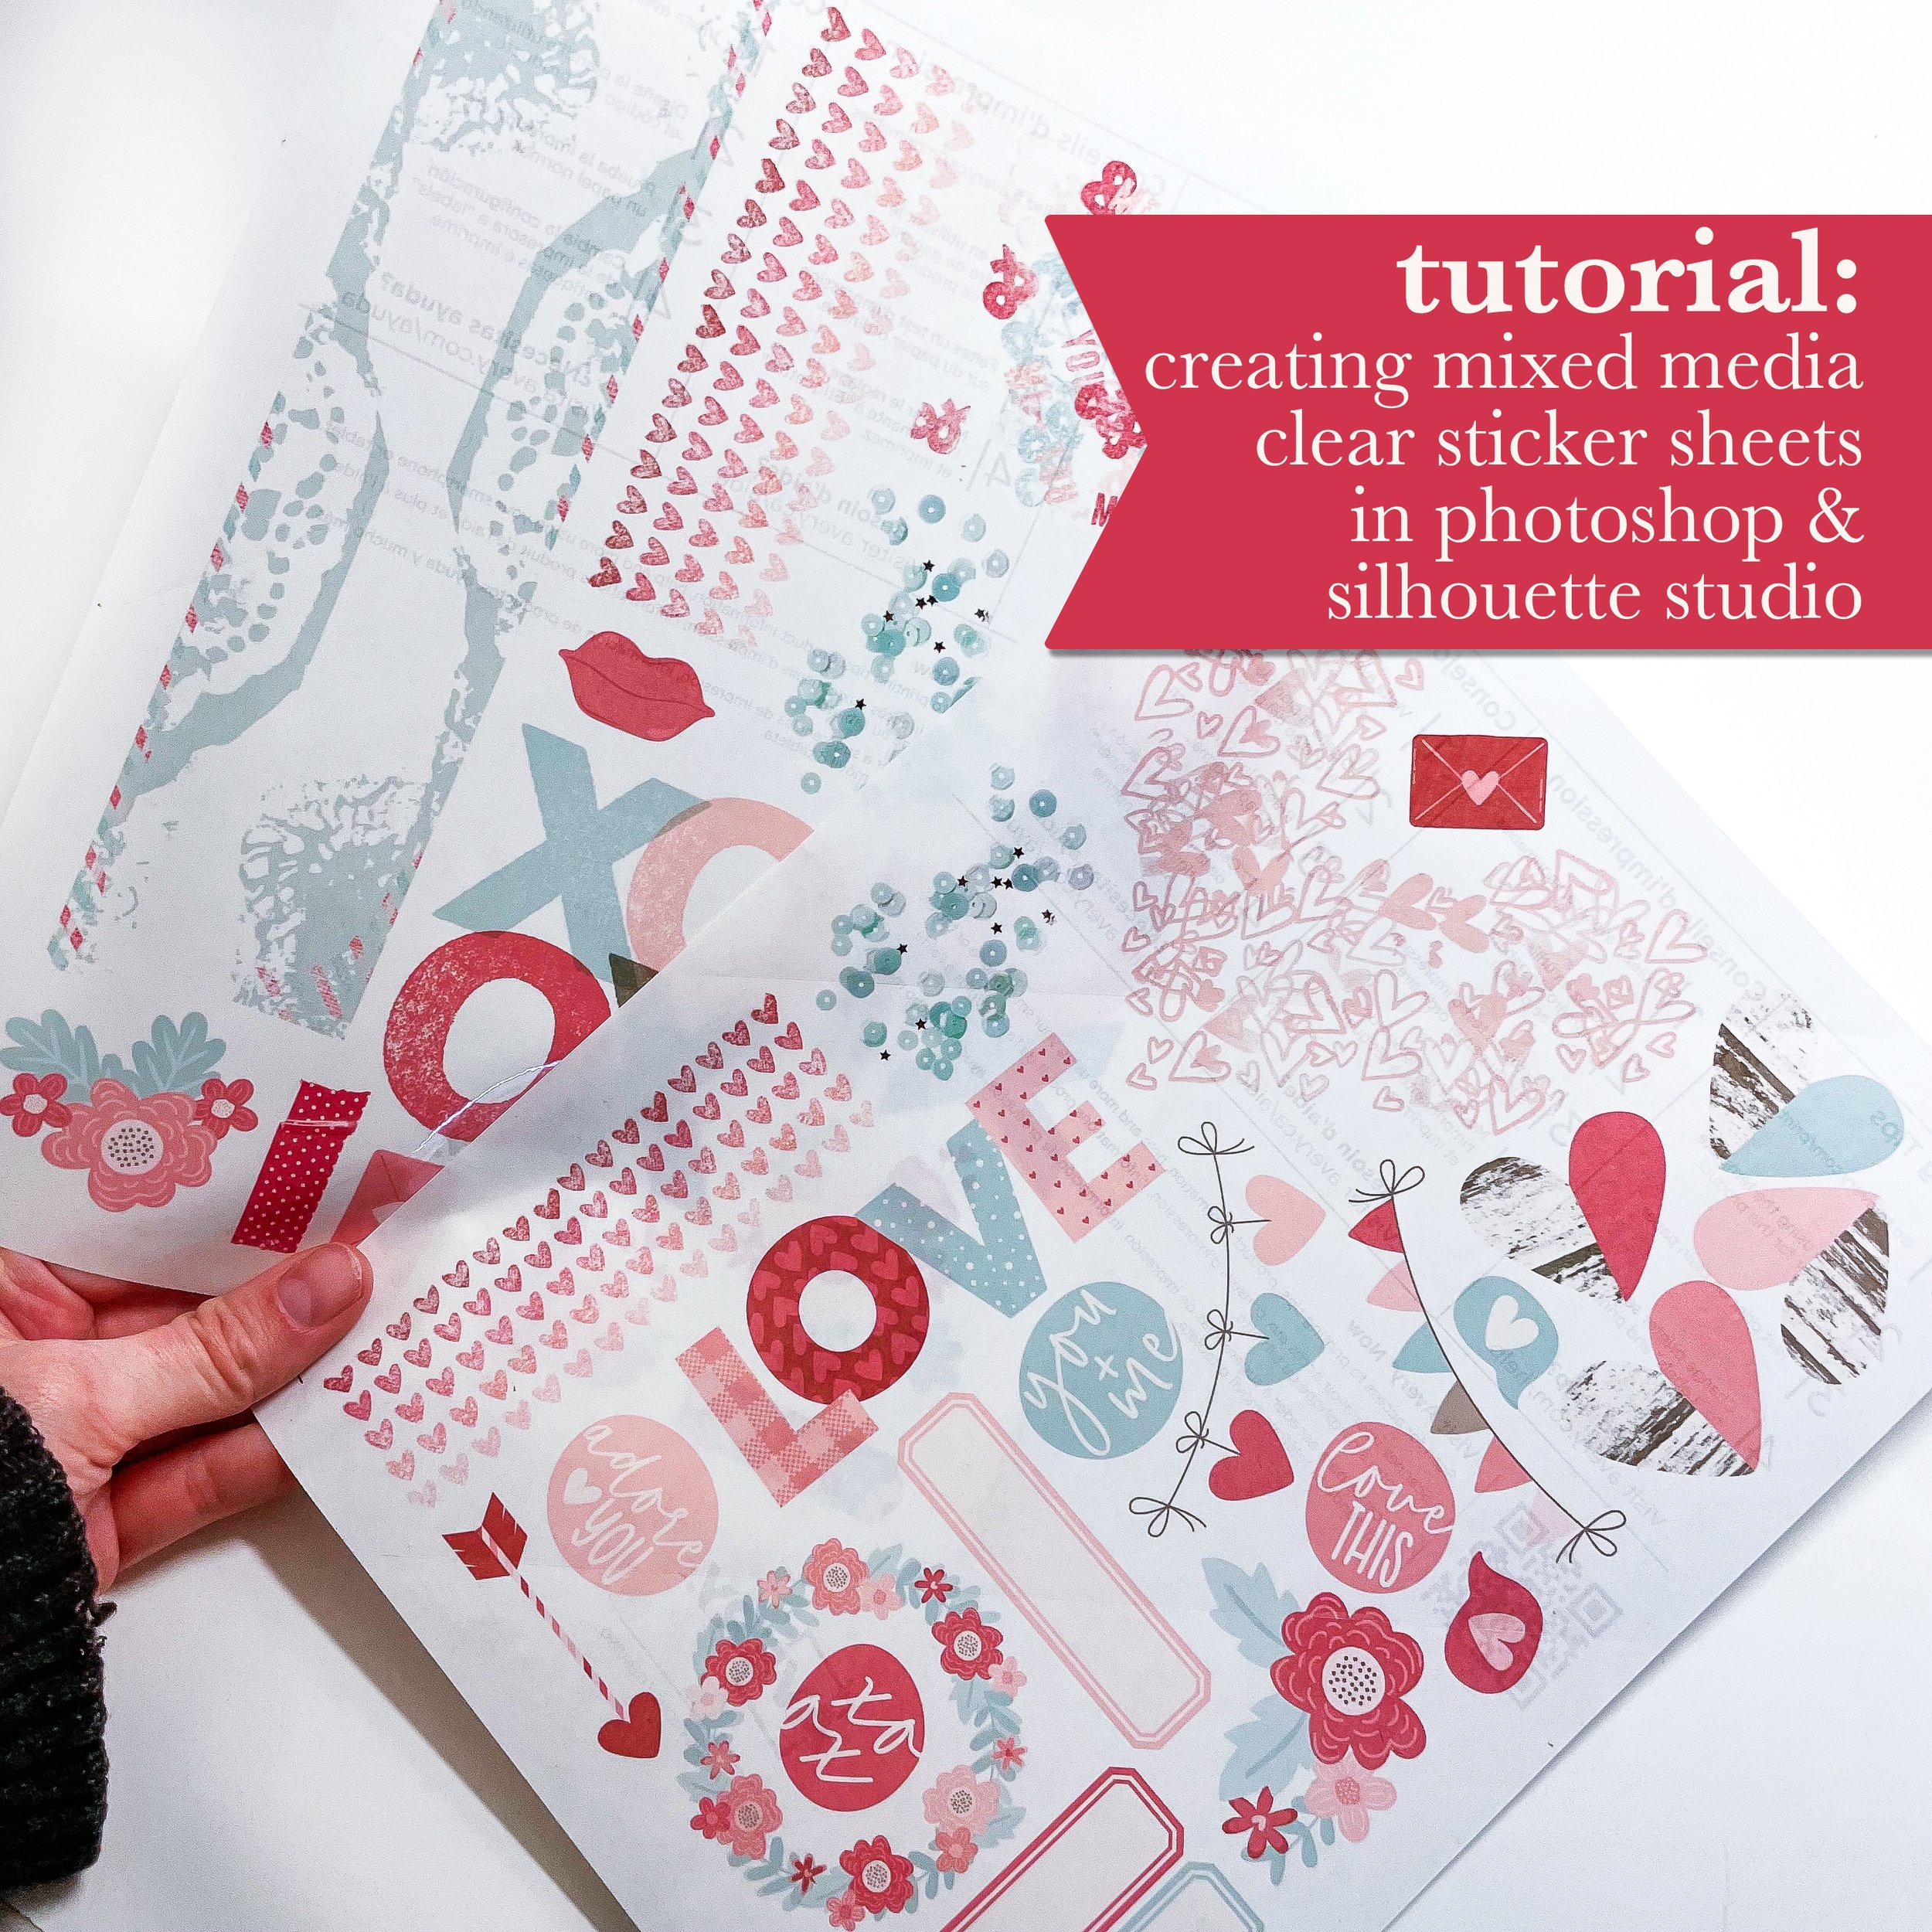
Have you ever wanted to use digital mixed media on your printed pages but didn’t know the best way to incorporate it? Enter: clear stickers! With clear stickers, you can reposition your mixed media until it’s perfect and you get that cool see-through vibe that allows you to layer your mixed media while still seeing it all!
The problem is, digital mixed media doesn't generally come easy to print and cut as stickers so I’ve created a video tutorial on how to set up your cut sheets in Photoshop to transfer over to Silhouette Studio for print & cut.
This isn’t necessarily a beginner tutorial and you’ll need a bit of Photoshop knowledge for this one - but it’s worth learning!
Video Tutorial
A Few Tips:
You always want to make sure your stamp or paint blob cuts as one piece, so when adding the white border for cutting, make sure there’s no gaps in the border where part of the mixed media will cut on its own
Use a white brush to paint on a separate layer underneath your mixed media piece in those gaps to “close” them and then merge the two layers when done to create one piece.
Make sure none of your white borders are touching the white borders of any of the other pieces before you go to save or they will cut all as one piece.
If your mixed media piece is somewhat transparent or light in color, duplicate the layer a few times and merge to get more color density. Printing on clear sticker paper already lightens up the stamp/paint, so you’ll want to make sure your printer lays down enough color to make an impact.
Your printer can’t print white (it’ll just be transparent) so make sure you recolor any white bits of your mixed media to an actual color (I demonstrate a couple ways how in the video)
Your prints won’t effectively print anything that’s very light in color/saturation either, so make sure you darken anything too light using a levels or curves adjustment layer (demonstrated in the video)
Clear sticker paper is EXPENSIVE (comparatively) so FILL UP YOUR SHEET! Think of it like a puzzle - how much can I fit on this one 8.5x11??
Remember, you can rearrange your art once you’ve added your PNG file into Silhouette Studio by right clicking on it and hitting “release compound path” so feel free to get just the basics on the page in photoshop and add more regular stickers to fill the space in Silhouette Studio!