Digital Depth with Donna
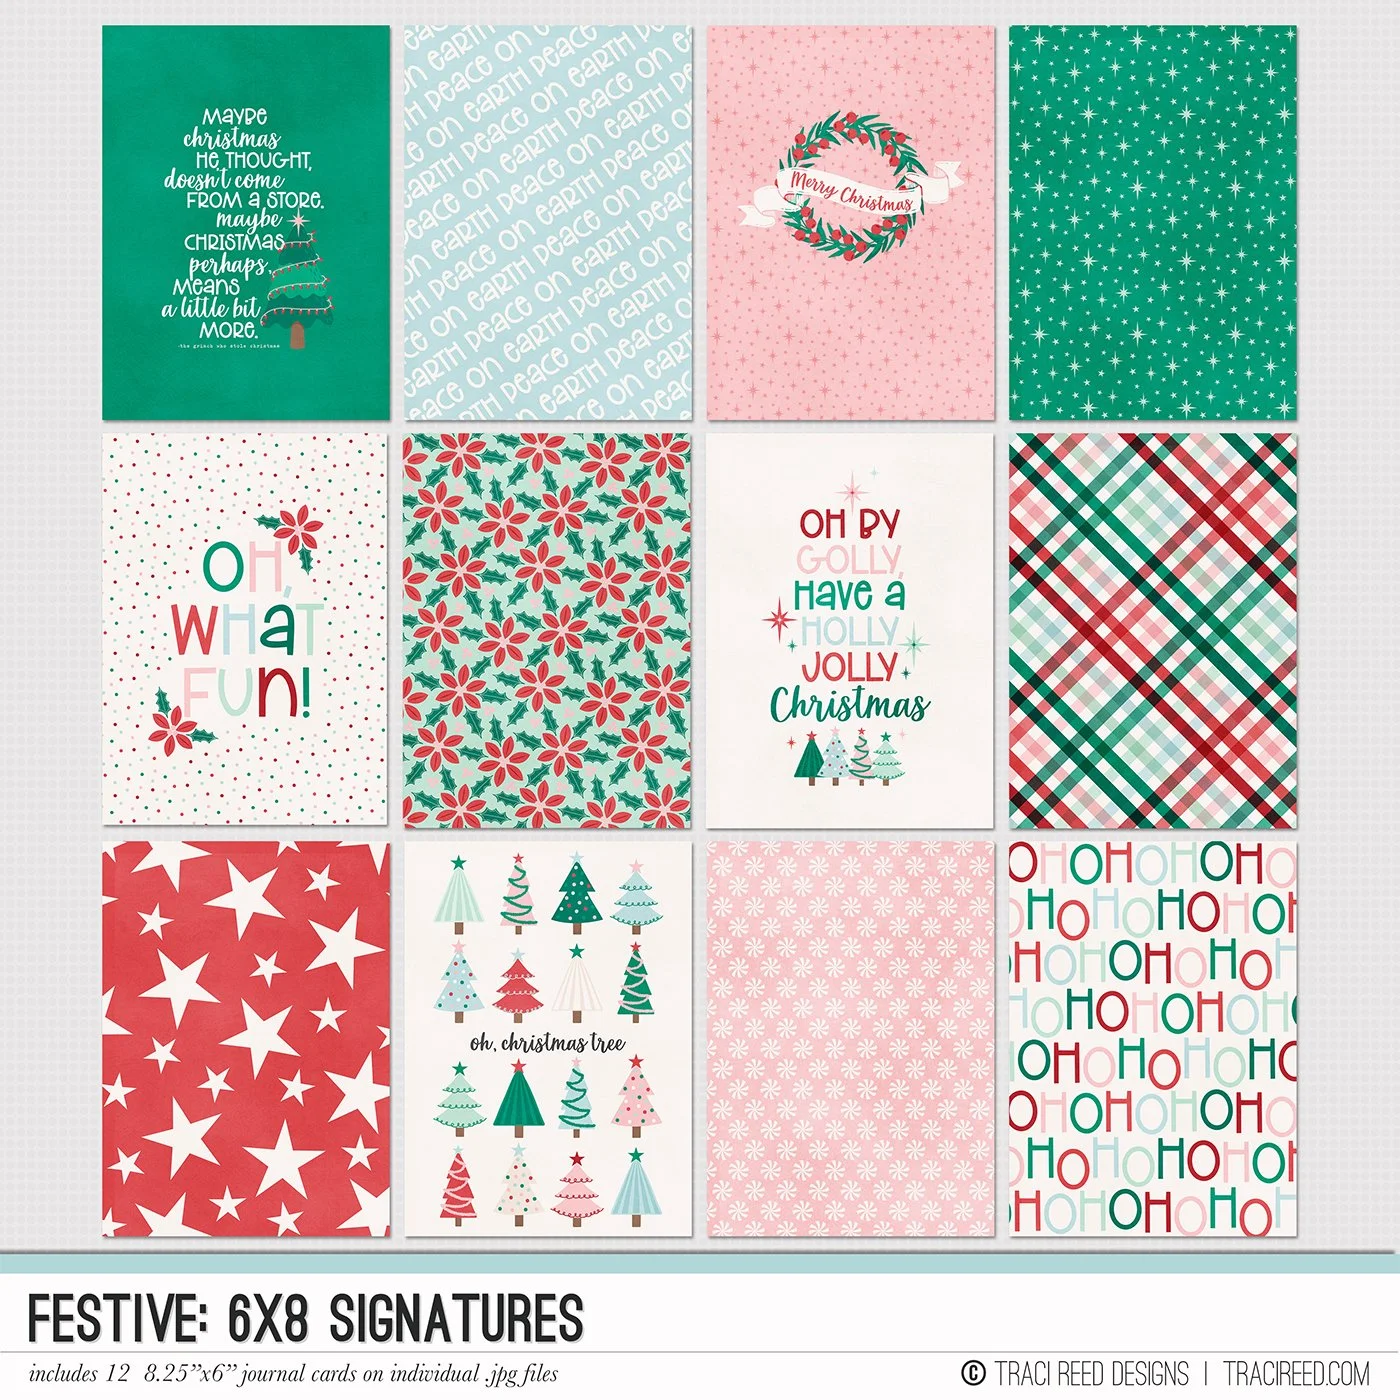
I like adding white borders on my photos and then layering them several times to add depth as well as manipulating the drop shadows to create realistic shadows. Just like I did on this layout using the Festive collection.

First, add a drop shadow to your photo.
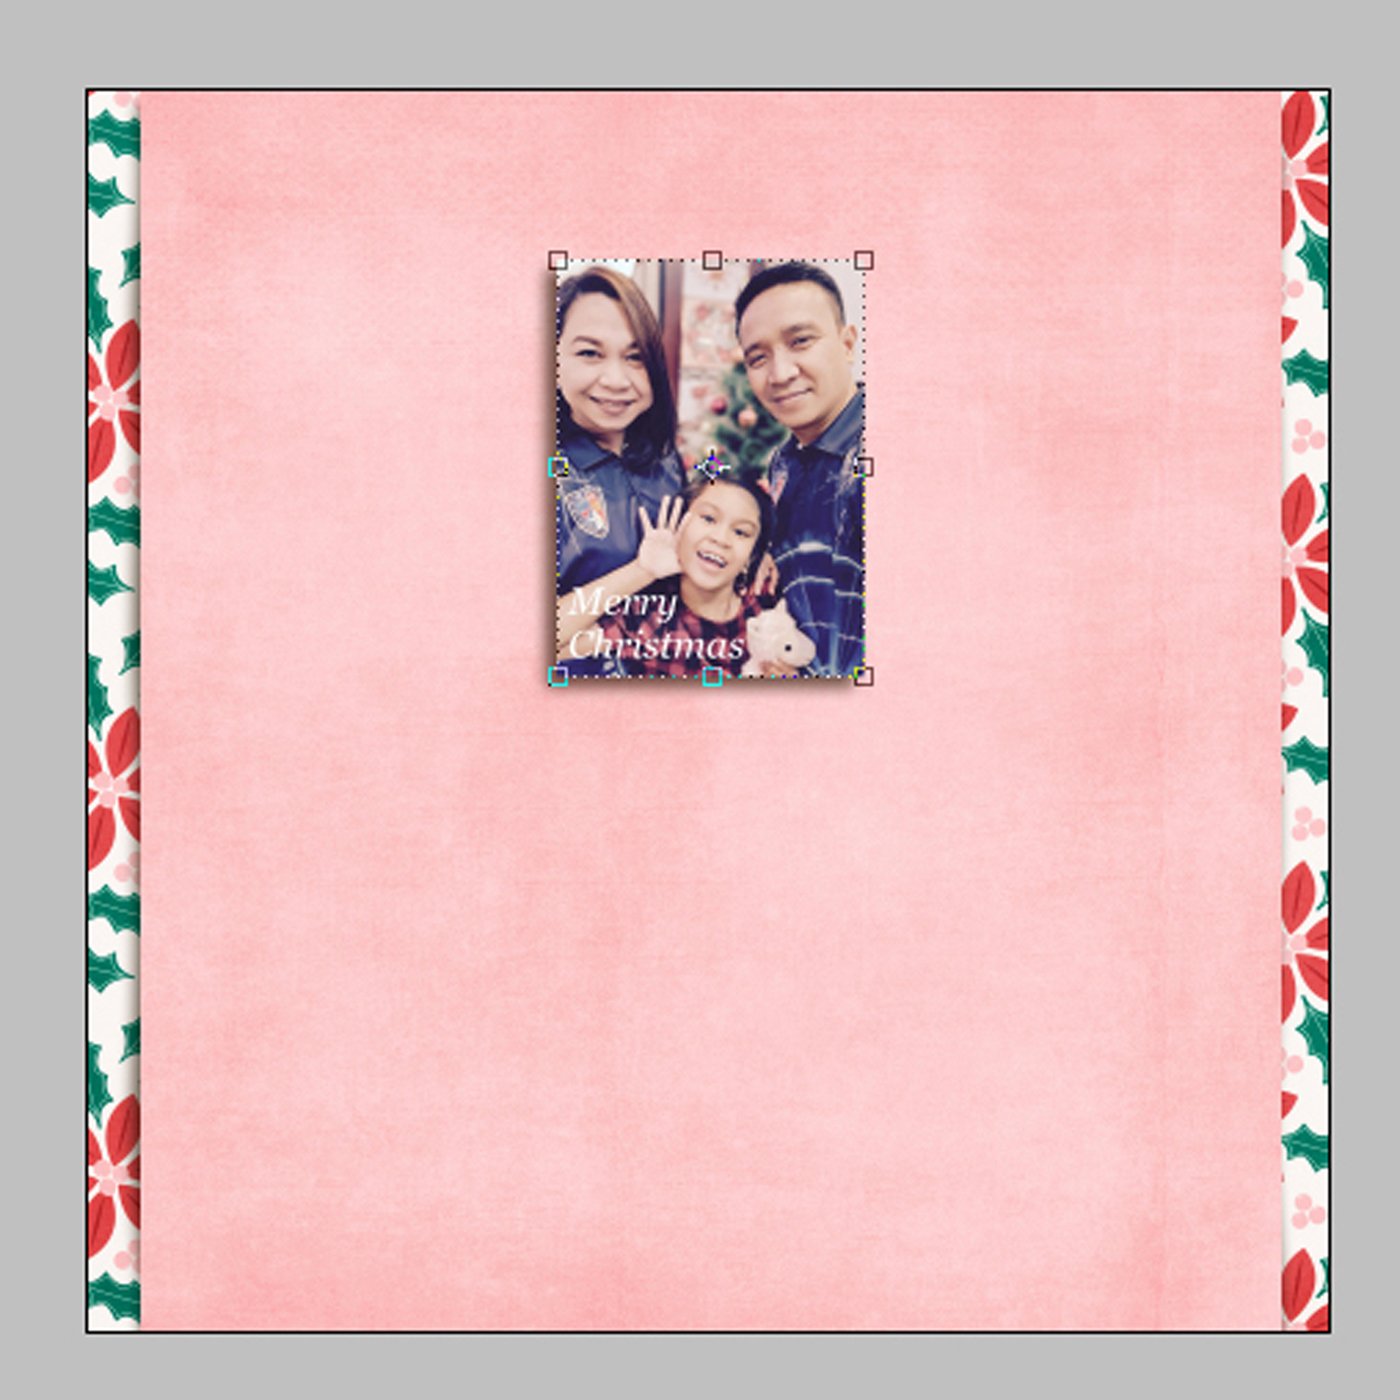
Then right-click on the photo layer. Click the BLENDING OPTIONS. A window will appear like in the image below. This is the setting I always use on my photo borders. You can widen the white border as you would like.

To add more interest, I manipulate the drop shadows by using the Warp tool.
NOTE: Make sure to separate the layers first before doing the next step.
Click on the photo’s drop shadow layer and choose the Rectangular Marquee tool on the left side panel. Once it’s selected, right-click on it and choose Free Transform. Then right-click again and choose the Warp tool. You can drag the handles where you want the drop shadow to go.

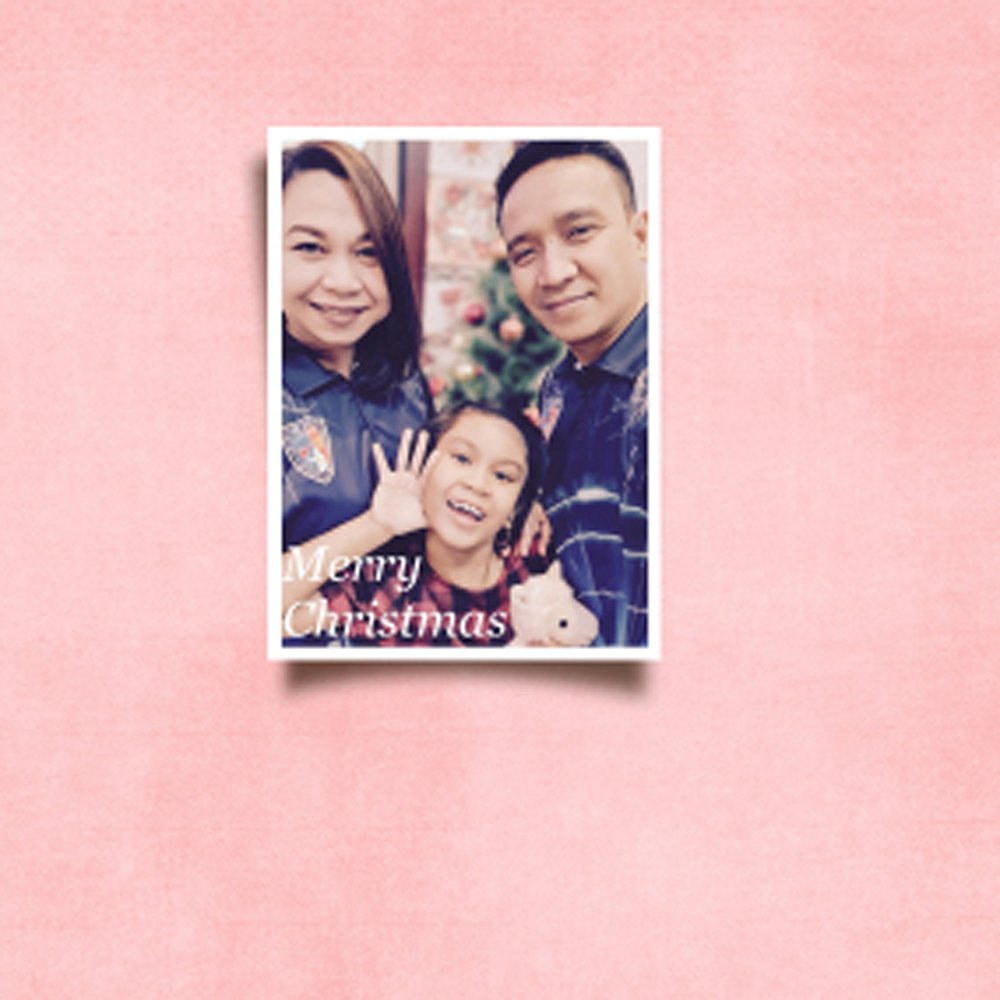
This is how mine turned out.
You can also do this to other elements like papers, ribbons, etc.