Die Cuts - Using the Positives and Negatives with Allie
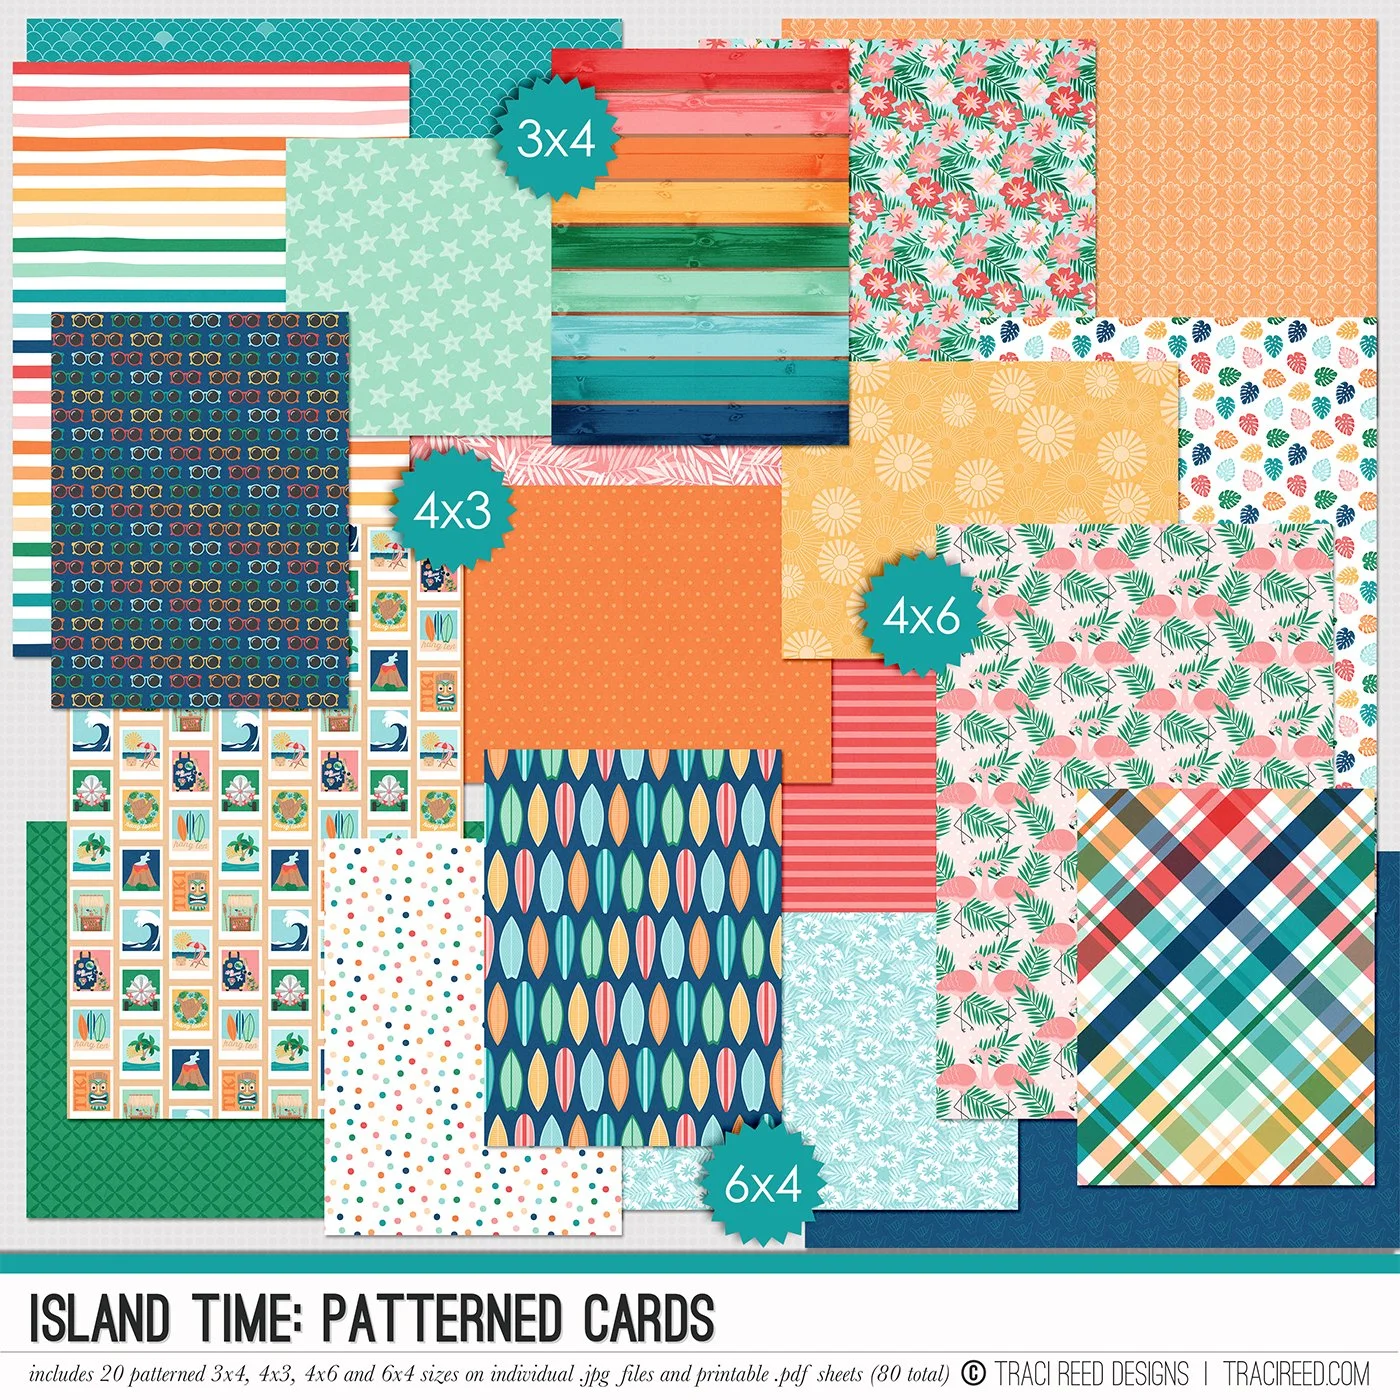
I recently got a new Cricut, and I have to admit, I’m a little addicted to it! I love cutting out BIG die cuts and using the cuts and the “negative” bits that I weed out to make two projects. I wanted to use the gorgeous Island Time papers and a (free!) cut file I grabbed from Cricut that says “Faith Over Fear” to make some coordinating covers for my faith planner! I used the same papers for both of the pages, so they look similar but also very different!
One of the things I really love about these pages is how the background papers “peek” through the die cuts and really adds some fun (and easy!) texture and dimension to the pages.
For the red page, I wanted to make sure that the letters stayed in place, because I really liked the layout and wanted to make sure it matched the other part of the file. Since it was going to be a little difficult to get the placement exactly right and matching, I used clear packing tape to use it almost like “transfer tape” but I didn’t transfer it onto anything. Since I knew it would, of course, be sticky, I sprinkled some fine glitter on sticky parts, and then put that onto some plain cardstock, and it created a “permanent” shaker pocket, if you will.
I also really wanted to layer the papers so I could get more of that dimension, and create a fun background. I love everything about the tropical bits of Island Time, but I really wanted to do this page without many embellishments that would “theme” it, so I just stuck to the papers and tore them to get the rough edges and layered them up!
I love how these turned out, and I can’t wait to slip them into my binders!
Are you team “use both parts of the die cut”? Or do you just throw away the extra bits?


