Four Ways to Use Digital Stamps and Cut Files with your Silhouette with Becky!
We were given free reign to choose a collection this month so I have gone with Sunkissed as it was perfect to go with my ice cream photo! I had a look through the papers, stickers, cut files and digital stamps and came up with a plan! I would use my Foil Quill and my Minc to make this page foiled.
The first thing I did was to create a background pattern on a 12x12 piece of white cardstock using one of the ice cream digital stamps and my Foil Quill. I created the background in Silhouette Studio and then ‘sketched’ with the Quill, only sketching in the areas which would show.
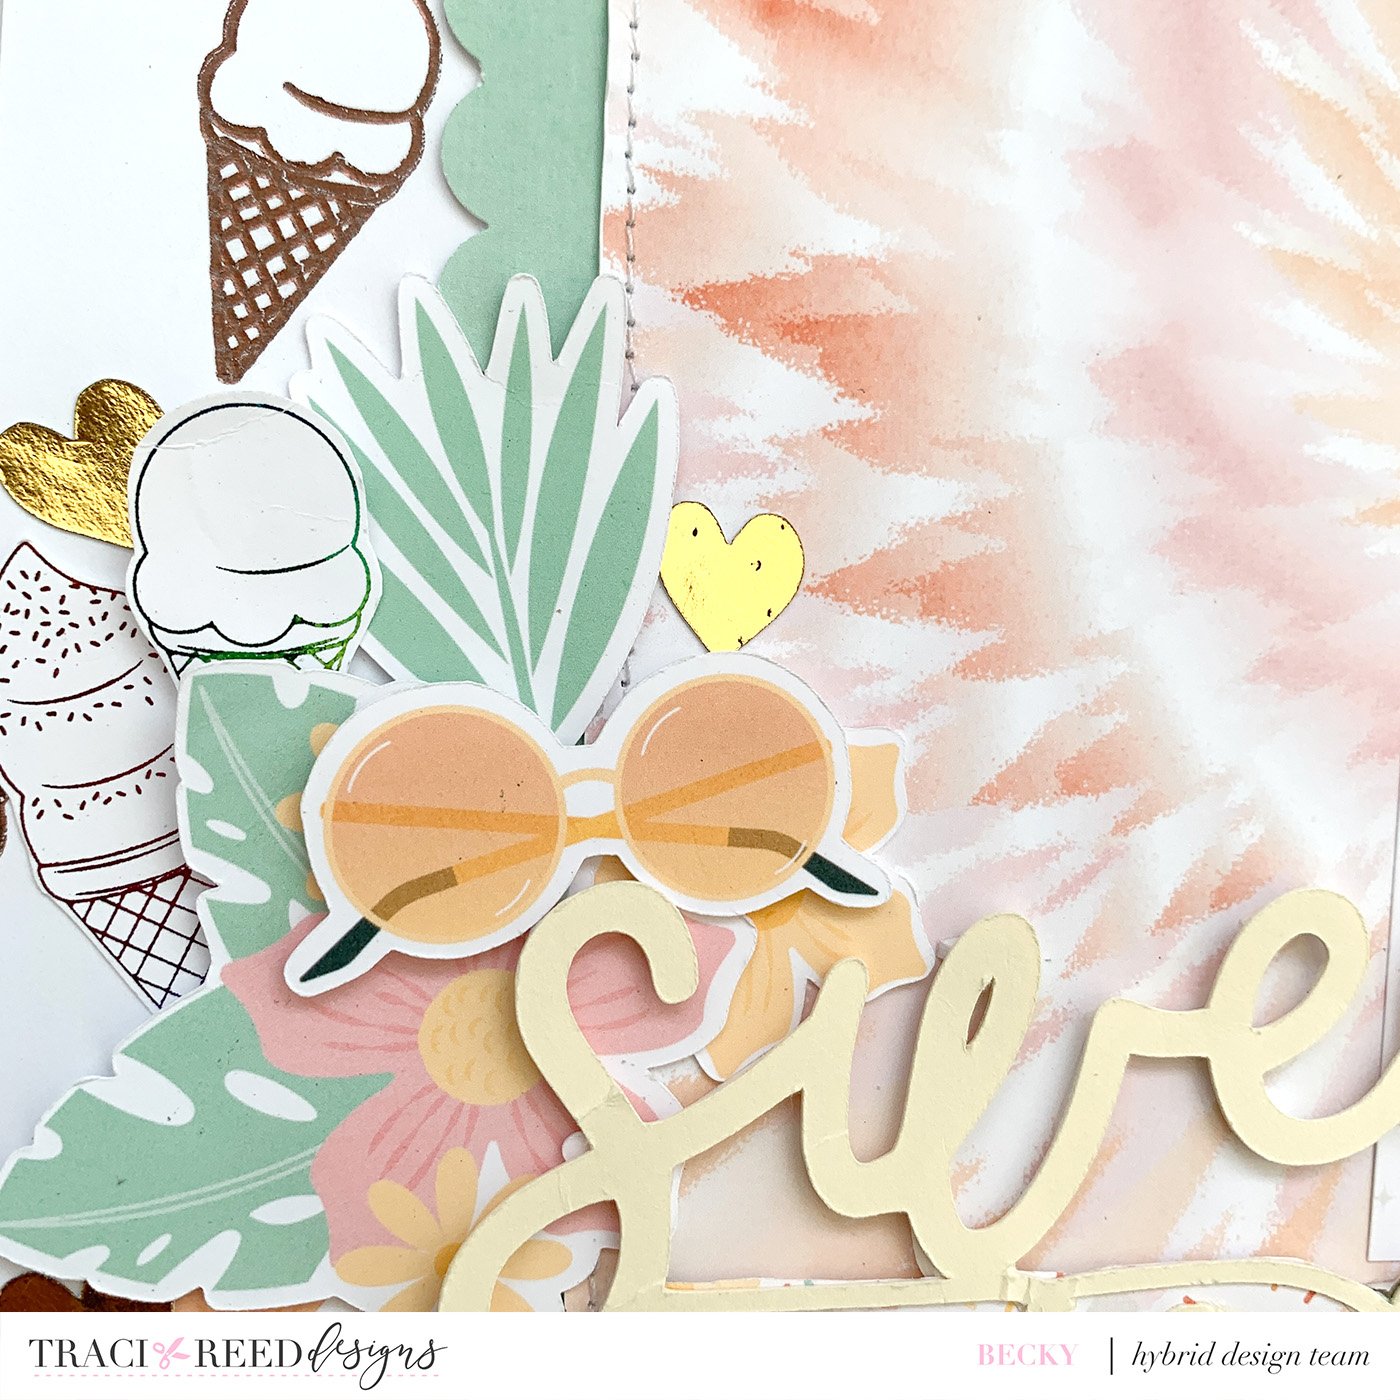
Once I had my background I created a sheet of print and cut ice cream digital stamps and hearts and printed them with my laser printer so that I could then foil with my Minc machine. I was careful not to put foil on the registration marks so I was still able to cut them with my Silhouette. I also printed and cut some of the stickers from the collection too.
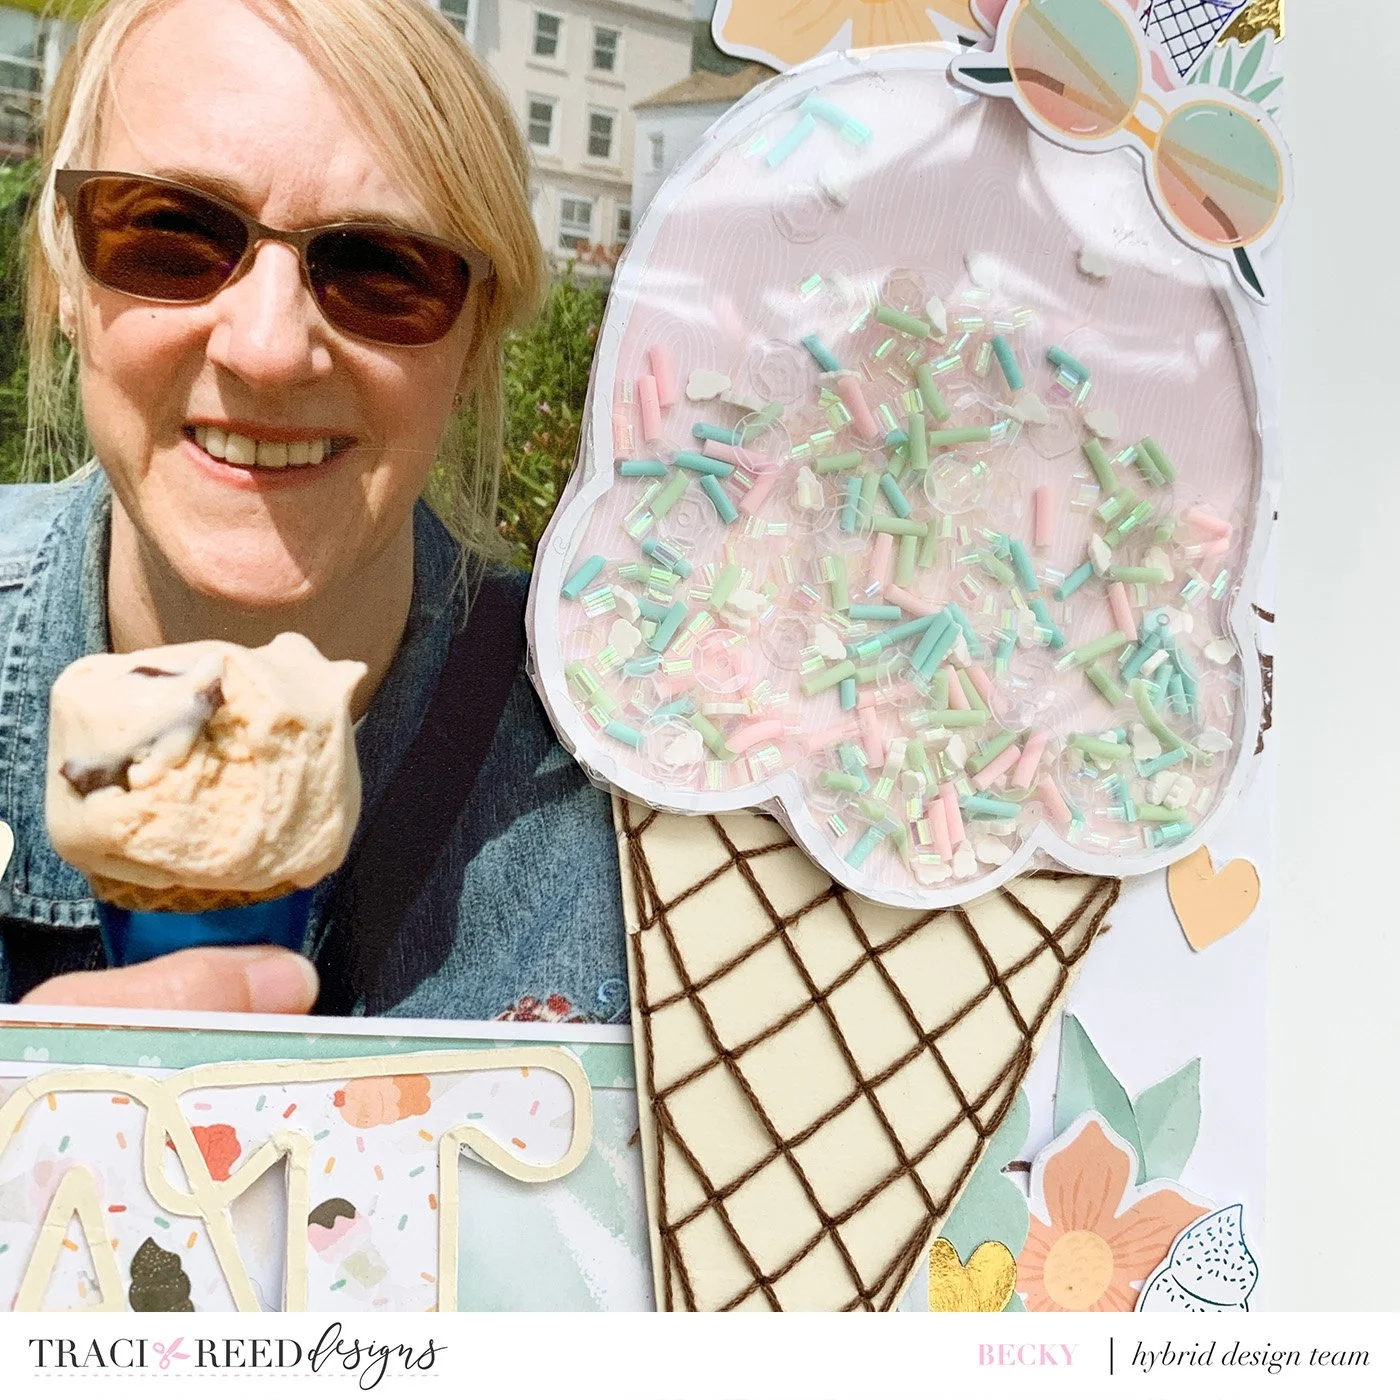
Before putting my layout together I decided to use a couple of the cut files. I love the icecream so cut that out and instead of using the cone cutfile and backing it I used the file to prick holes in my cone and then stitch to give some texture to the page. I then created a shaker top for the icecream, backing it with one of the patterned papers. The title is another of the cut files from the collection and again I backed it with one of the patterned papers.
And then it was time to put it all together! I printed the centre tie-dyed paper at 8x8 and edged it with some of the plain green which I used a border punch on and then stitched with my sewing machine. The photo is backed with 3 of the 6x4 patterned cards and I created 3 clusters of embellishments, raising some on foam pads. A few enamel dots completed my layout. I hope you’ve enjoyed coming on this creative journey with me and if you’ve got a Quill or Minc don’t forget to use them with digital kits!


