Three DIY Pocket Embellishments with Torey!

Hi, friends! Today I wanted to share some of my favorite pocket embellishments along with the steps I take to make each of them with my printables!
Pockets are so versatile in memory keeping and can be used to hold photos, journalling, or extra embellishments that you just want to include in your layouts. I chose Traci’s My Oasis collection for this project because there are so many great neutral patterns that I thought would be just perfect as pockets.
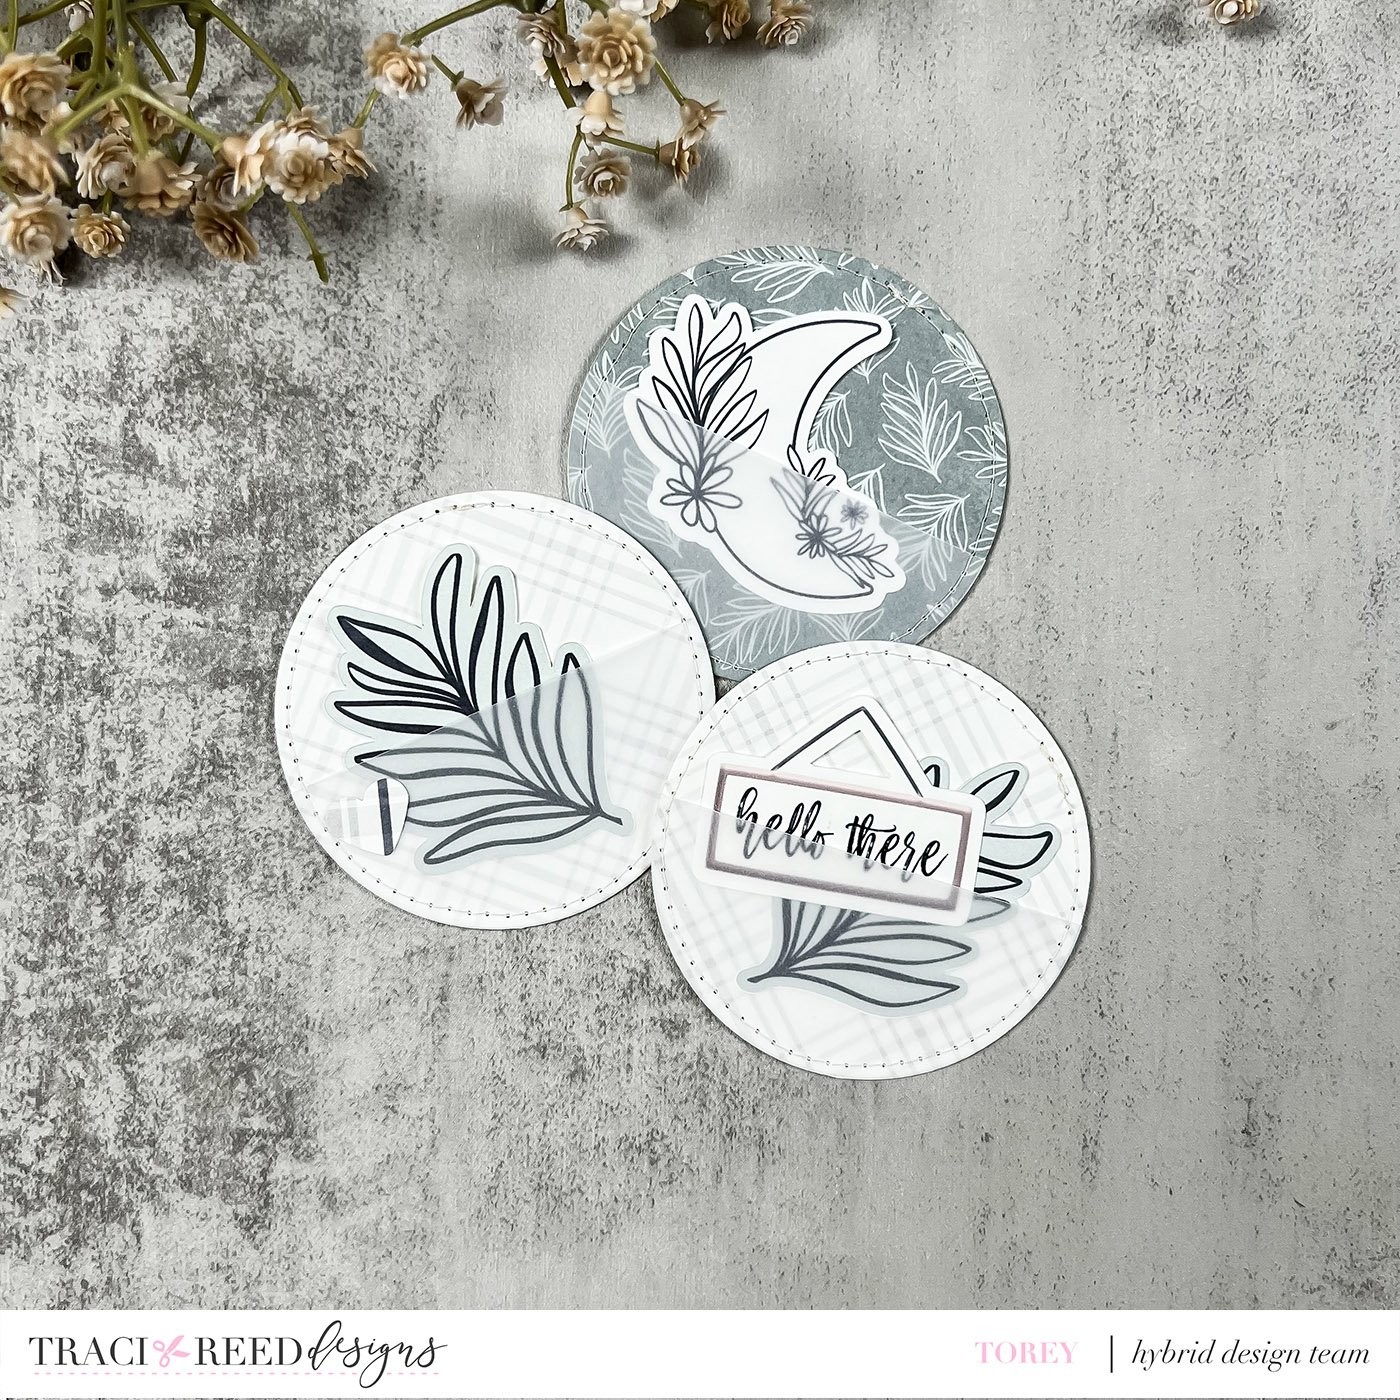
Pocket 1: Stitched Circle Pockets
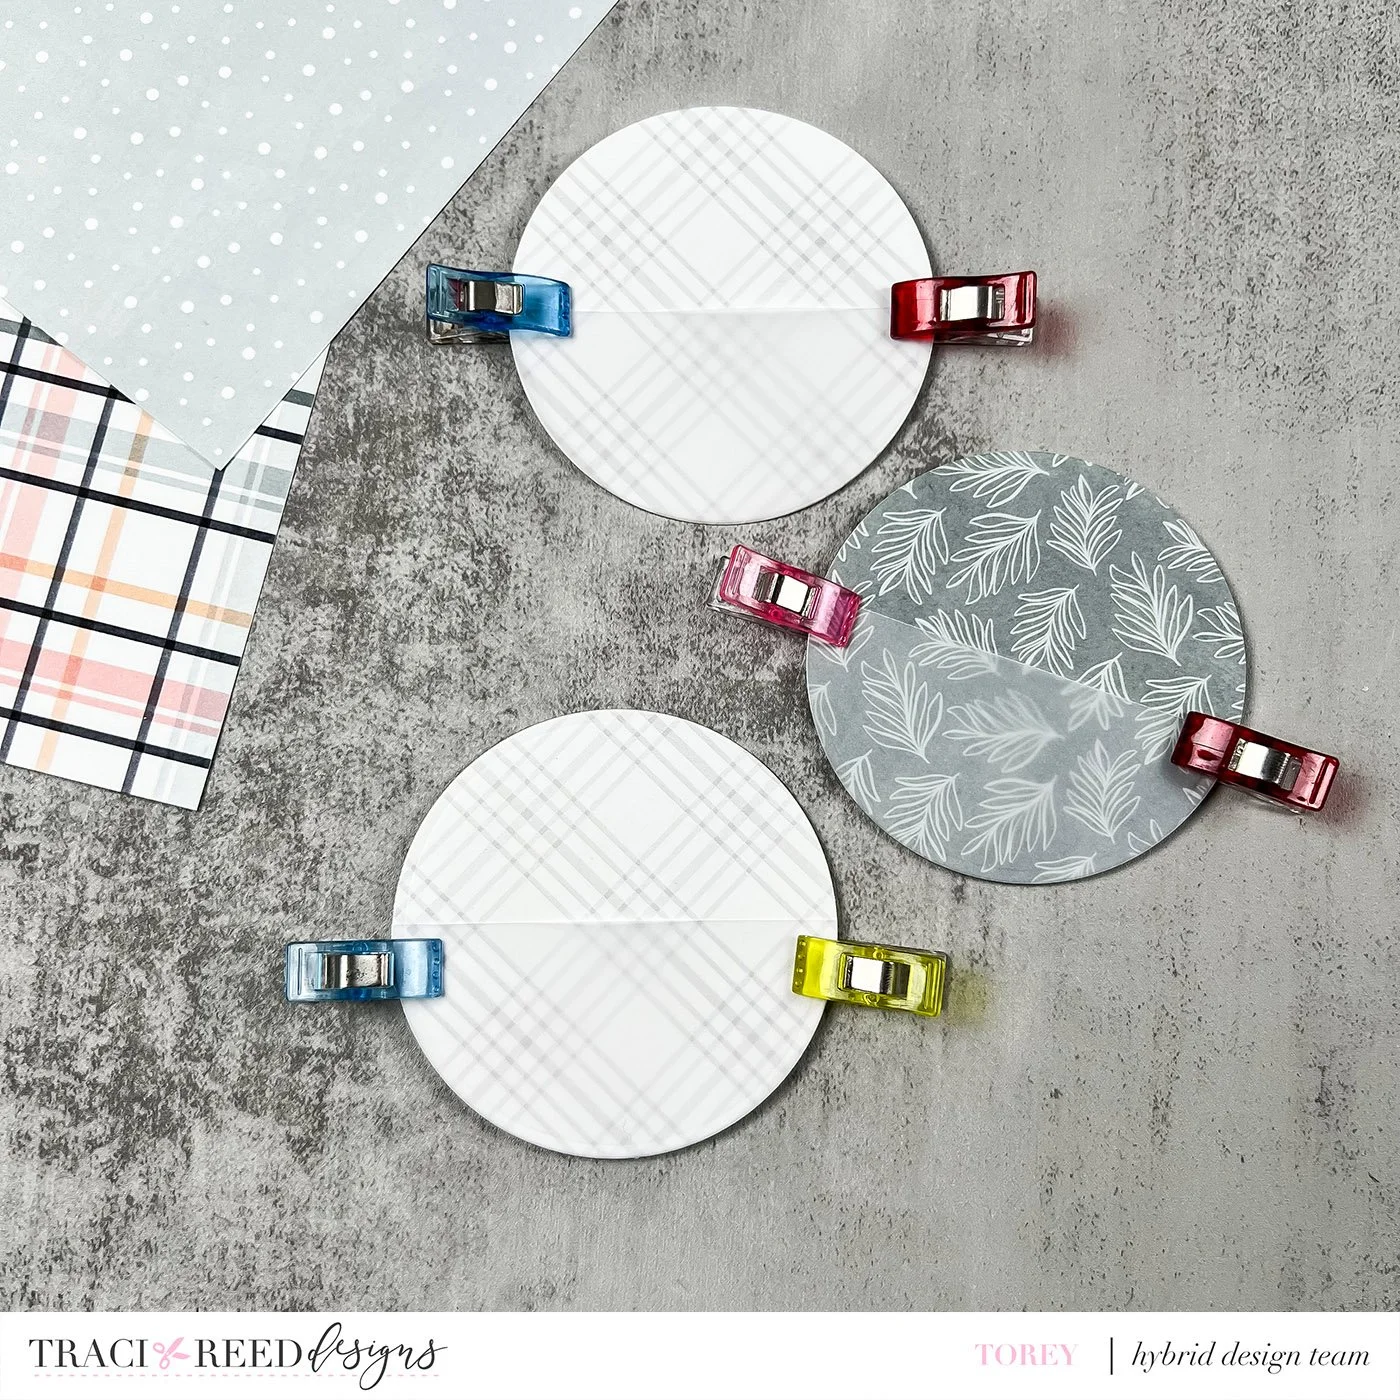
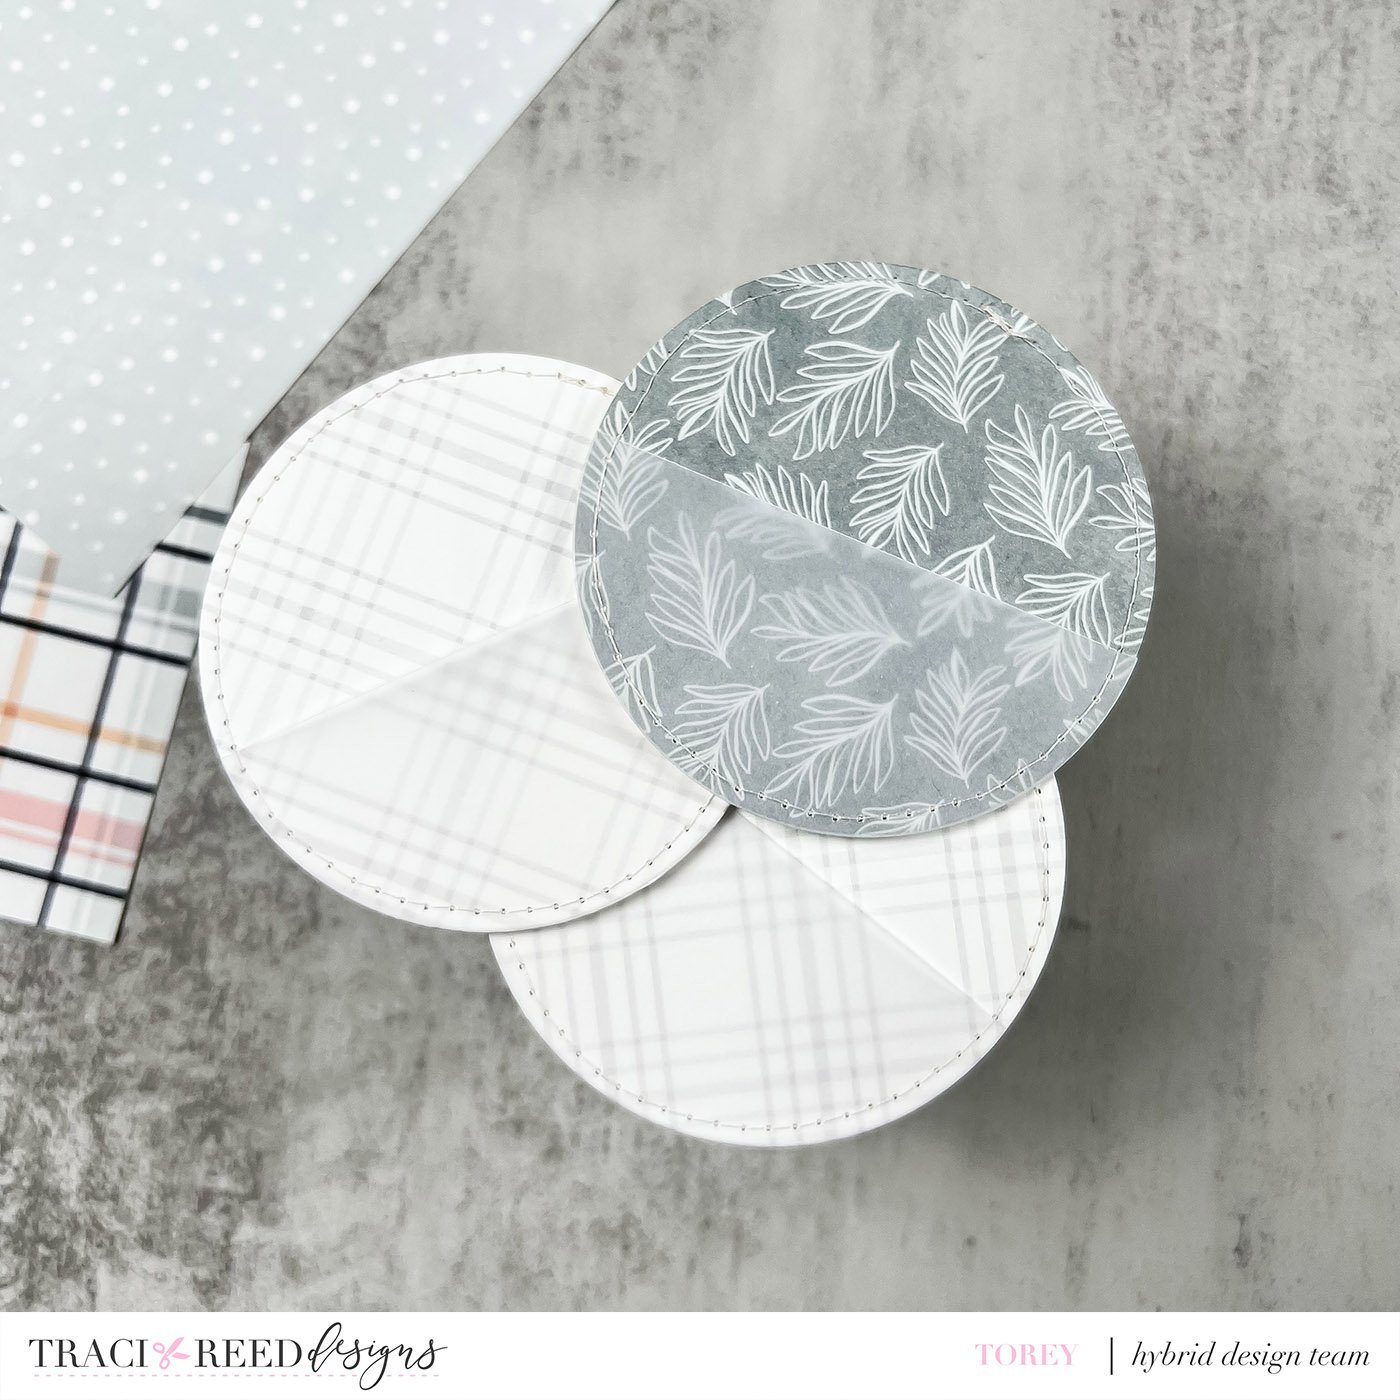
For my first pocket(s), I am creating patterned circles with stitched vellum pockets. I created several of these, because this one is my favorite style and I wanted to have some extra on hand - haha!
I pulled out the patterns I chose to create these pockets today and used my nesting circle dies (you can use your cutting machines, circle punches, or even just hand cut these out to achieve the same look). I chose to use dies because the pressed edge around the circle from the die would create a line for me to follow while stitching.

I cut 3 circles out of patterned paper, then 2 vellum circles using some generic vellum I had on hand from the craft store. For the vellum pieces, once the circles were cut, I placed these on my cutting board and cut them in half. I placed the vellum half-circle pieces on my patterned paper and clipped them in place with some sewing clips.
I then took these circles over to my sewing machine and stitched around the full circle. Once everything is stitched, the vellum piece will act as your pocket. I placed some of my favorite pieces of the sticker set in my pockets to demonstrate how they would look.
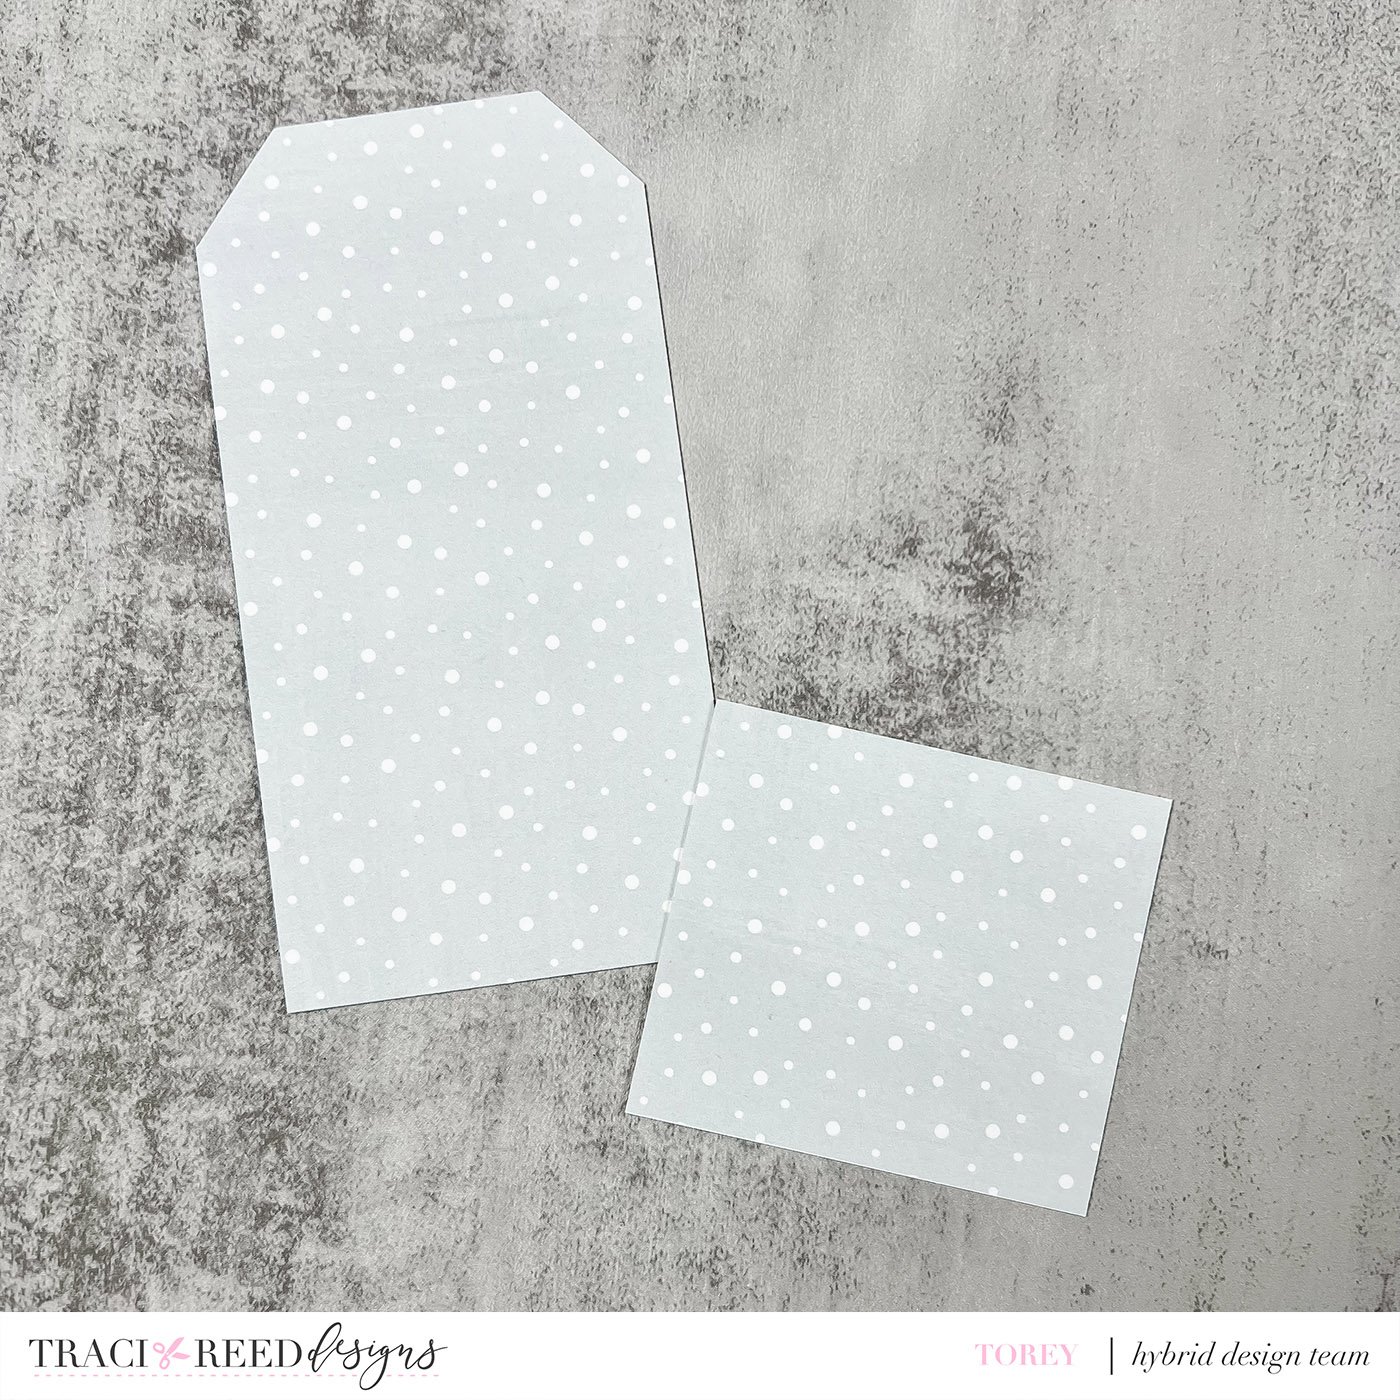
My next pocket is another favorite! Tags are an element that I really love including in my layouts, so mixing tags and pockets together is exactly up my alley. I pulled another piece of paper from the ones I printed and used a pencil to sketch out a tag shape along the edge. I made my tag a lot longer than I needed, because I knew I would be trimming some of the bottom off to use as the pocket element. Once I had my piece sketched out, I used my paper trimmer to get this tag trimmed out.

To assemble the pocket, I placed some red line tape around the side and bottom edges of my pocket piece.
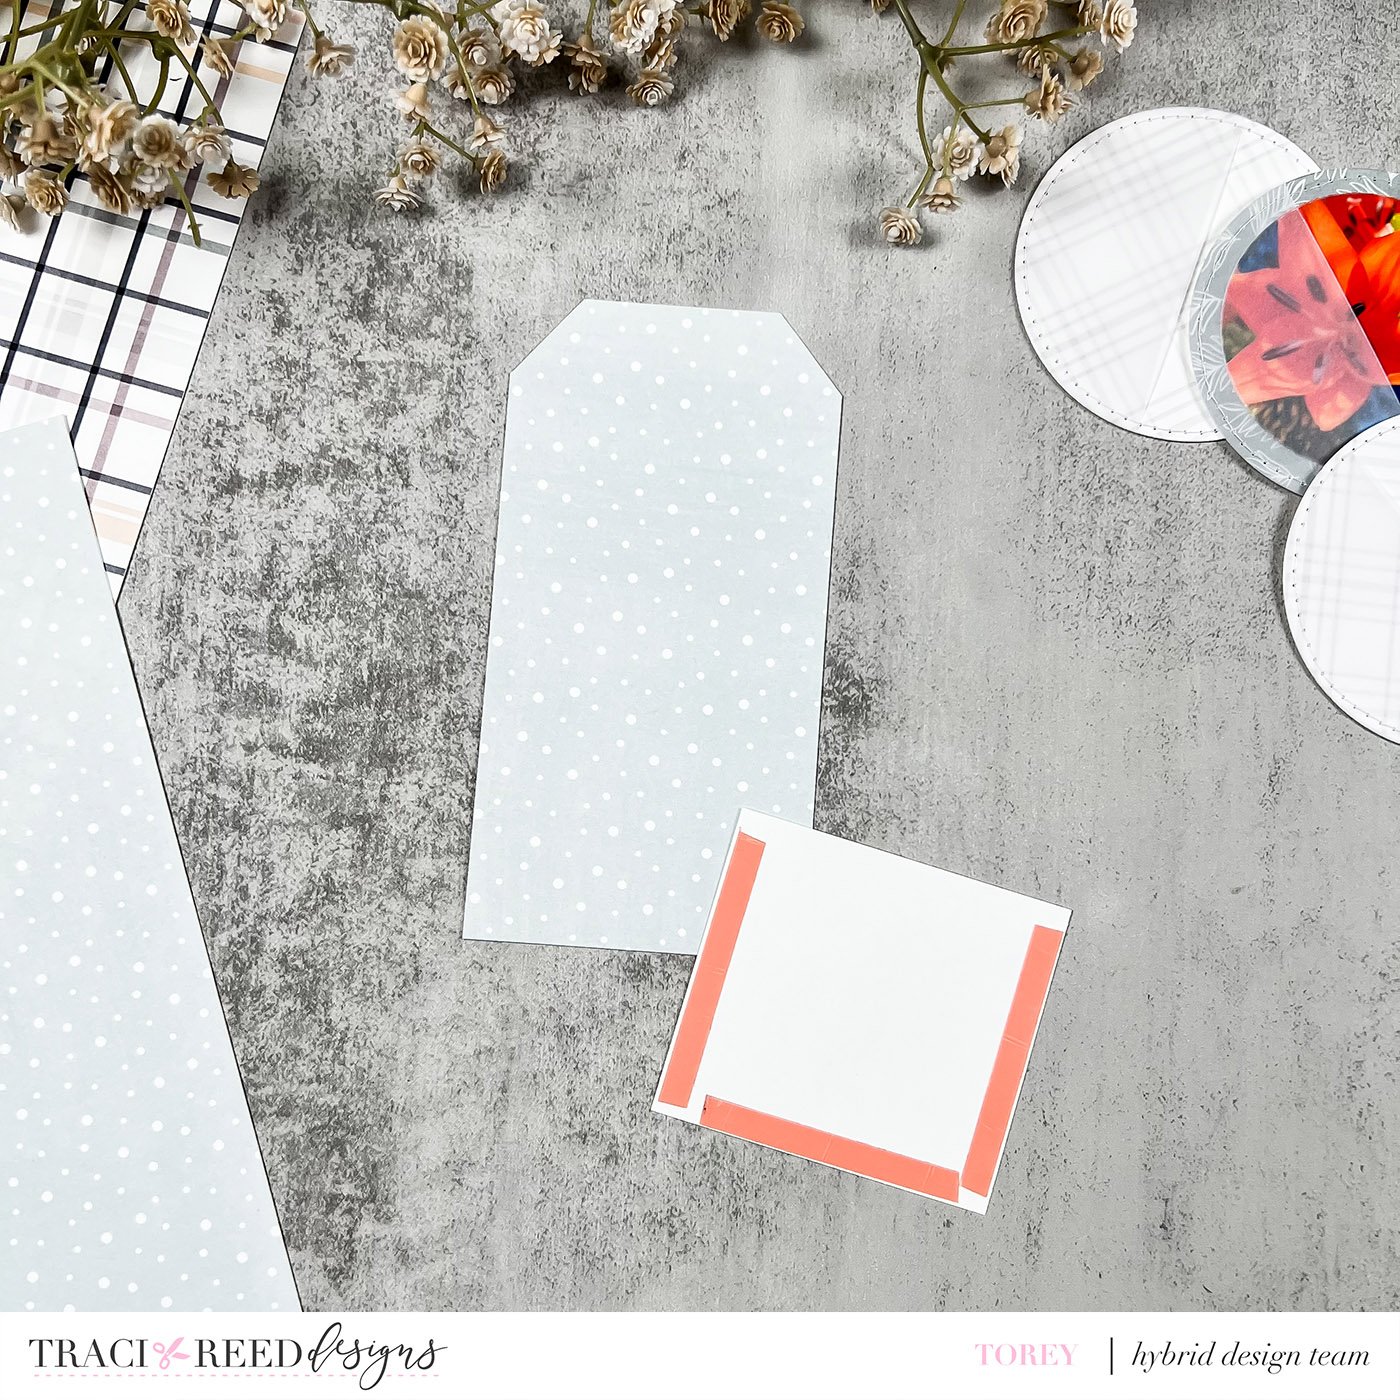
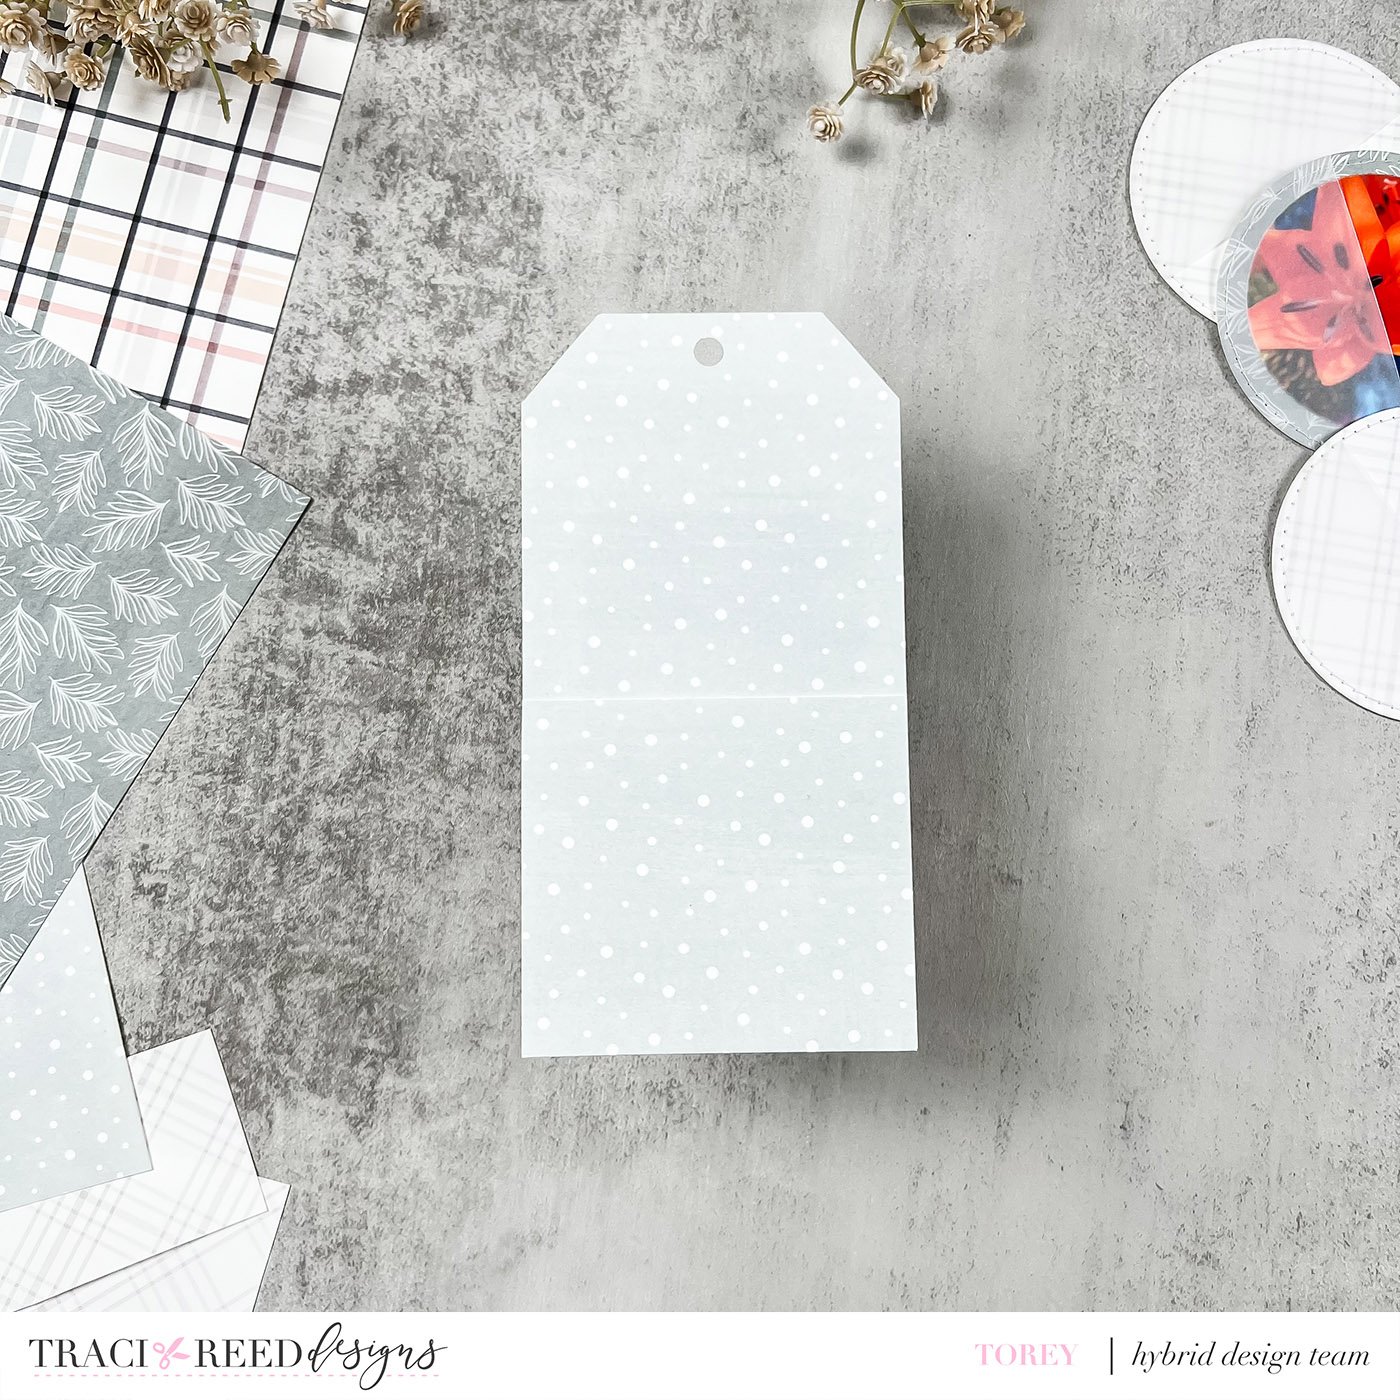
Then all I needed to do was adhere my pocket piece to my tag. This style of pocket comes together super quickly! I chose to make my pocket piece the same pattern as my tag so it would appear seamless if there was nothing in my pocket, but you could absolutely use different patterns to add some fun differentiation!
I placed a tag from the My Oasis Stickers in my pocket along with a scrap of pattern paper from the first pockets we created, that I ripped into a tag shape as well (we love a little tag-ception - haha!). I then added a little bit of ribbon from my stash and a book sticker to the front of my pocket to finish everything off.

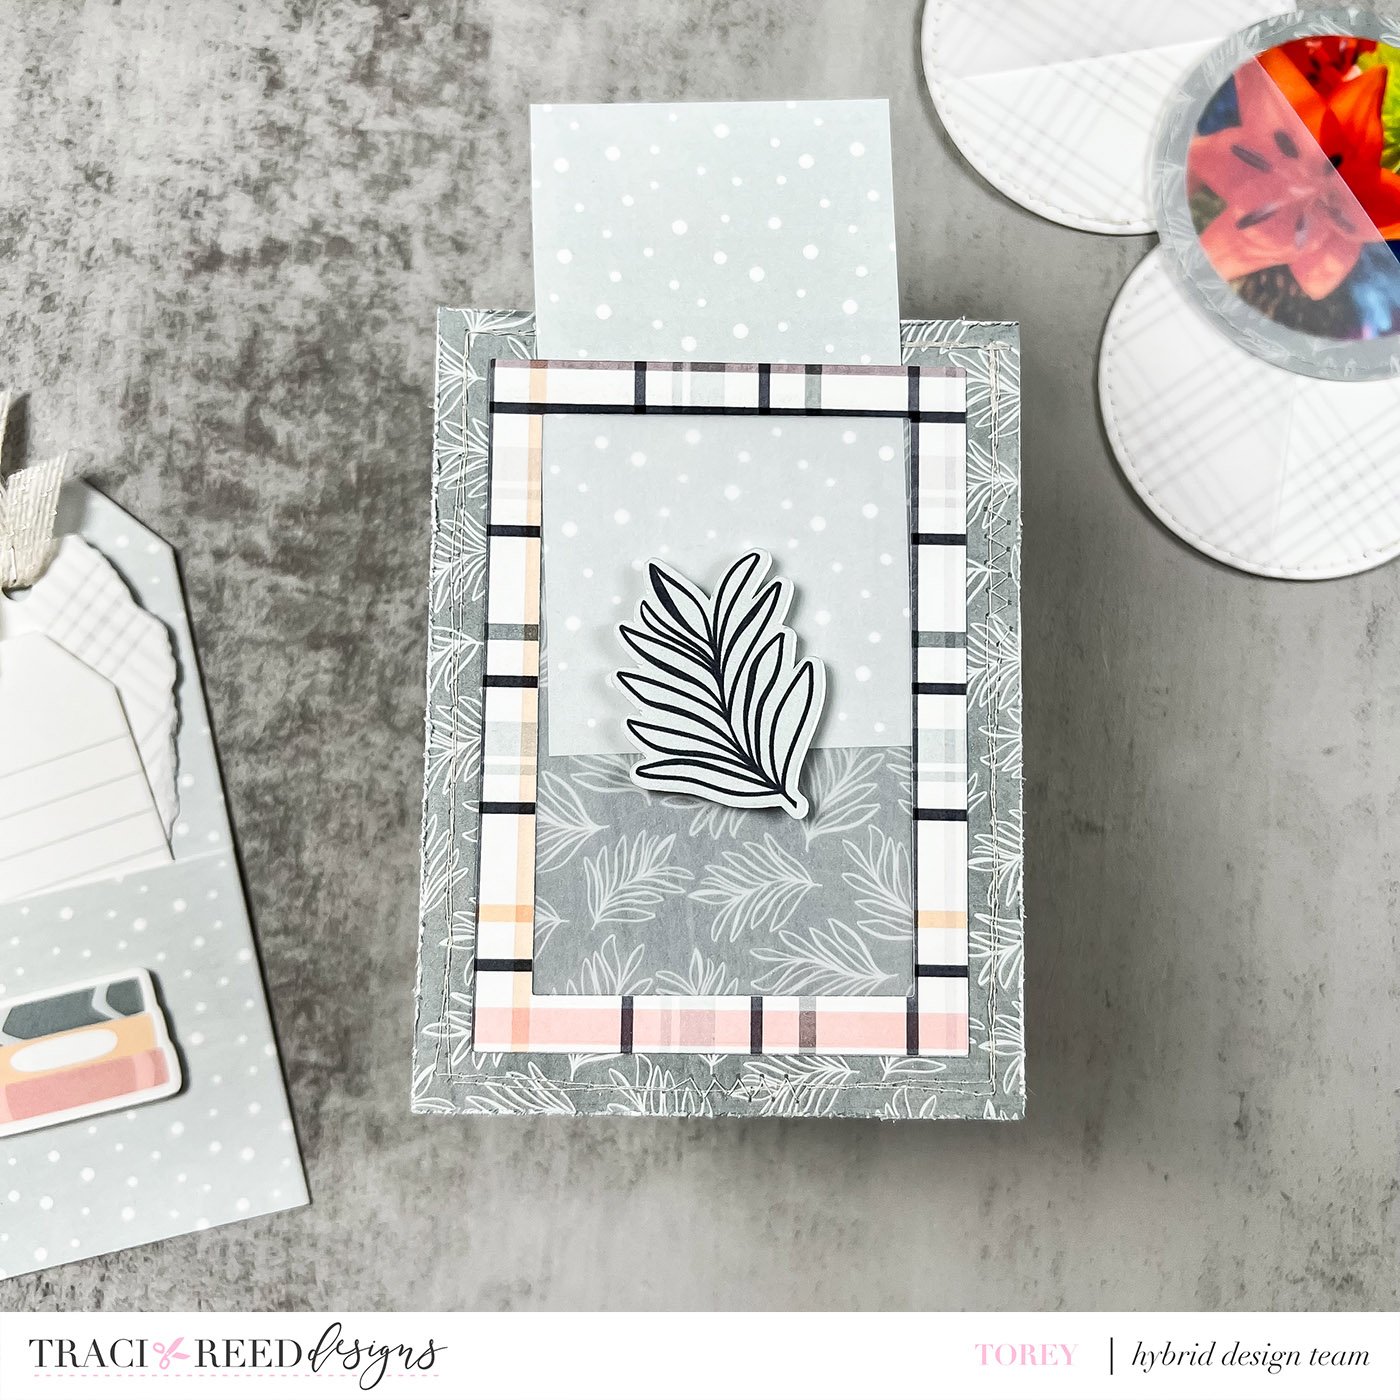
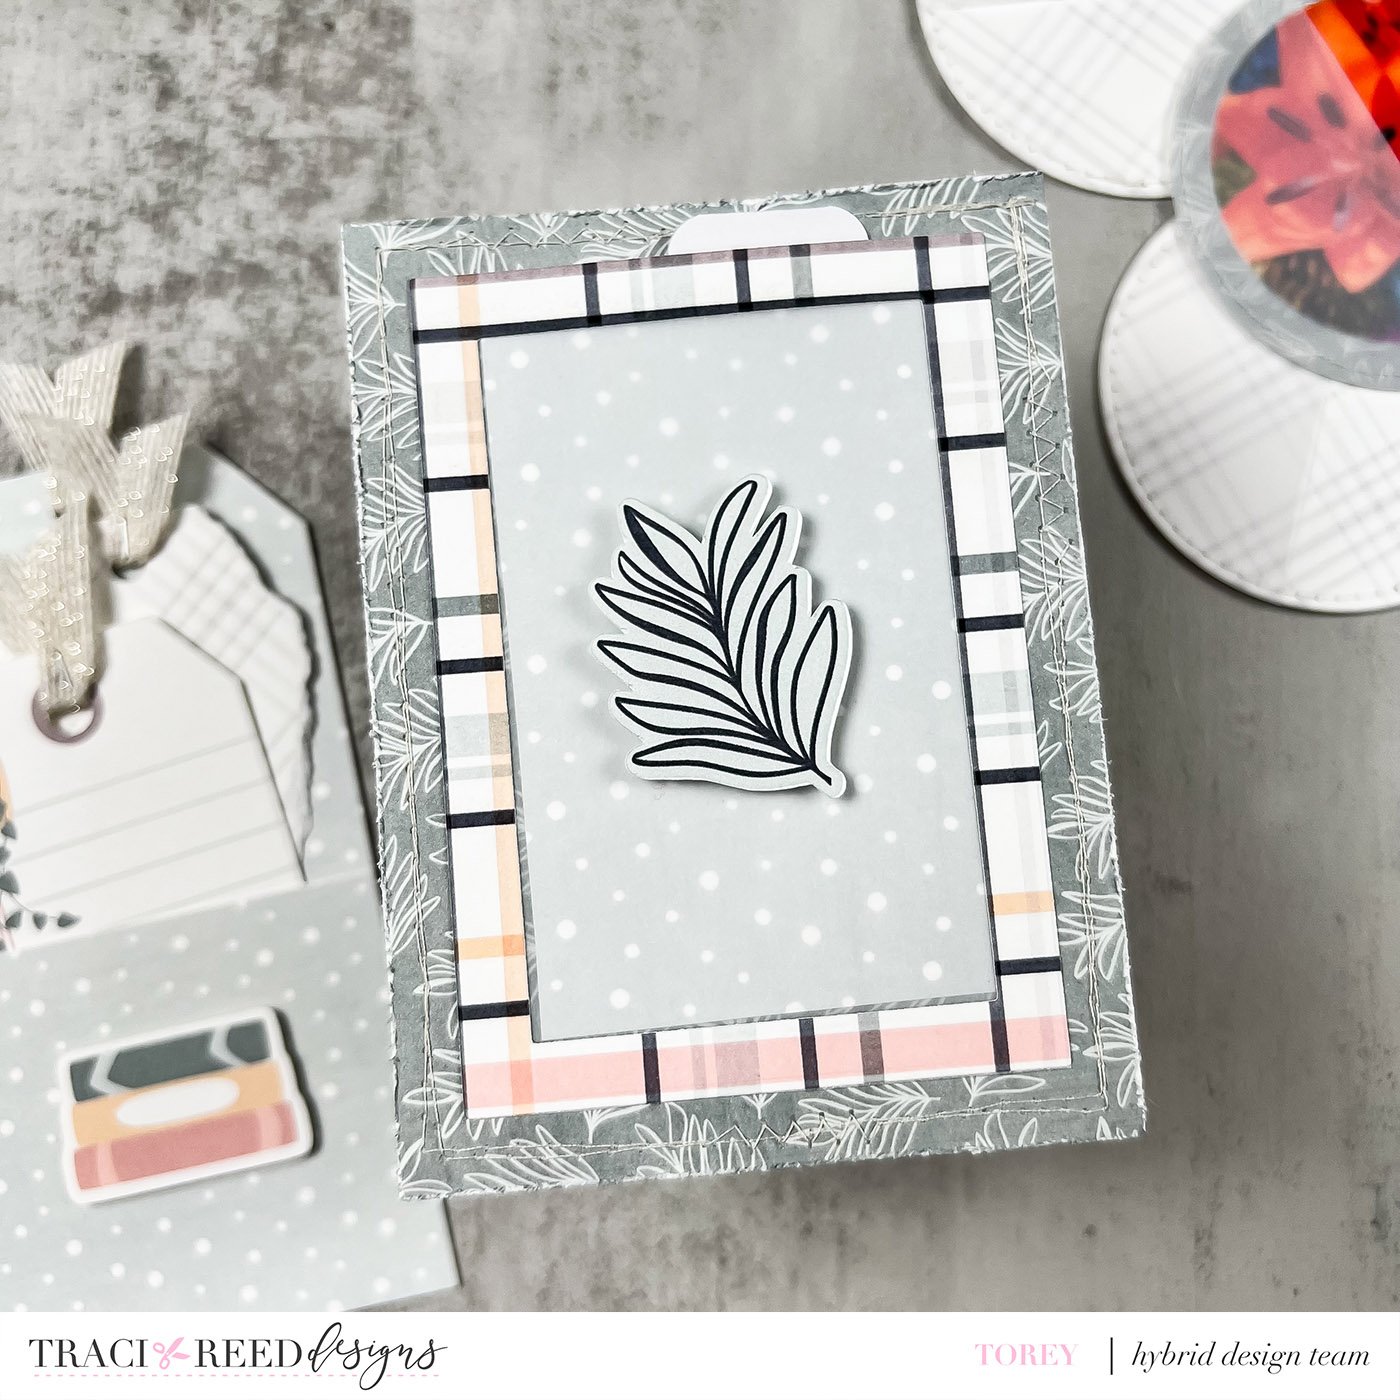
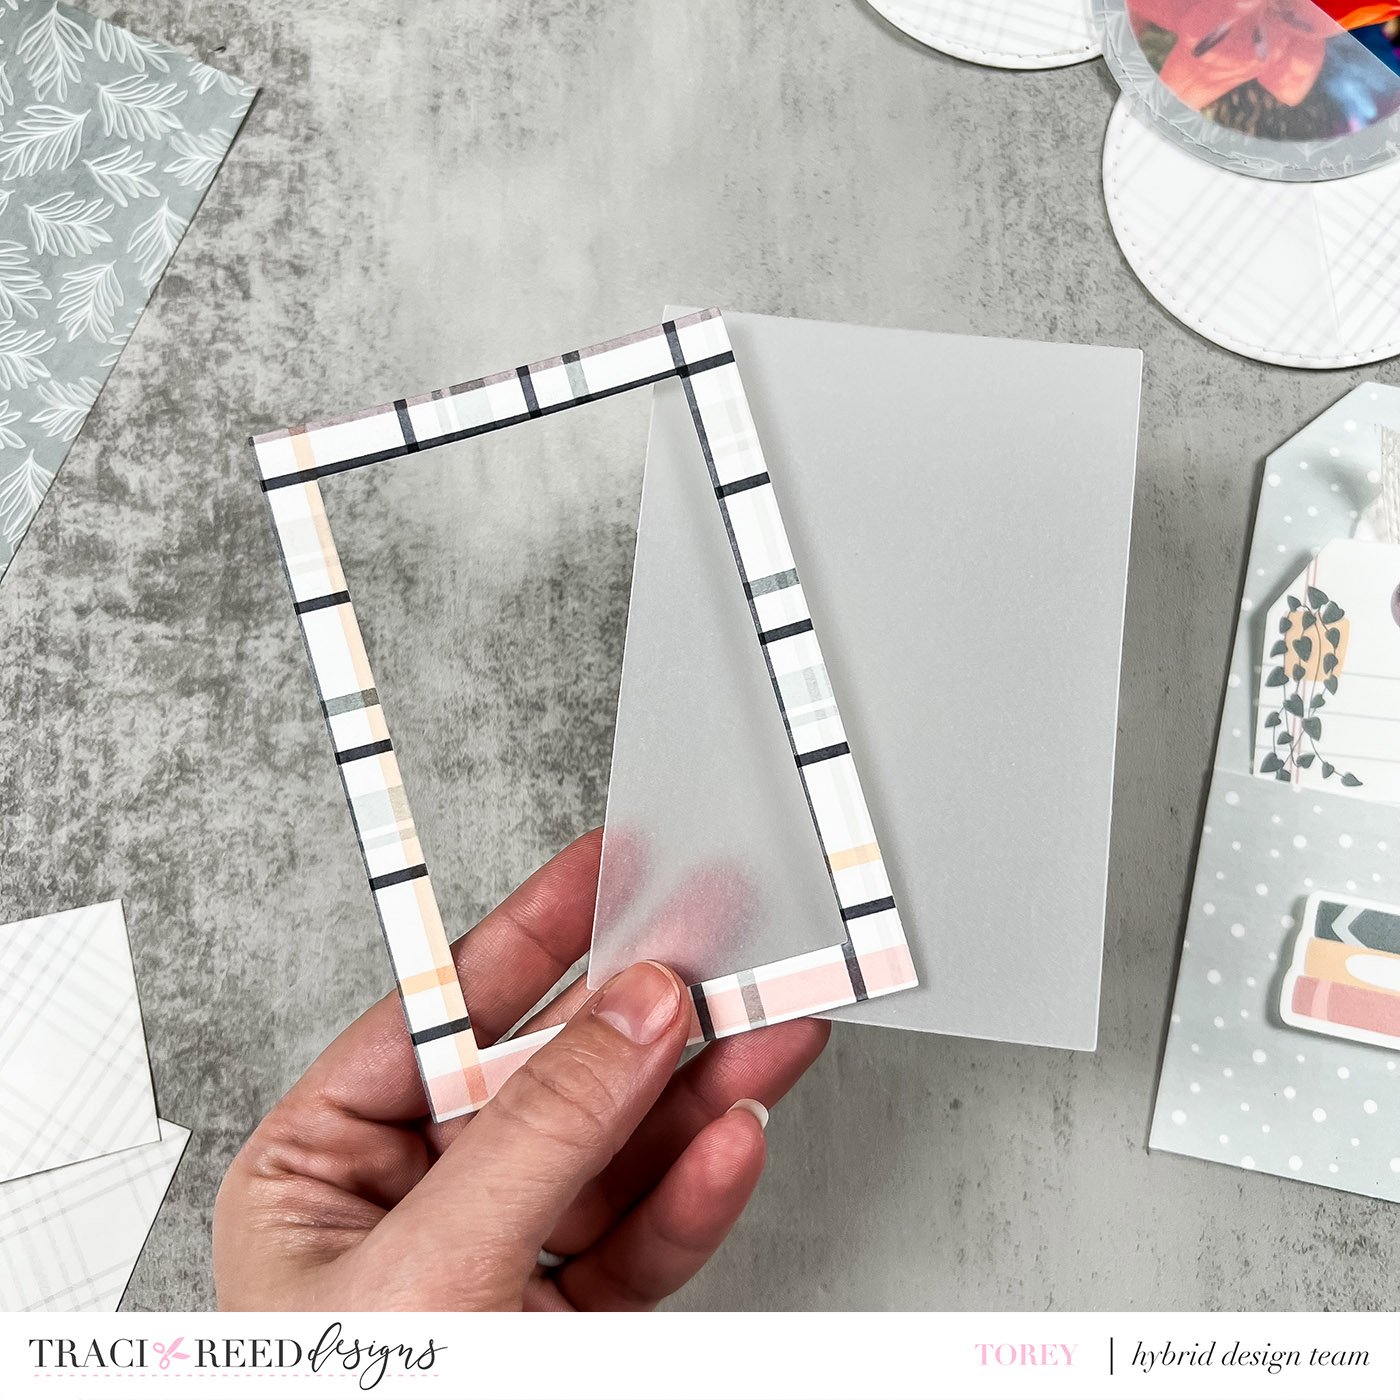
Pocket 3: Framed Vellum Pocket
For my final pocket element, we will be making a framed vellum pocket. I once again used some nesting dies to create this look, but this time used rectangles. You can use a cutting machine, your paper trimmer or hand cut these out to achieve the same look if you do not have rectangle dies. To create my frame, I chose two rectangle dies and placed one inside the other on my paper, making sure that the thickness of the paper between my dies was to my liking, as this would become my frame.

I also used the larger of the two metal dies I used to die cut out a piece of vellum as well. I then adhered the patterned frame directly onto the vellum.
Once my frame was created, I chose a piece of patterned paper to use as my background. I decided to make this piece of paper bigger than my actual pocket to give me the opportunity to add some stitching around the pocket. Similar to the tag pocket, I added red line tape to the sides and bottom edge of my frame.

I adhered these to pieces together and added a few embellishments to my pocket to give it some character. I used my edge distresser tool to distress the edges of my pocket and added some stitching around the edge of this same paper. To finish this off, I added a leaf sticker to the middle of my vellum.
To show how this pocket works, I also cut a piece of my leftover pattern paper to place inside the pocket and added a little tag to the paper to allow for it to be pulled in and out with ease.