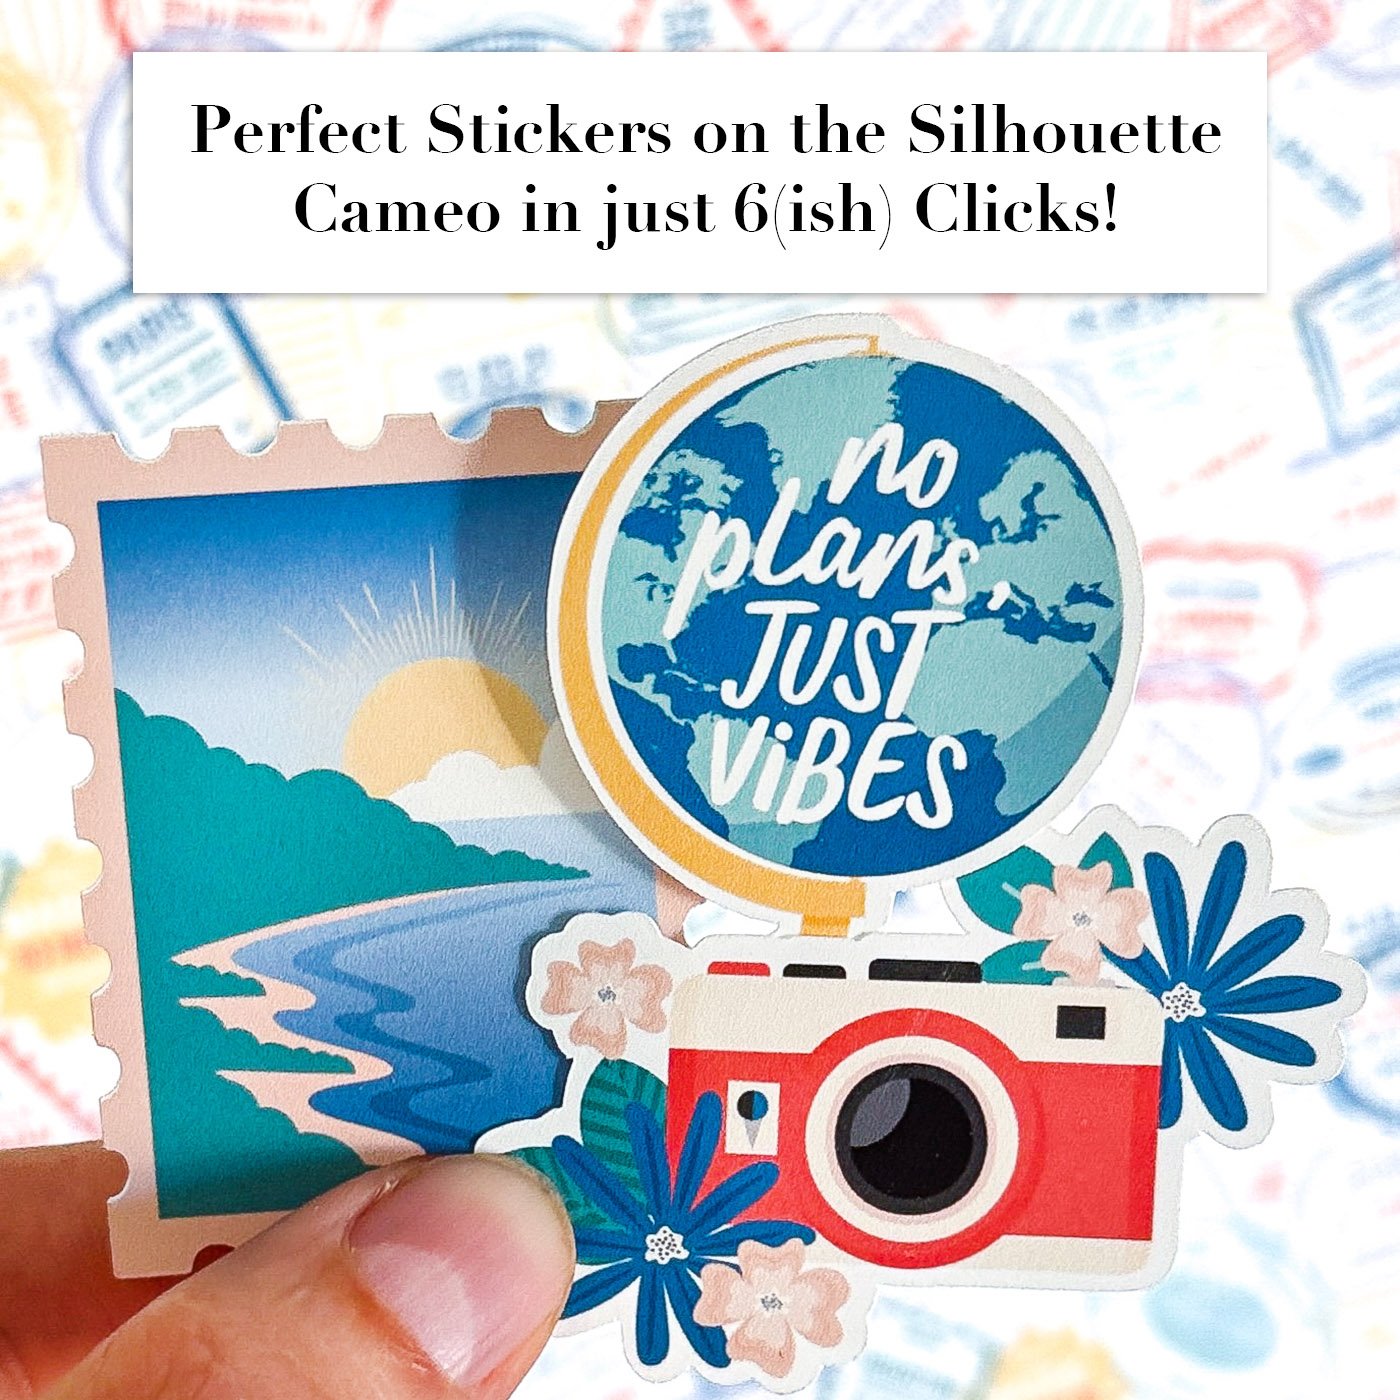
Tutorial: Printing and Cutting Sticker Sheets in Silhouette Studio
Think Printables Are Hard to Cut? Think Again.
Let’s be real—print-and-cut can sound intimidating if you’ve never done it before. All those settings, lines, margins, registration marks… it’s enough to make anyone hesitate. But I promise, once you know the workflow, it’s actually super simple. And I’ve designed my printable sticker sheets to take the guesswork out of the process entirely.
If you’ve got a Silhouette machine, you can go from download to perfectly cut stickers in just a few clicks. Here’s exactly how I do it—no fancy hacks, no extra software, and no stress.
Step-by-Step: How to Print and Cut My Sticker Sheets with a Silhouette
1. Open the “fussycut no lines” PNG file in Silhouette Studio.
Each of my sticker sheets includes a special file designed specifically for this process. It has clean, crisp edges and sticker offset where needed so Silhouette can automatically detect where to cut. Just open it up and you’re ready to go.
2. Turn on registration marks.
In the “Page Setup” panel, turn on registration marks and set them to the smallest possible margins. Why? Because I design my sticker sheets to the maximum allowed print-and-cut area, so you get as many stickers per page as possible.
3. Center the sticker sheet with one click.
Use the alignment tools in the top toolbar to center your sheet on the page. This ensures everything is properly within the cut margins—and keeps your registration marks happy.
4. Print on high-quality paper.
My personal favorite is Epson Premium Presentation Paper (matte) for die cuts. It gives vibrant color, crisp detail, and holds ink beautifully. Just make sure your printer is set to highest quality or best photo mode for the cleanest print.
5. Place your printed sheet on your cutting mat.
Line it up carefully, then load it into your Silhouette as usual.
7. Send to cut—and let the magic happen.
That’s it. No tracing, no adjusting, no fussing. Silhouette reads the file, finds the edges, and cuts your stickers perfectlyevery time.
No Tweaking. No Tricks. Just Perfect Stickers.
When I say I design these sheets to be beginner-friendly, I mean it. I’ve taken care of the hard part so you can jump straight into the fun—cutting, sticking, and creating.
If you’ve been holding back on trying printable stickers because the tech feels overwhelming, this is your sign to give it a shot. You don’t need fancy tools or advanced settings—just a standard Silhouette machine, a printer, and paper you love.
Got questions or want to see a full video walkthrough? Let me know—I’m always happy to help you make the most of your printables.
Check out this fun Reel on Instagram to see the magic happen!
P.S. If you’re interested in the papers used in this tutorial, they’re from my Wander & Wonder collection!


