December of Memories Day 2021: Digital Scrapbooking in Goodnotes with Trish!
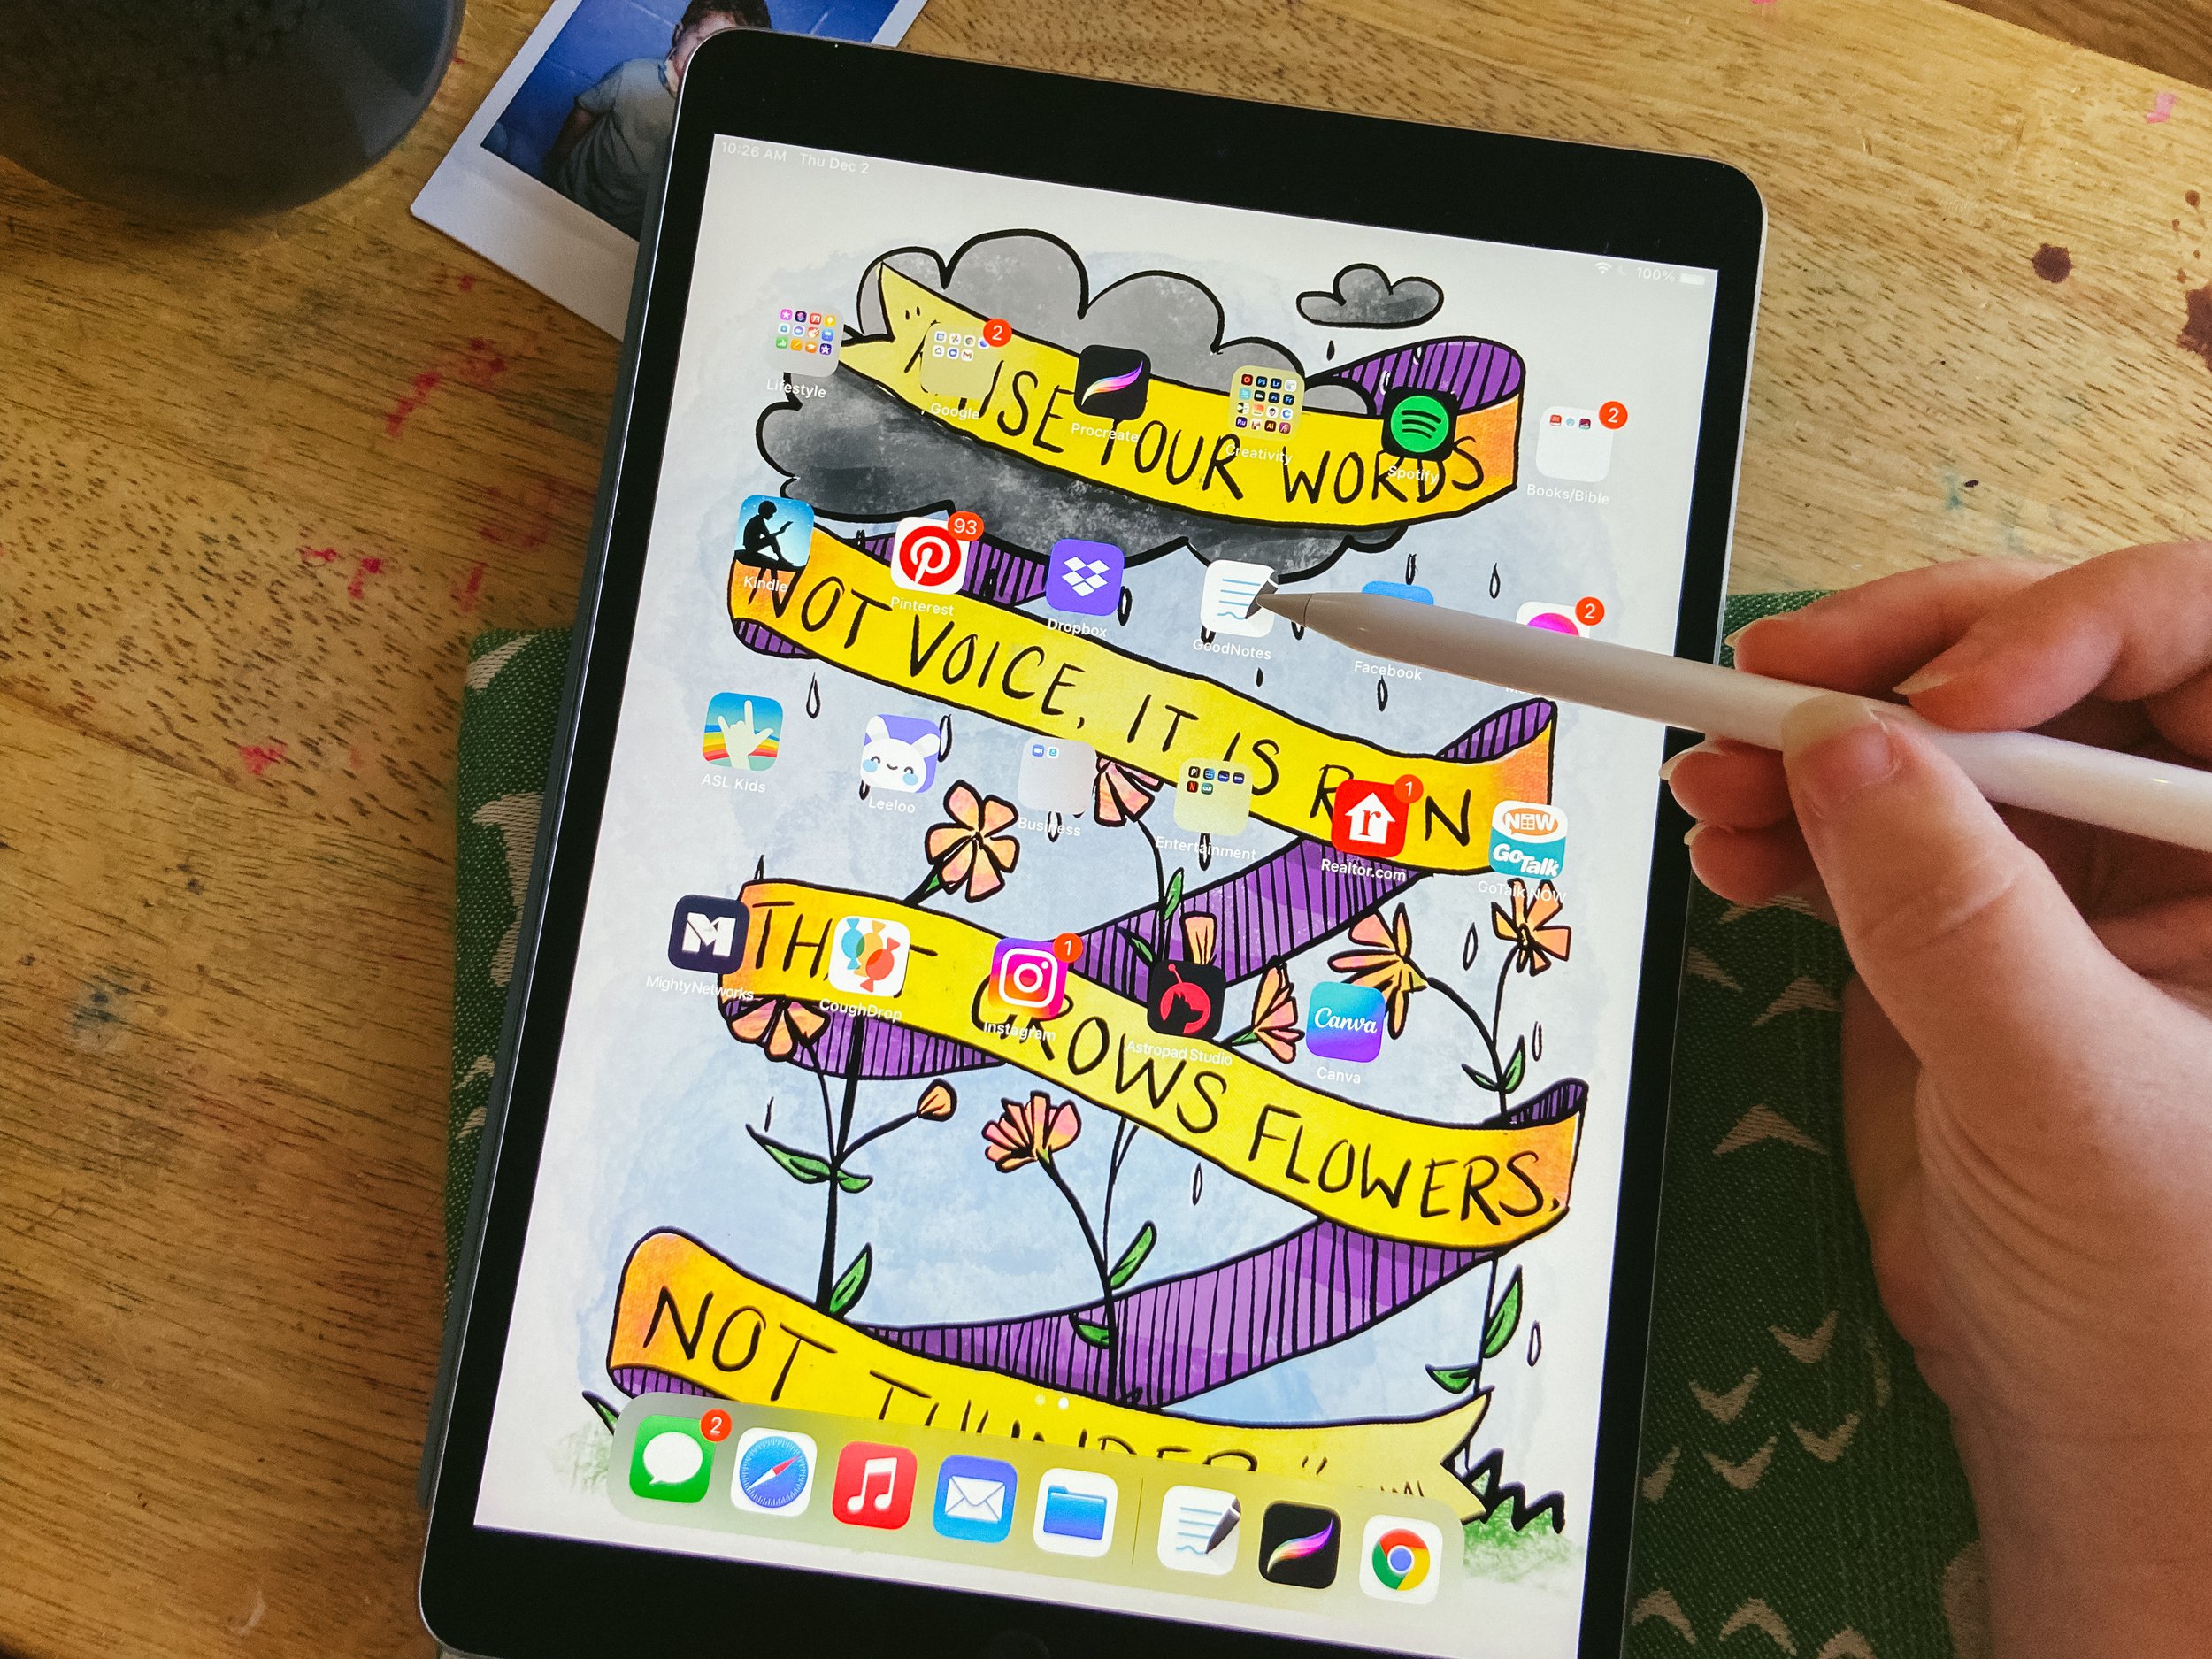
GoodNotes 5 is an IOS app for iPhones, IPads, and Mac computers and laptops. It has a low one-time fee and is basically an all-in-one space for all of your digital notebooks, trackers, planners, and documents, and the best part is that it automatically updates between your devices. I use it to keep track of notes and information that I would scribble wherever, to organize important school documents from the kids’ schools, and for my knitting and Bible study notes.
As of now, it is only compatible with Apple products. I have toyed with other similar apps that might be used as general notebooks or planners, but have found GoodNotes to be the one I like best for the price (a one-time cost of $7.99). Zinnia is a similar app geared more towards using as a digital planner, but instead of one flat cost, it uses a monthly or yearly plan. I have done a short overview of it here.
When I was asked if I could try out how to approach using digital scrapbooking supplies with an app for people who find Photoshop too much or difficult to learn, I naturally went to GoodNotes since it was what I was the most comfortable with using.
The largest drawback with it is that you can not change the order of your layers, and if you want to move something on top of something else, you just have to delete that item and then add it again.
Getting Started
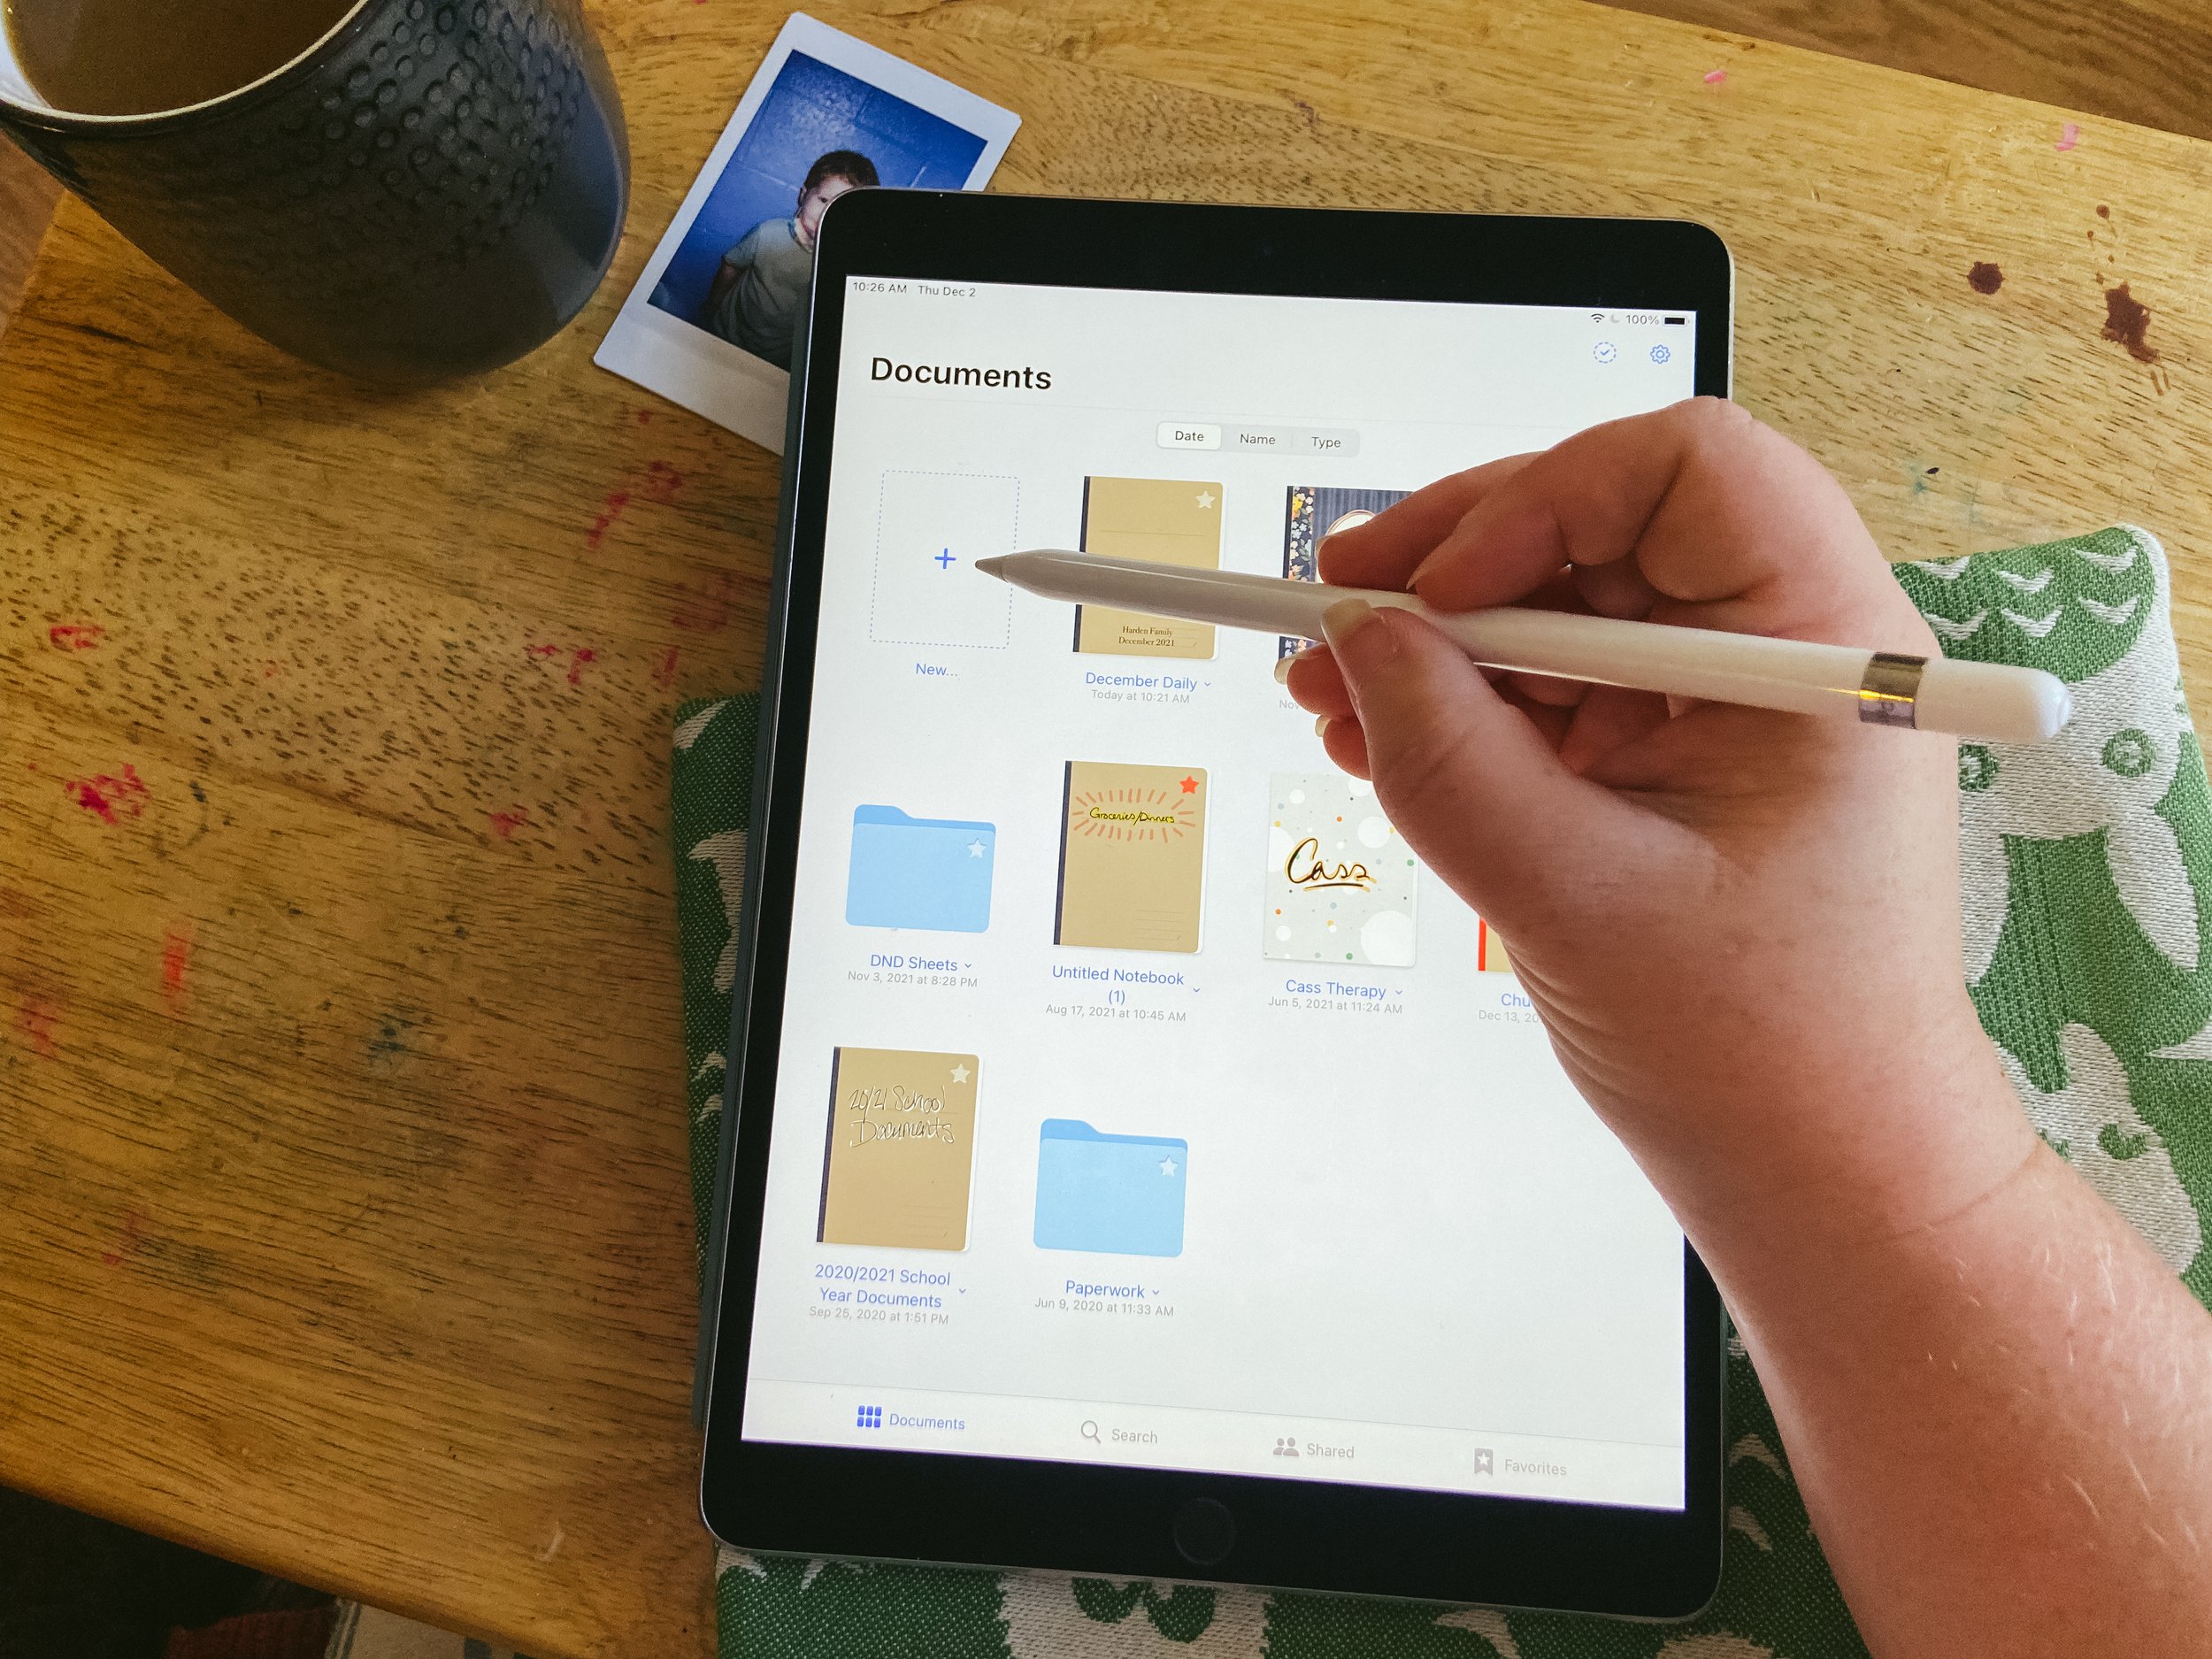
To get started you are going to need to first download the app and then open it. Once you get to the Documents page you will click the blue plus sign and then select notebook.

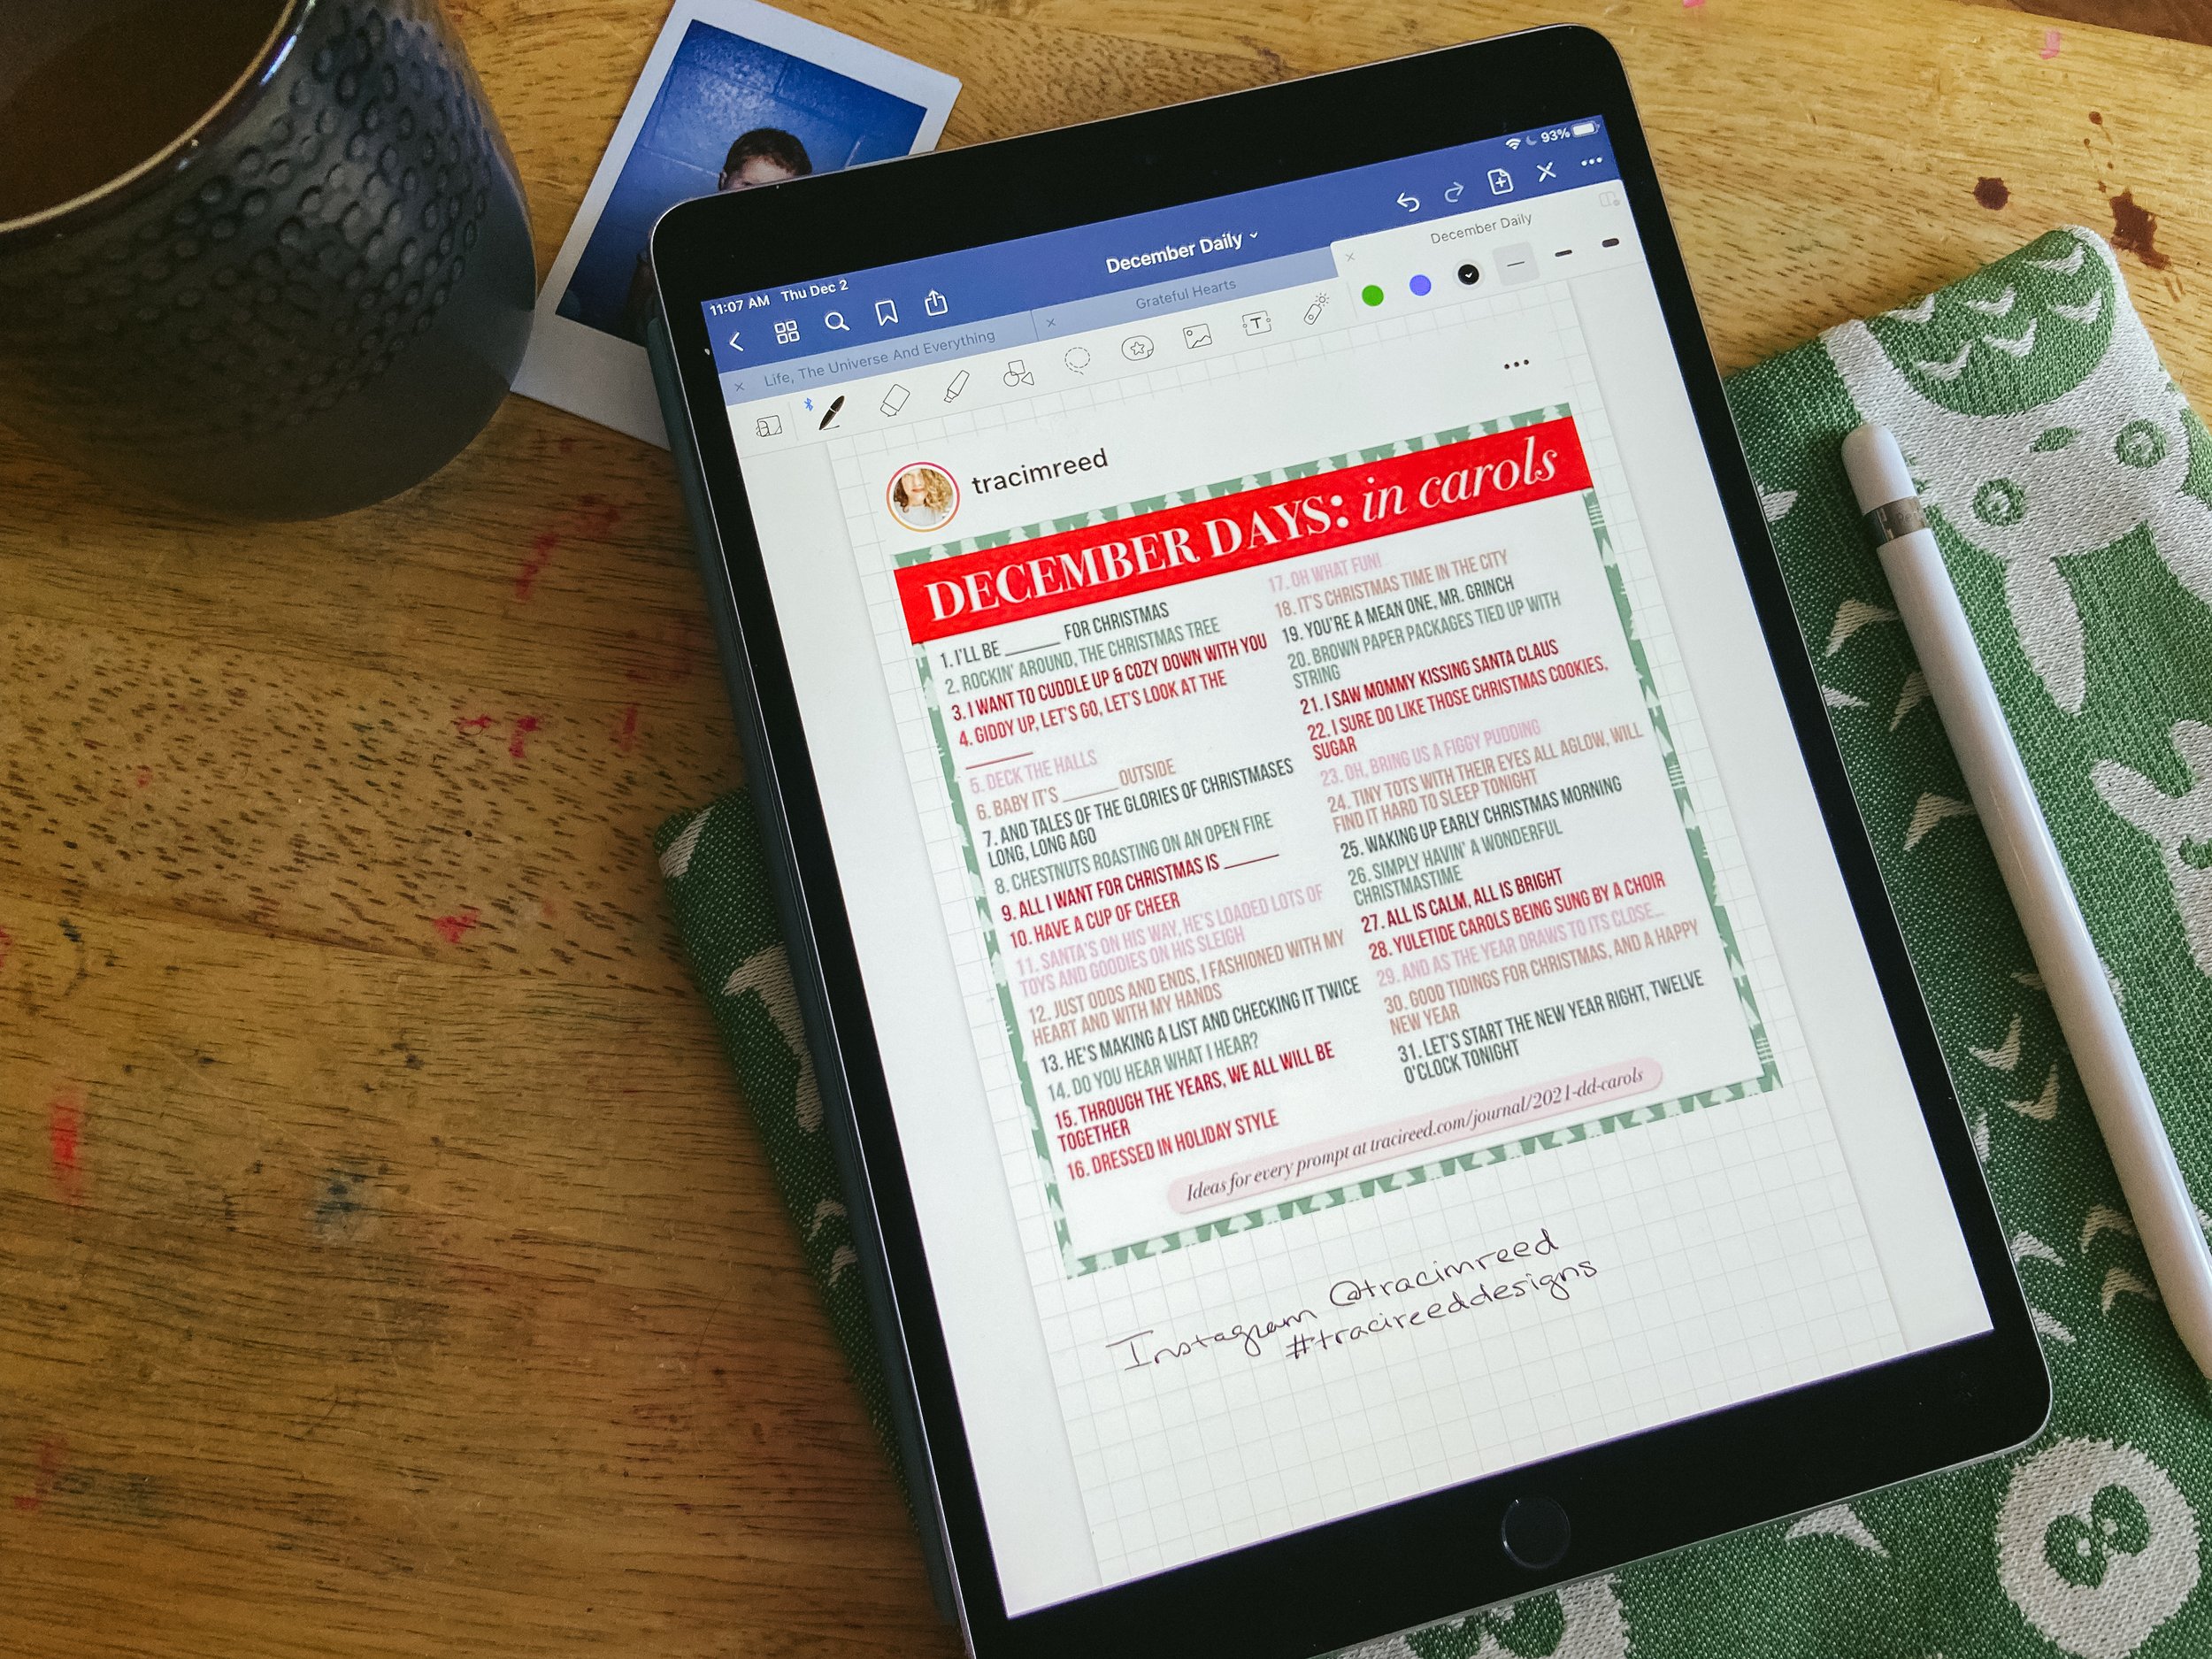
This will take you to a pop-up window where you can name your notebook. I will be using this one for Document December, and previously just used this same approach for documenting the past month. You will also pick the cover of your notebook, and your page design. I went for just a standard plain cover since I will be decorating it to match the inside of it. I also tend to just stick with the graph paper layout that way it gives me some guides, but I don’t feel like I have to just follow the design of the page. I also set my page size to A5 which is 5 ⅞ x 81/4 inches.

Updating the cover of your notebook is a good way to practice most of the things that you will be using to create your designs on further pages.
Importing Digital Files
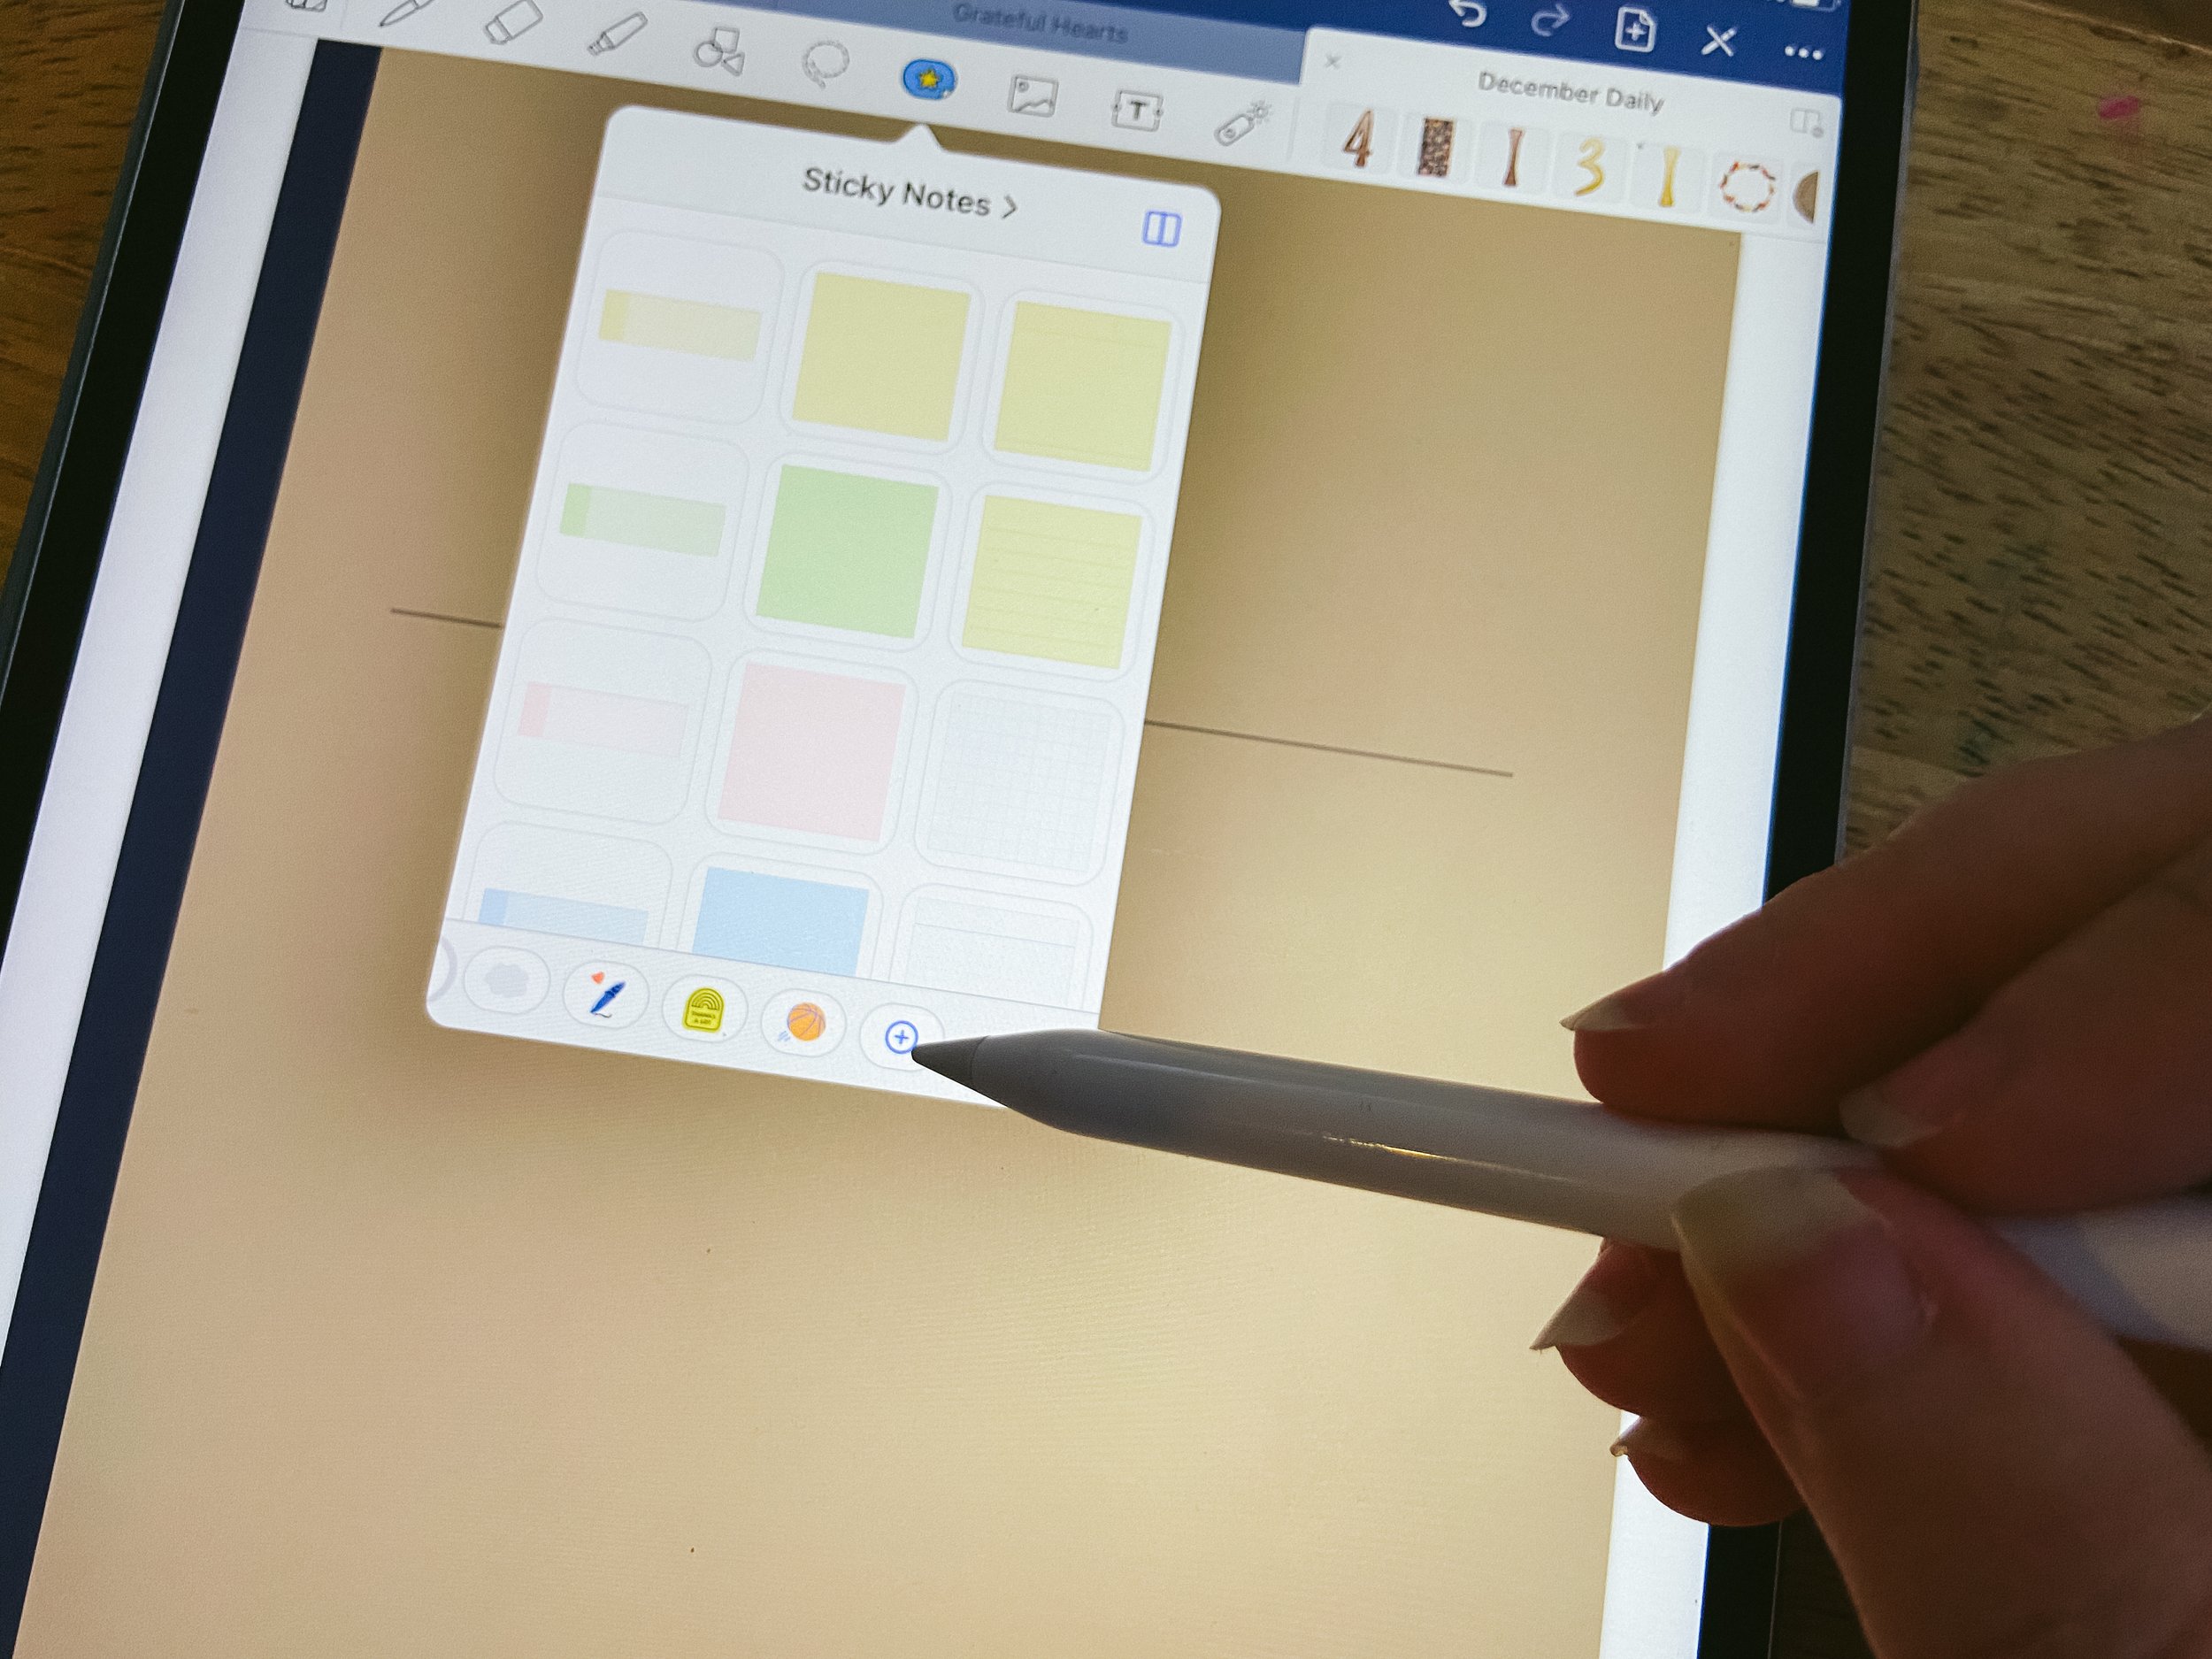
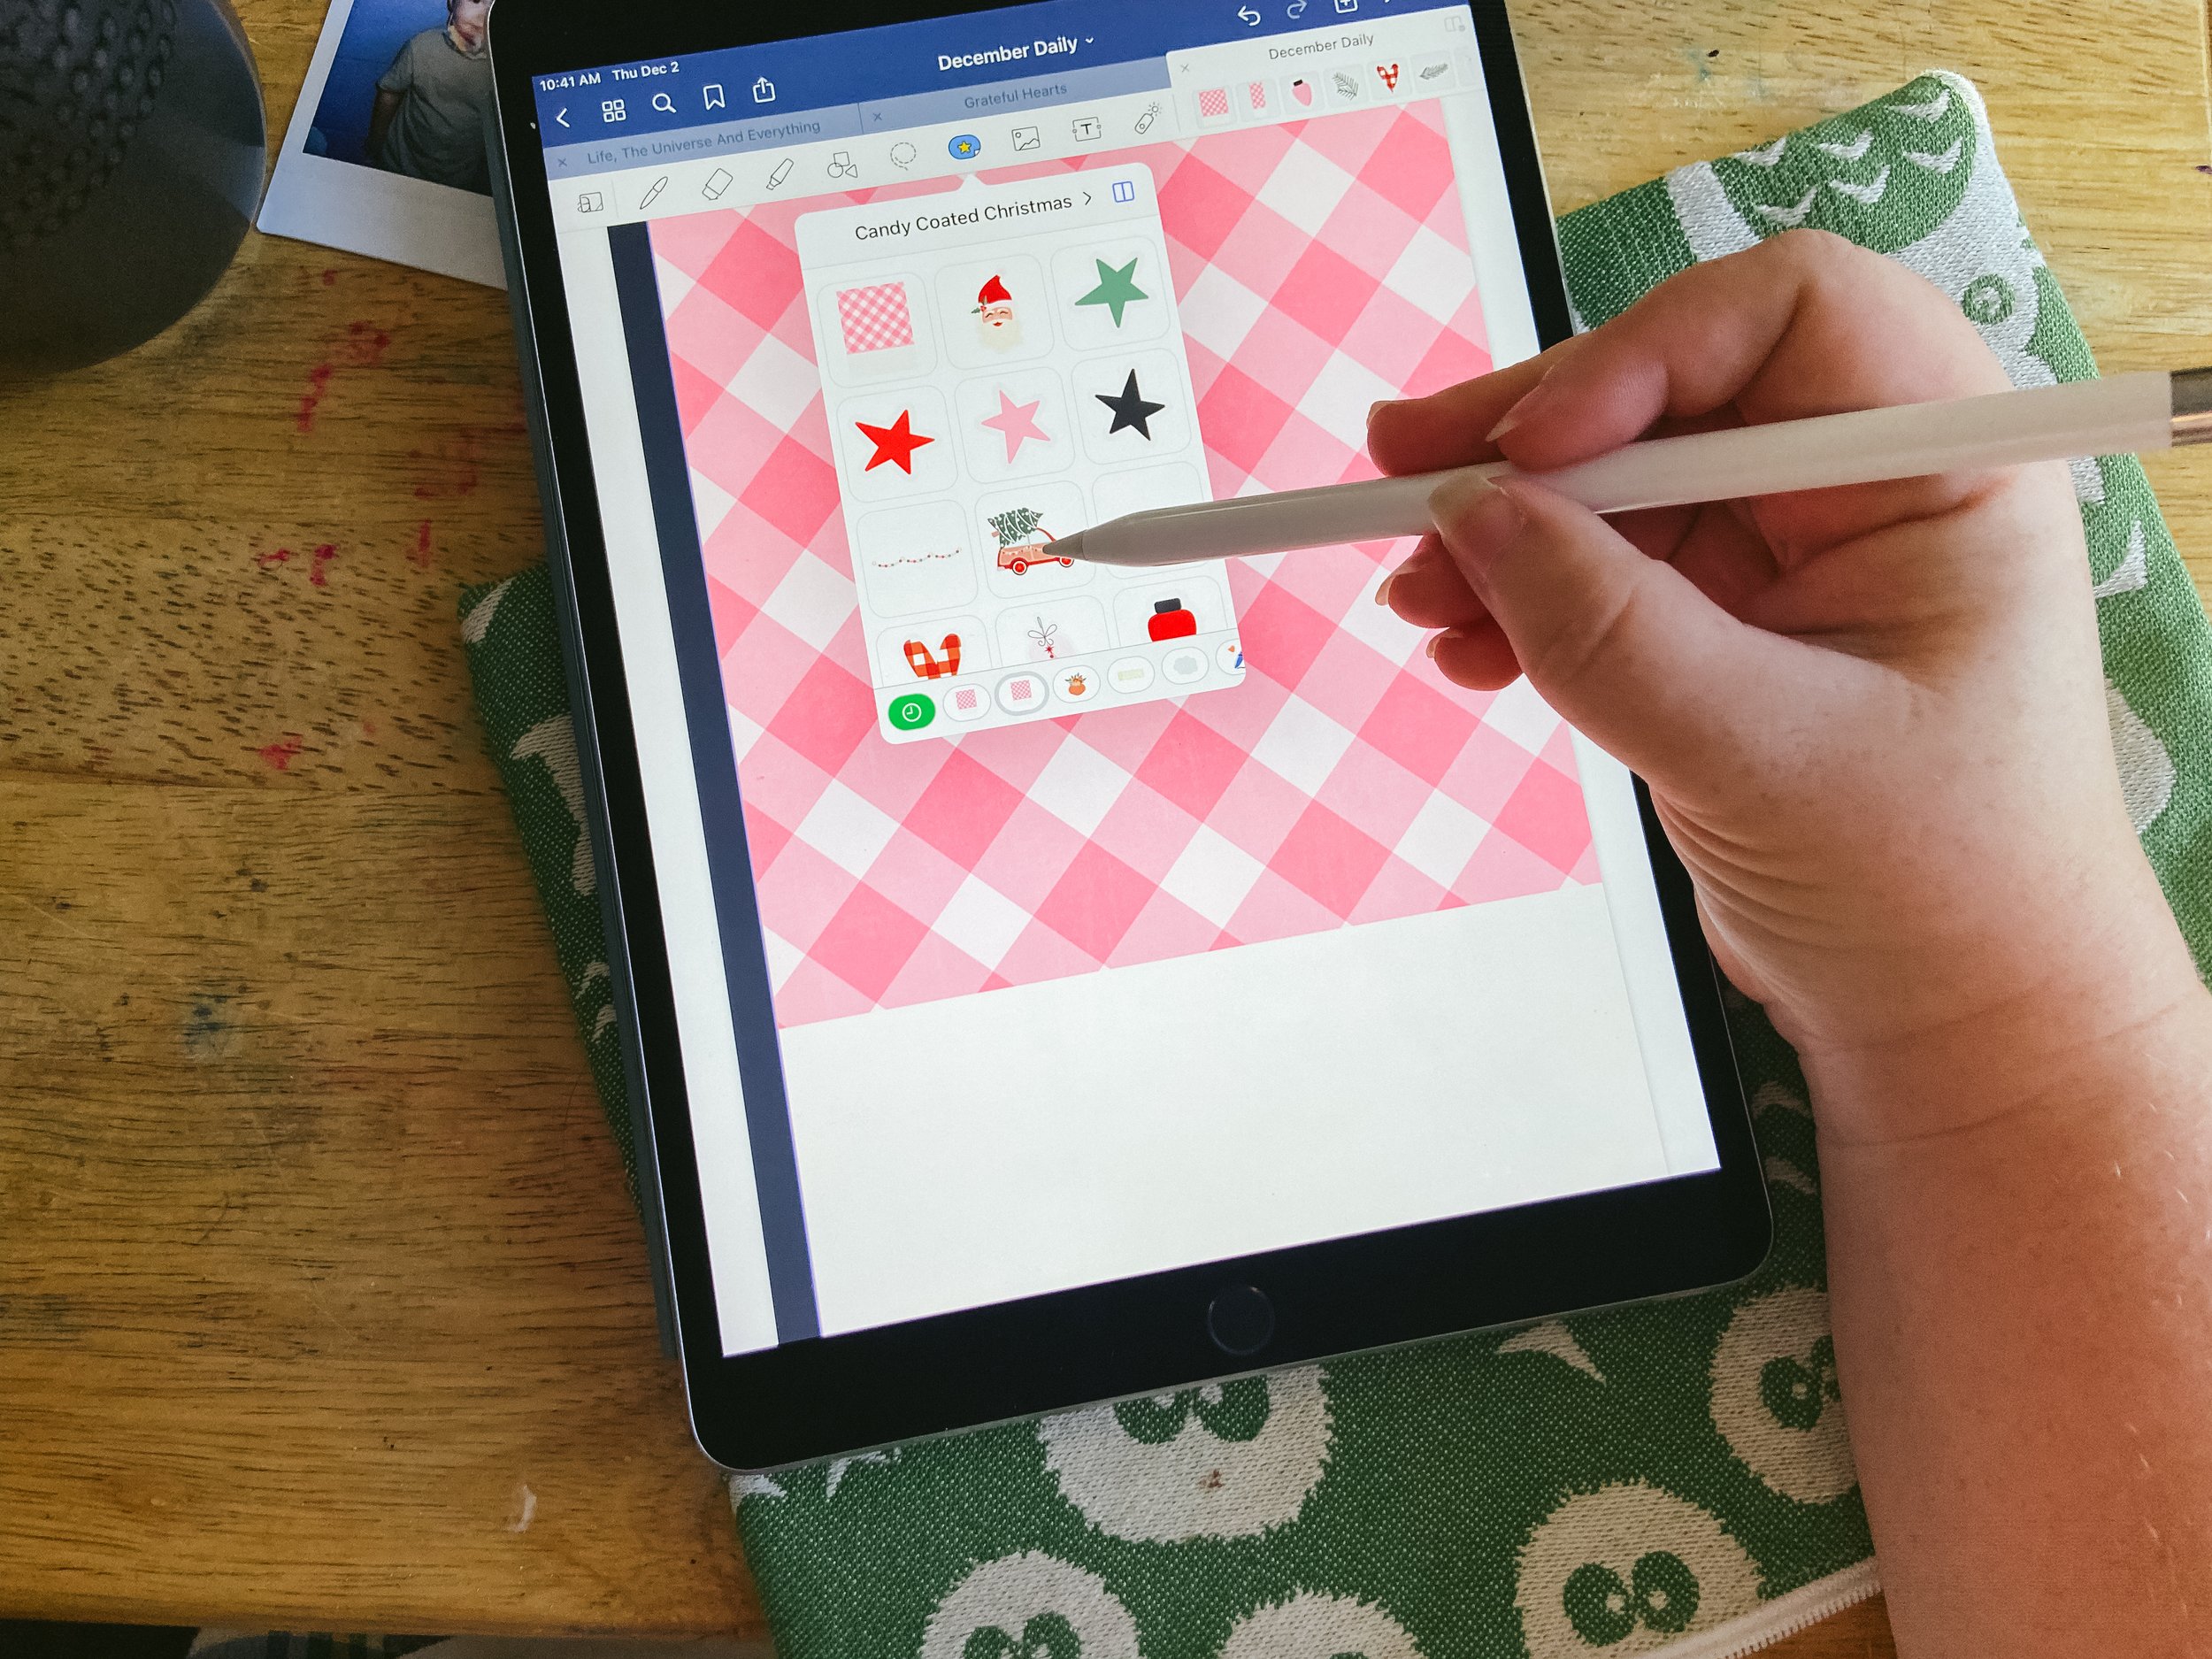
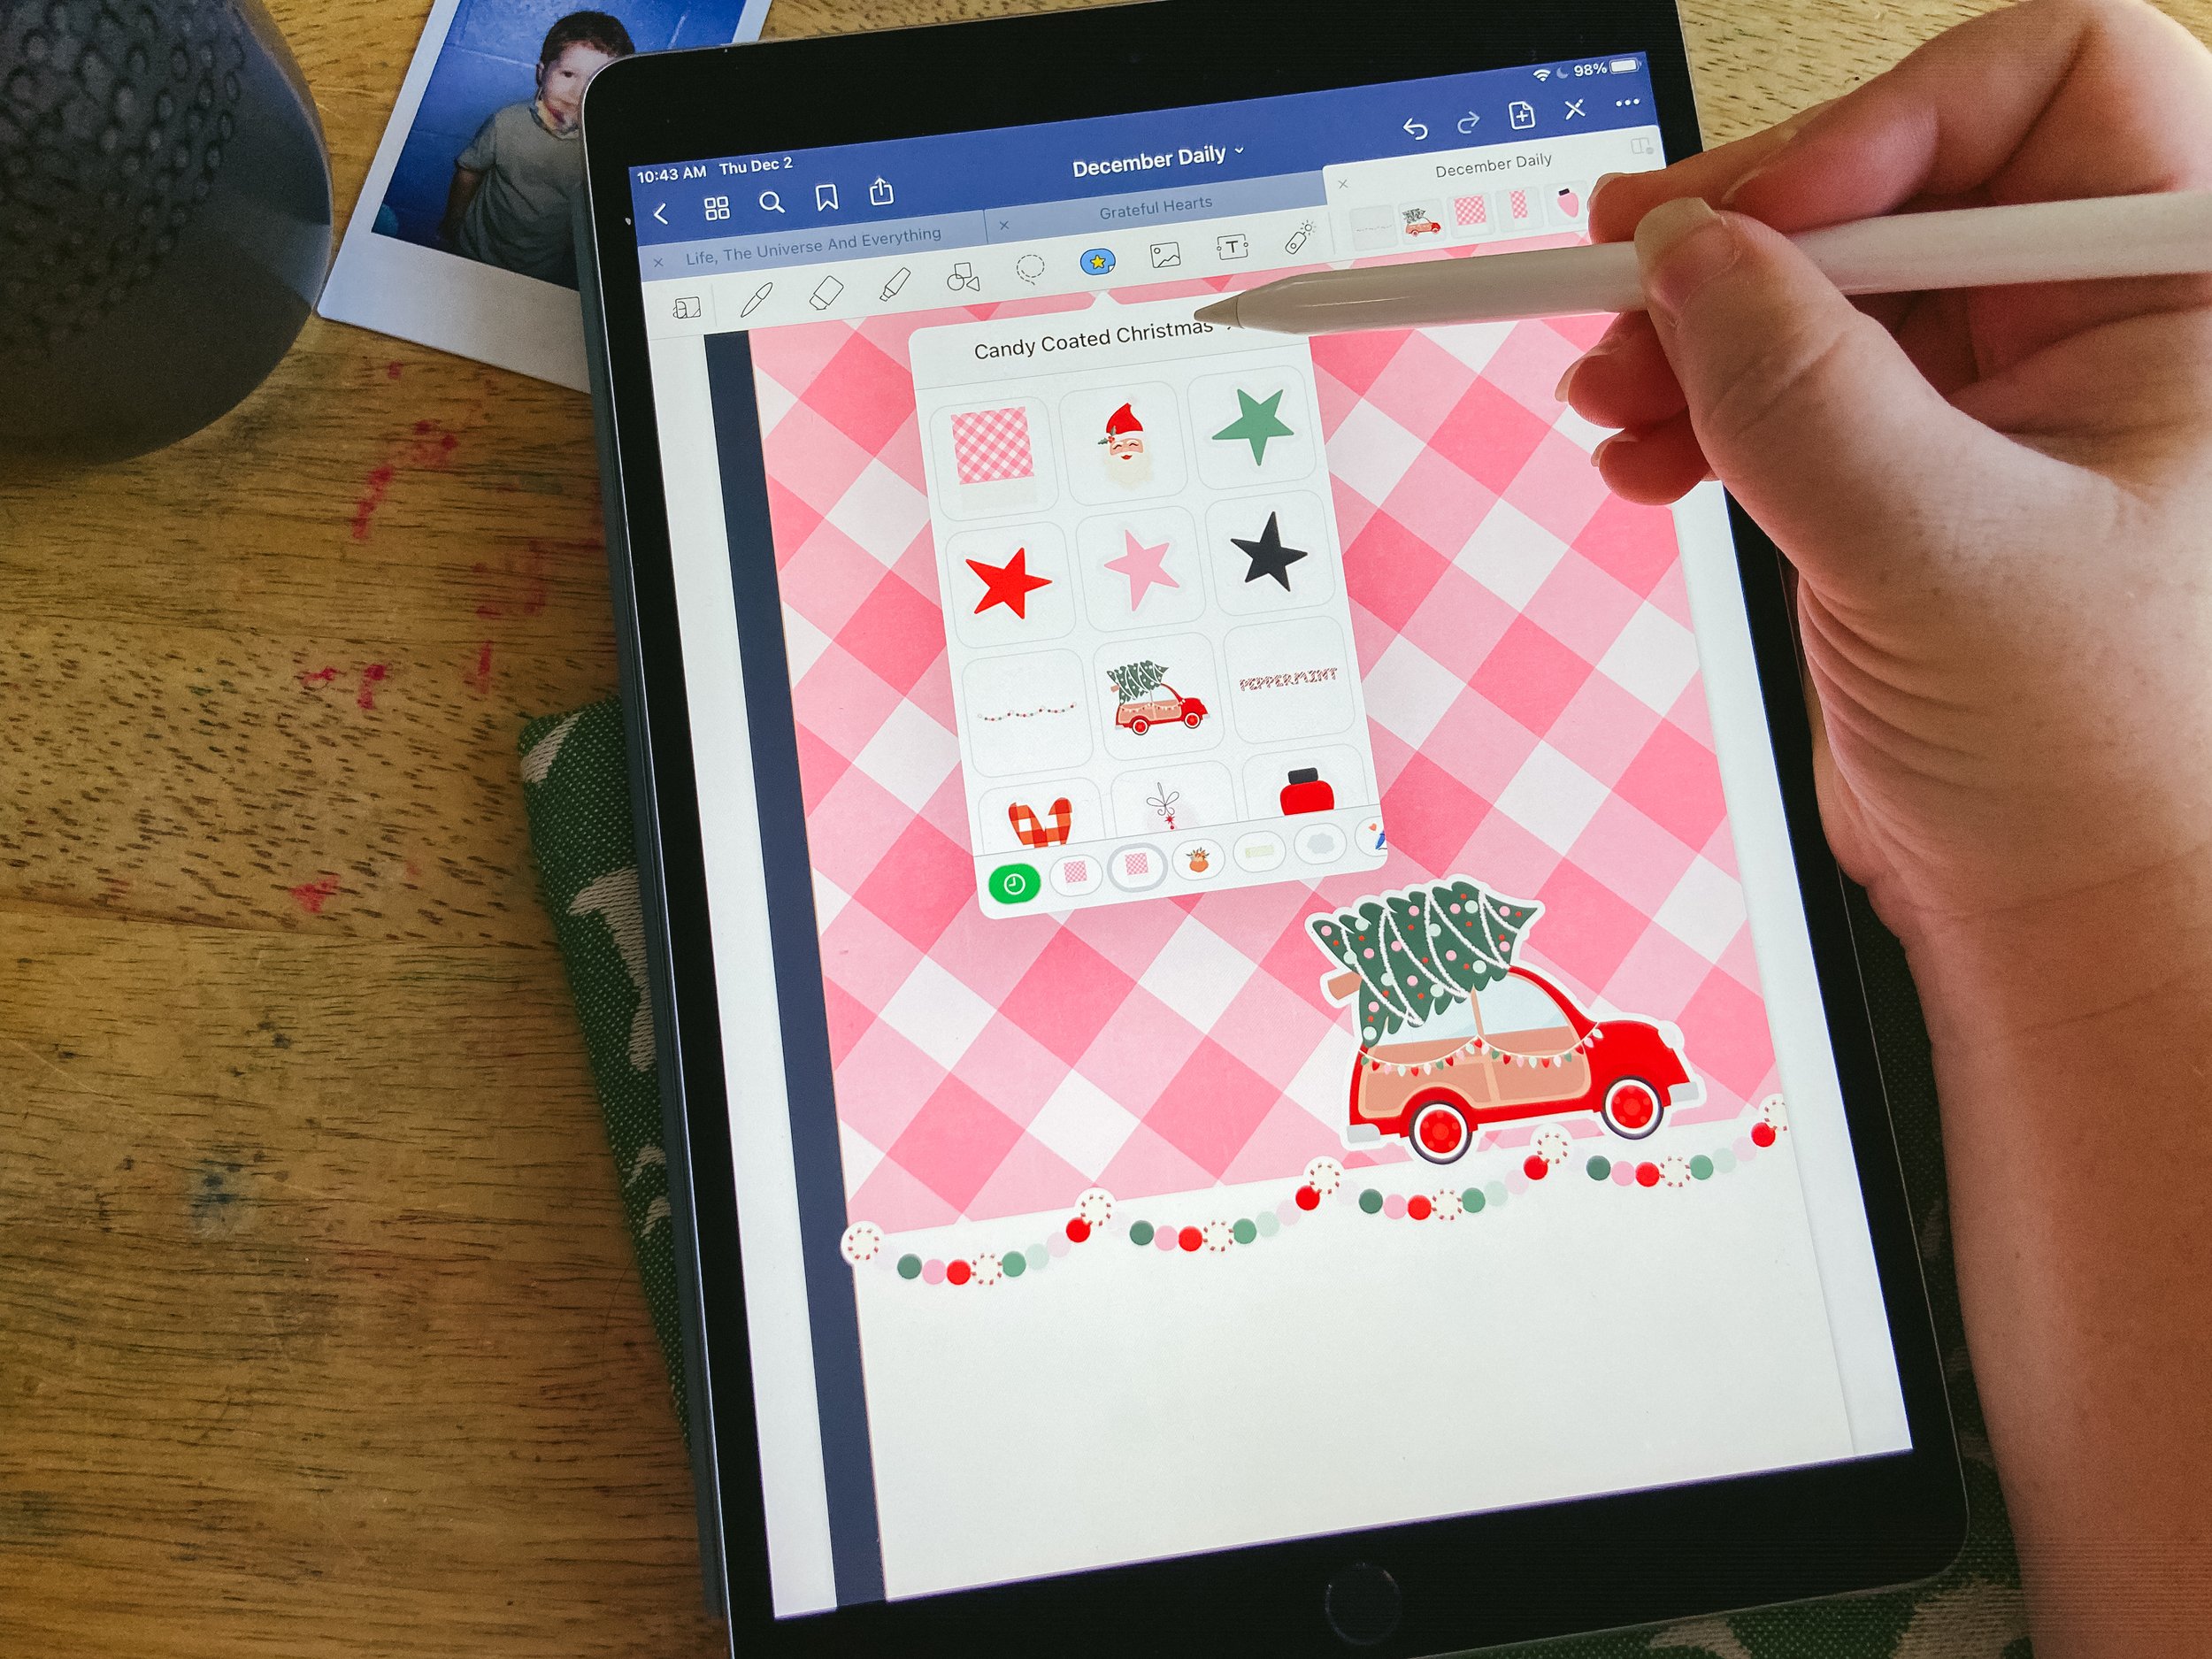
The easiest way to incorporate your digital scrapbooking supplies into the app is through the stickers feature. Inside the stickers section, you can create collections where you will store the things that you import to use. In the top bar you will see an oval with a star in it (it will be blue and yellow when you select it), and that is where the stickers are. At the bottom of the pop-up that opens when you select it you will see a series of icons that represent the different preprogrammed collections. If you scroll all the way to the right of that you will see a blue circle and plus sign, choosing that lets you create your own new collection.
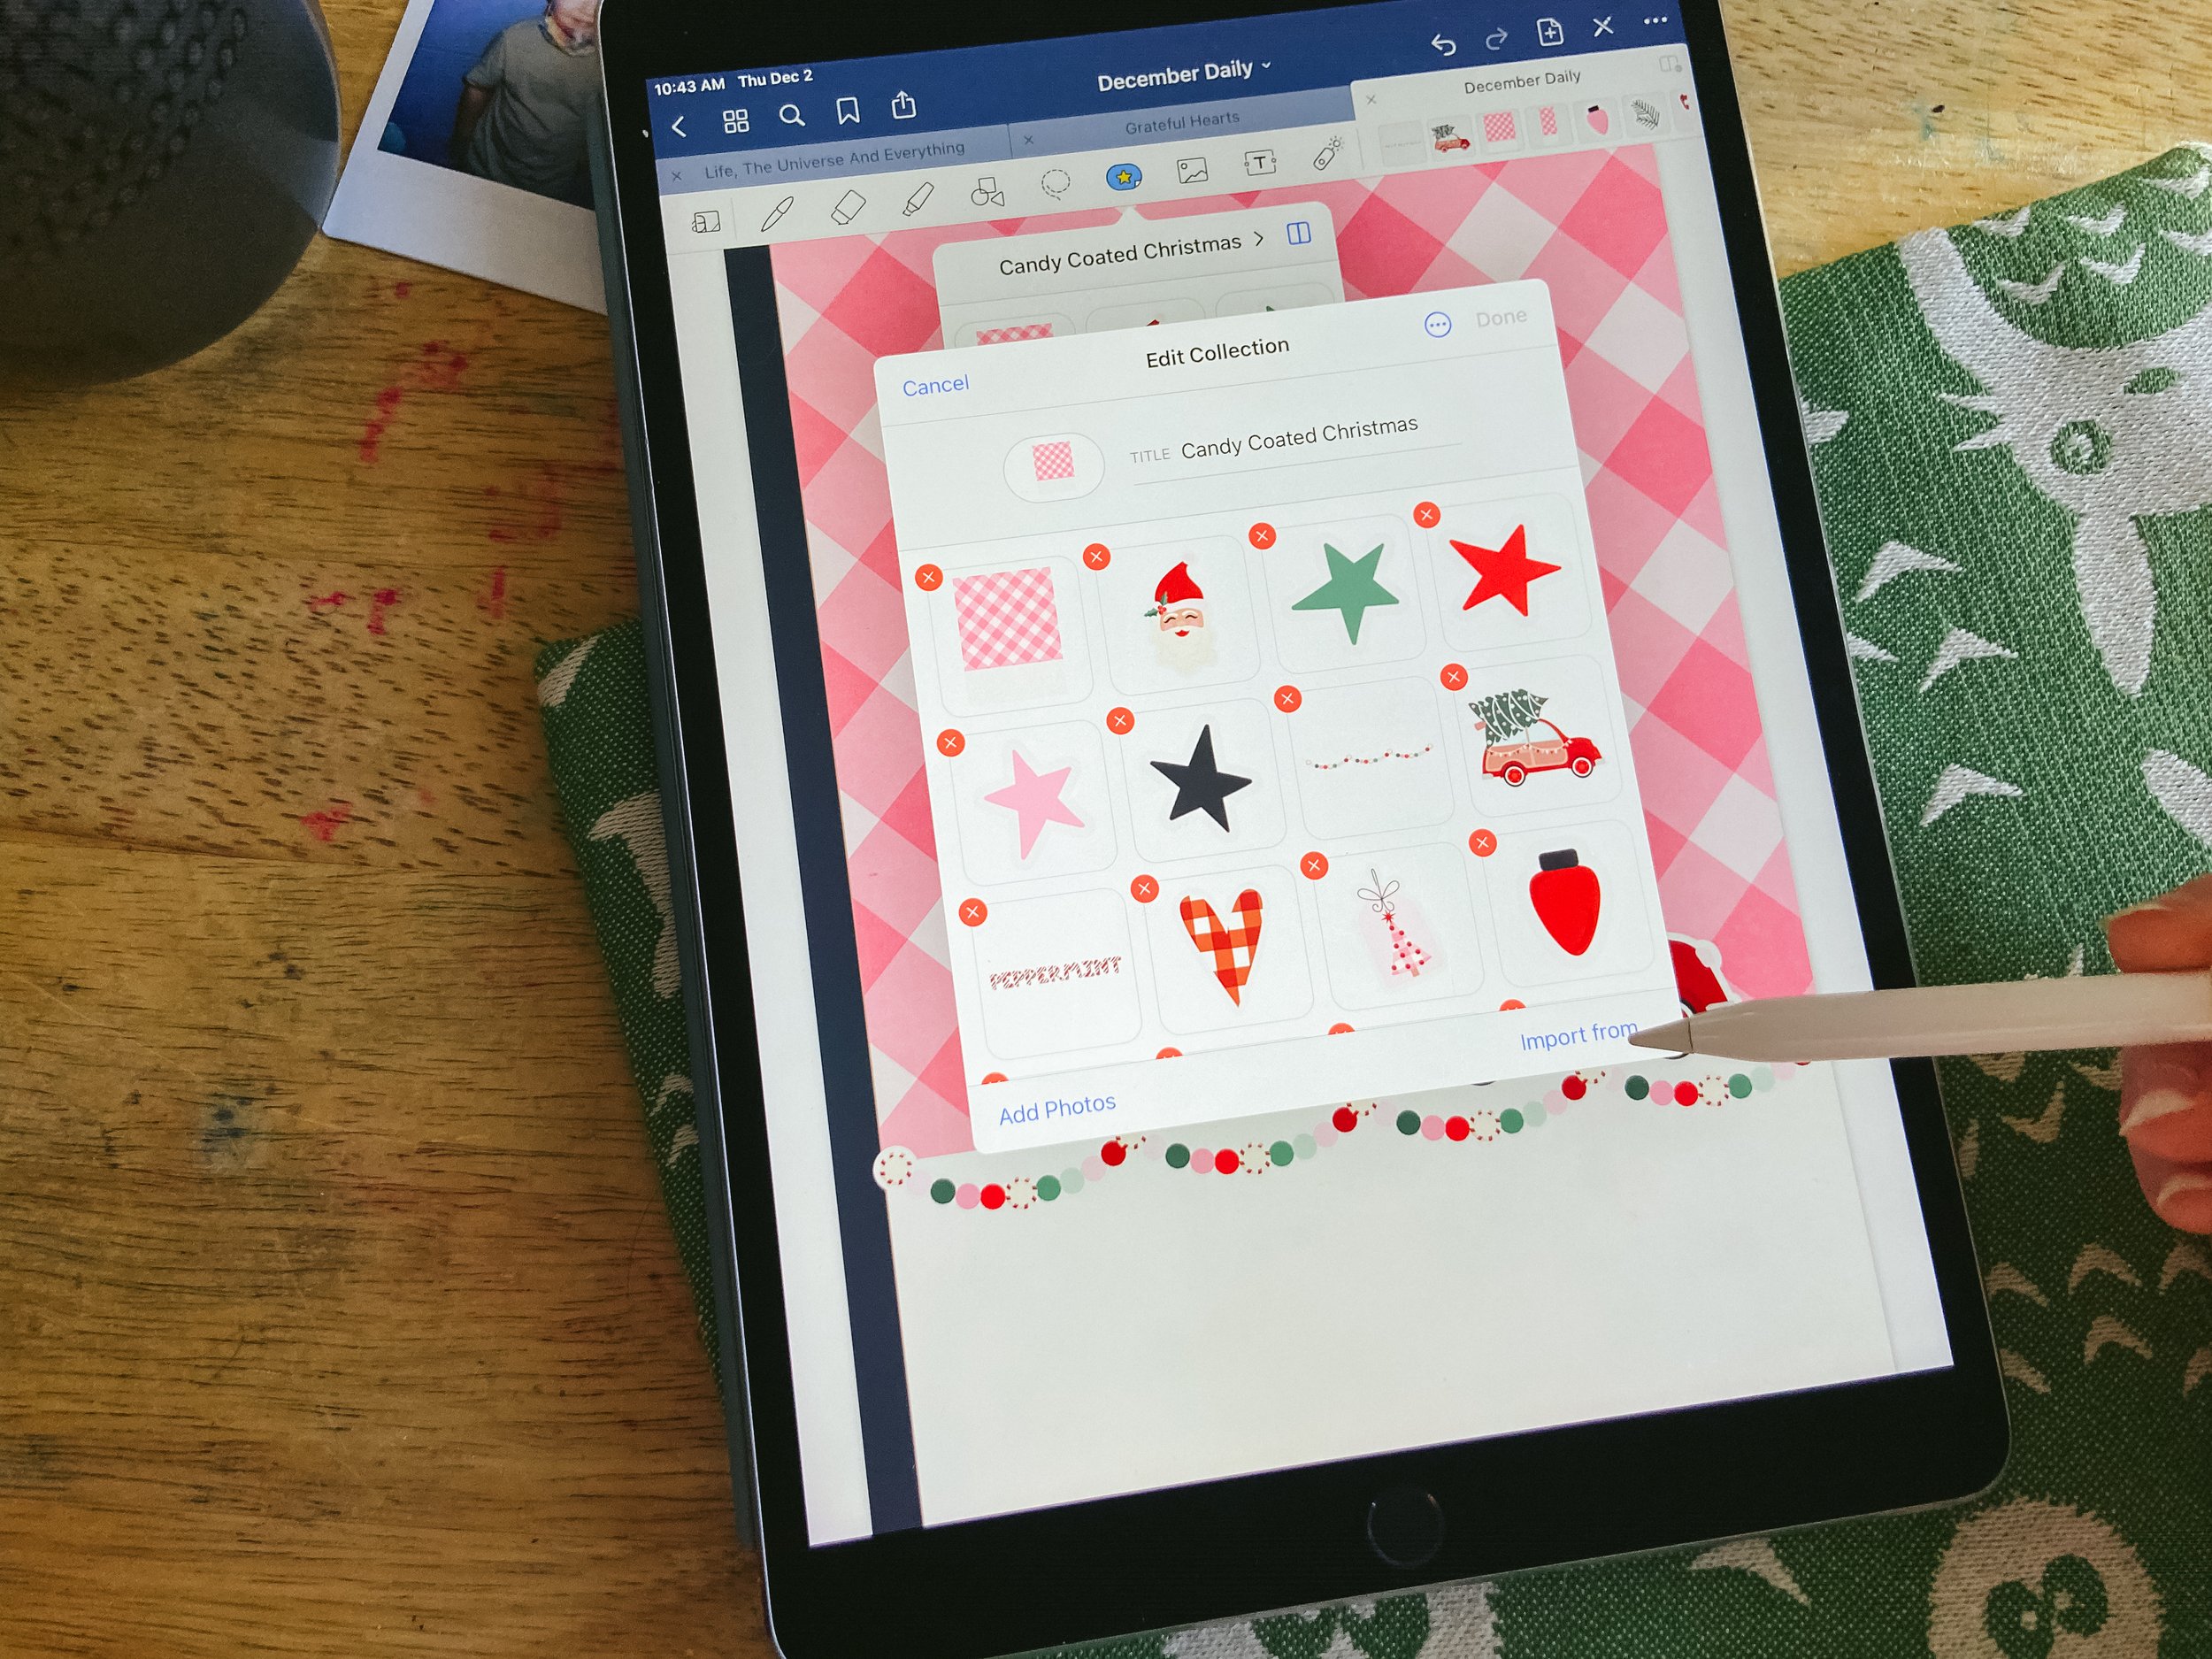
In the next window you can name your collection, choose an icon for it, and add import items into it that you can use.

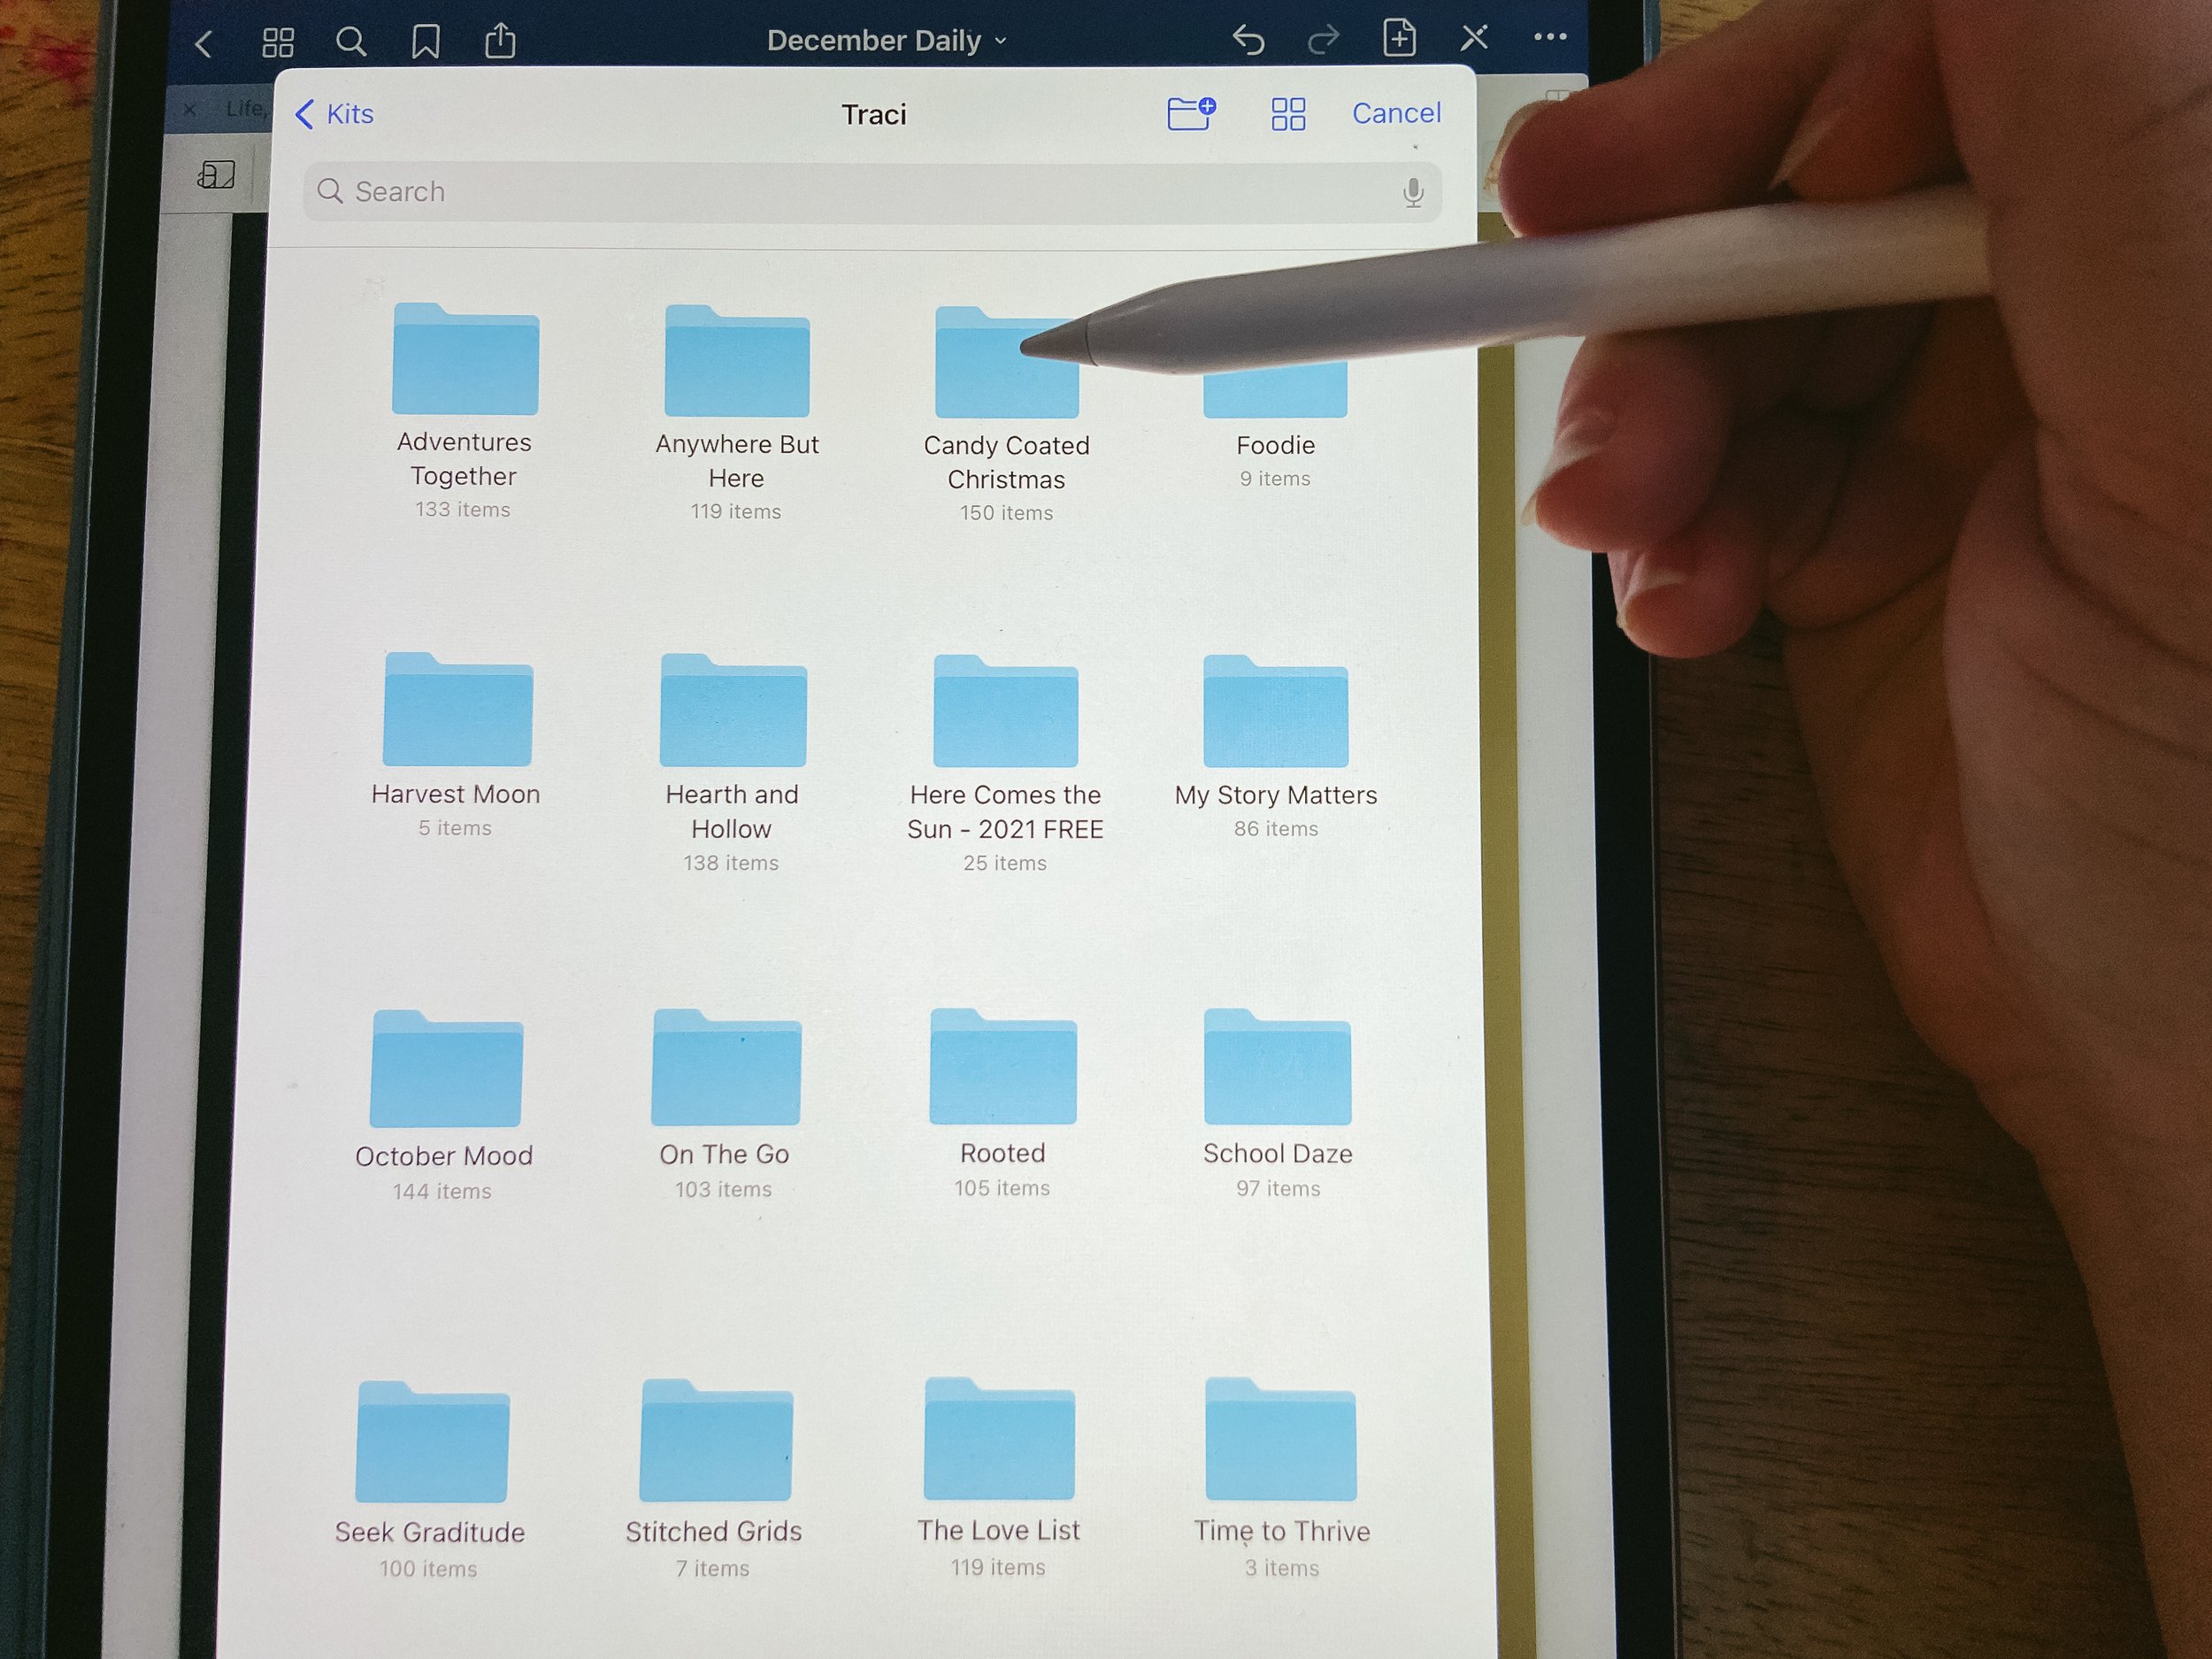
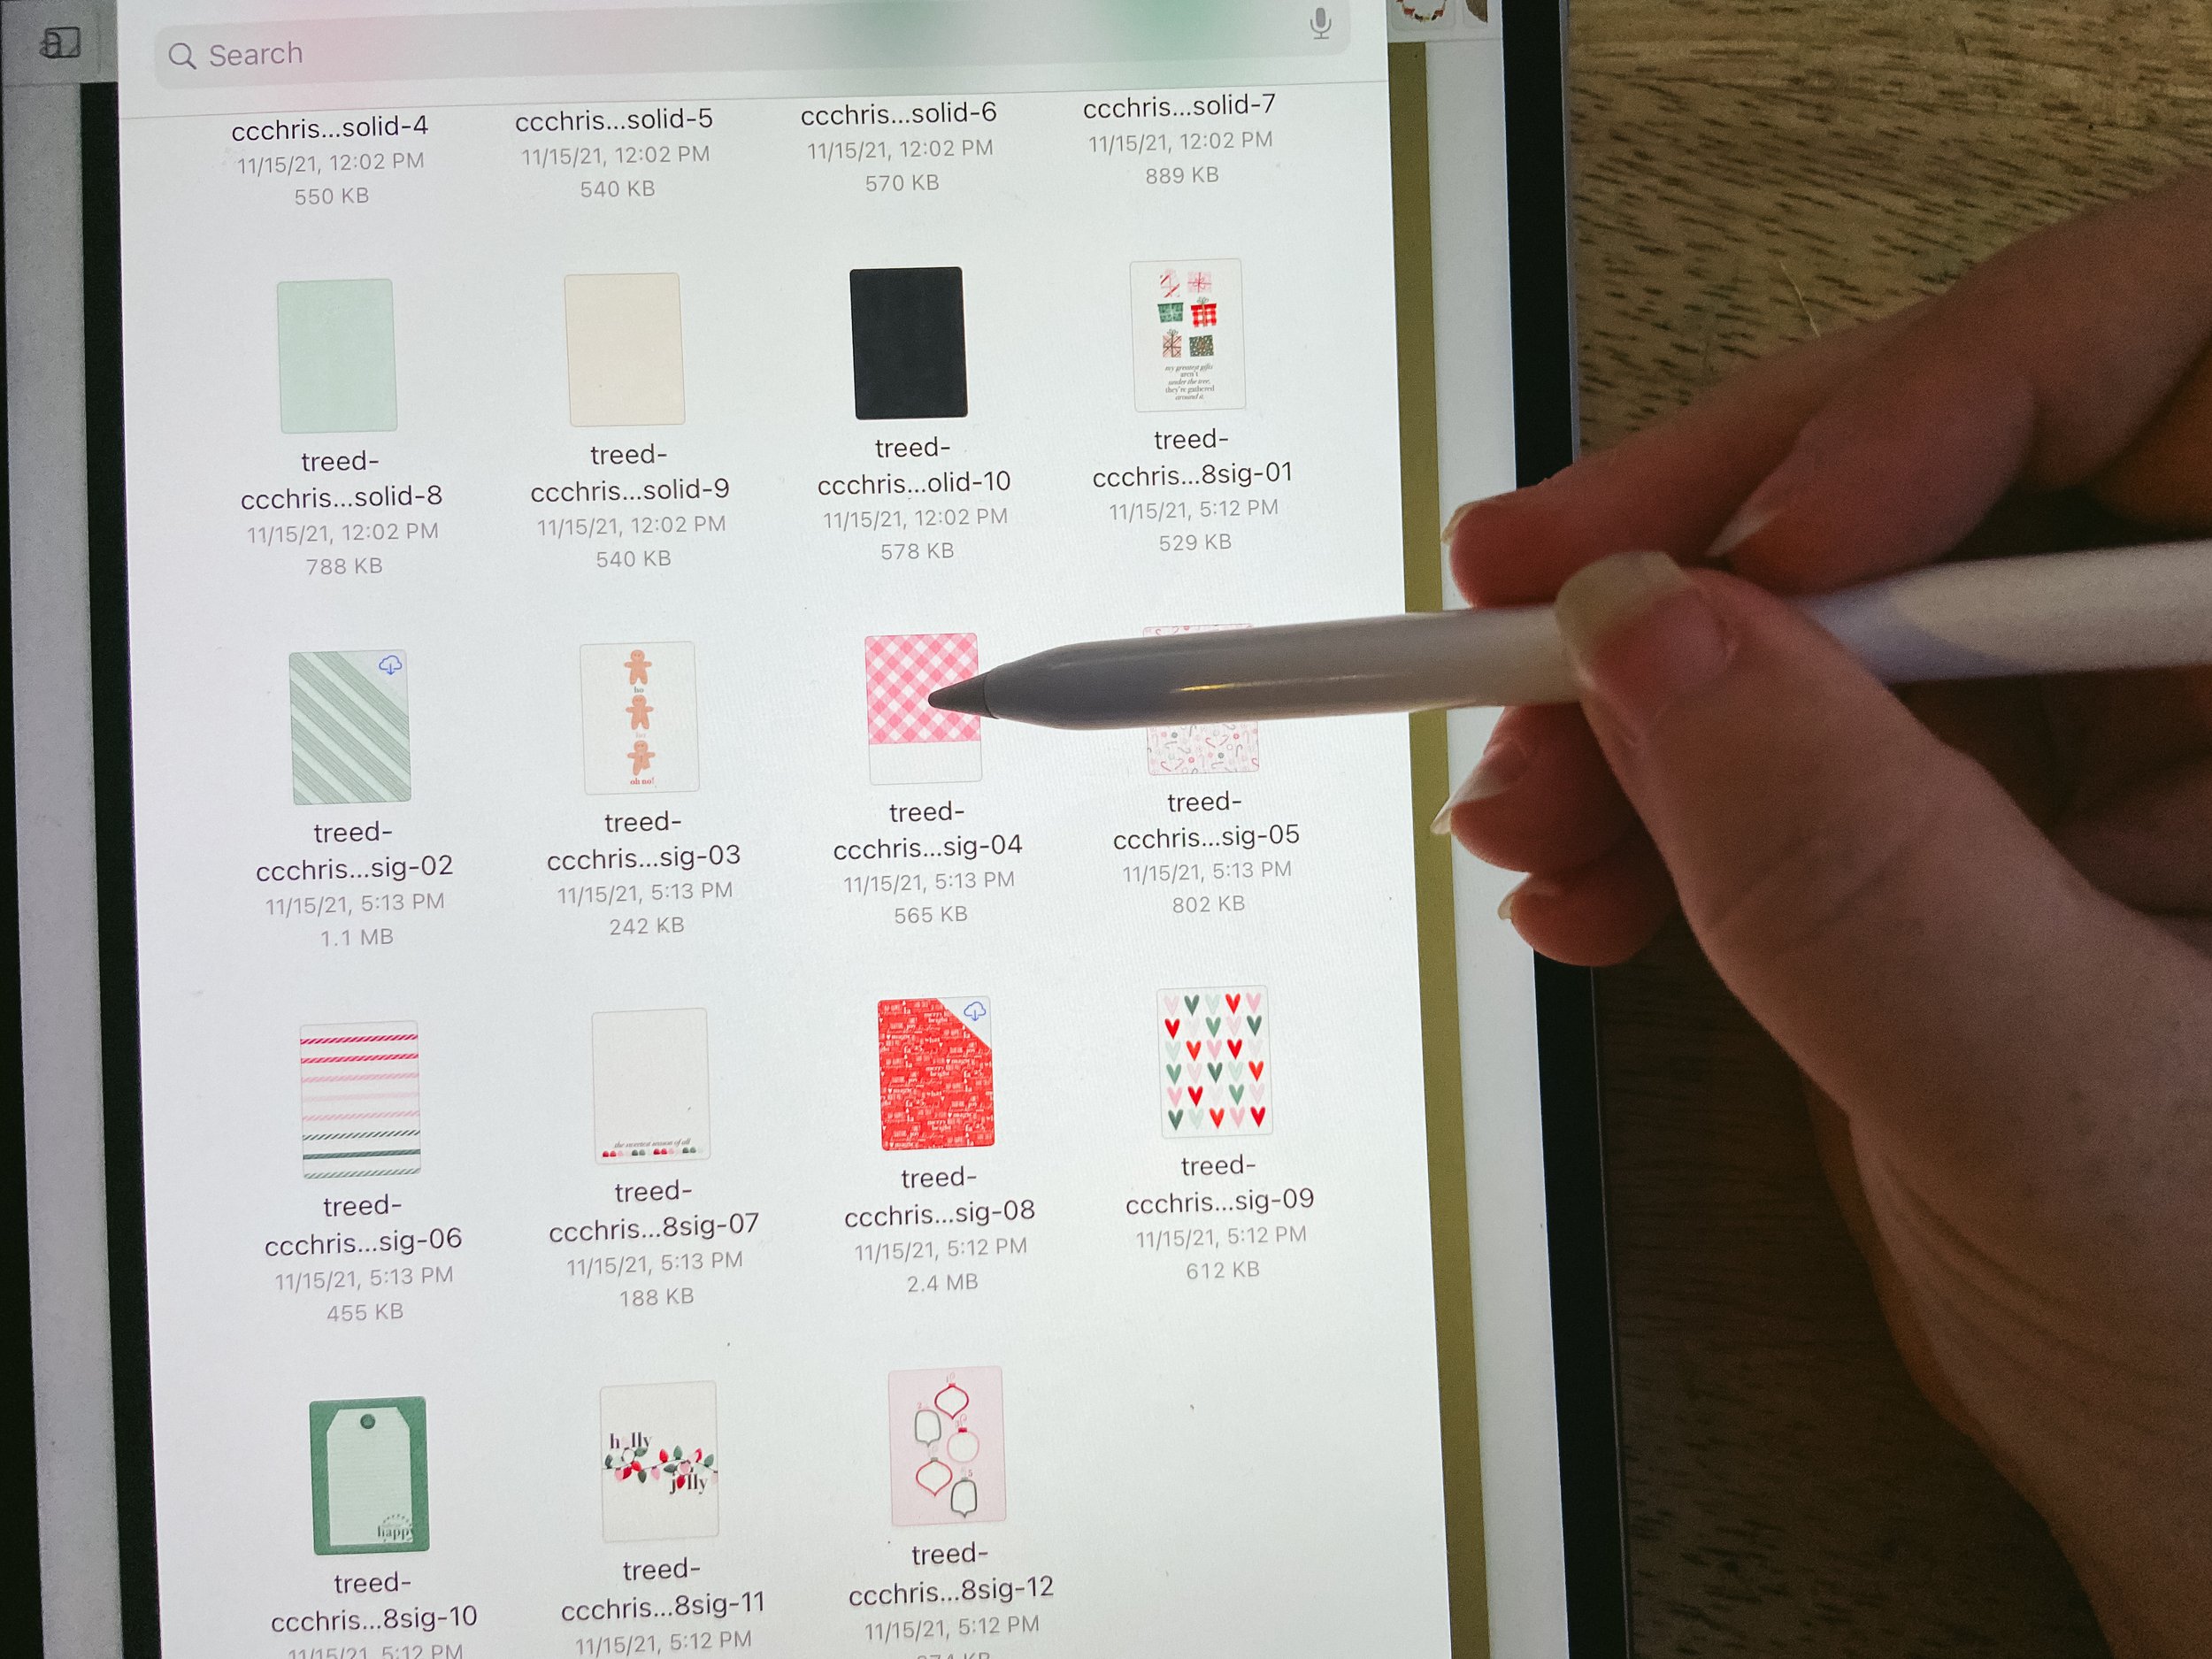
From there you need to access your iCloud, and then, in my case, I go to where my desktop is backed up, and then to where my digital scrapbooking supplies are, and then navigate to the collection I am planning to use, Candy Coated Christmas. Then it is just a matter of selecting the things that you want to use, I only select what I need at a time, and then clicking create.

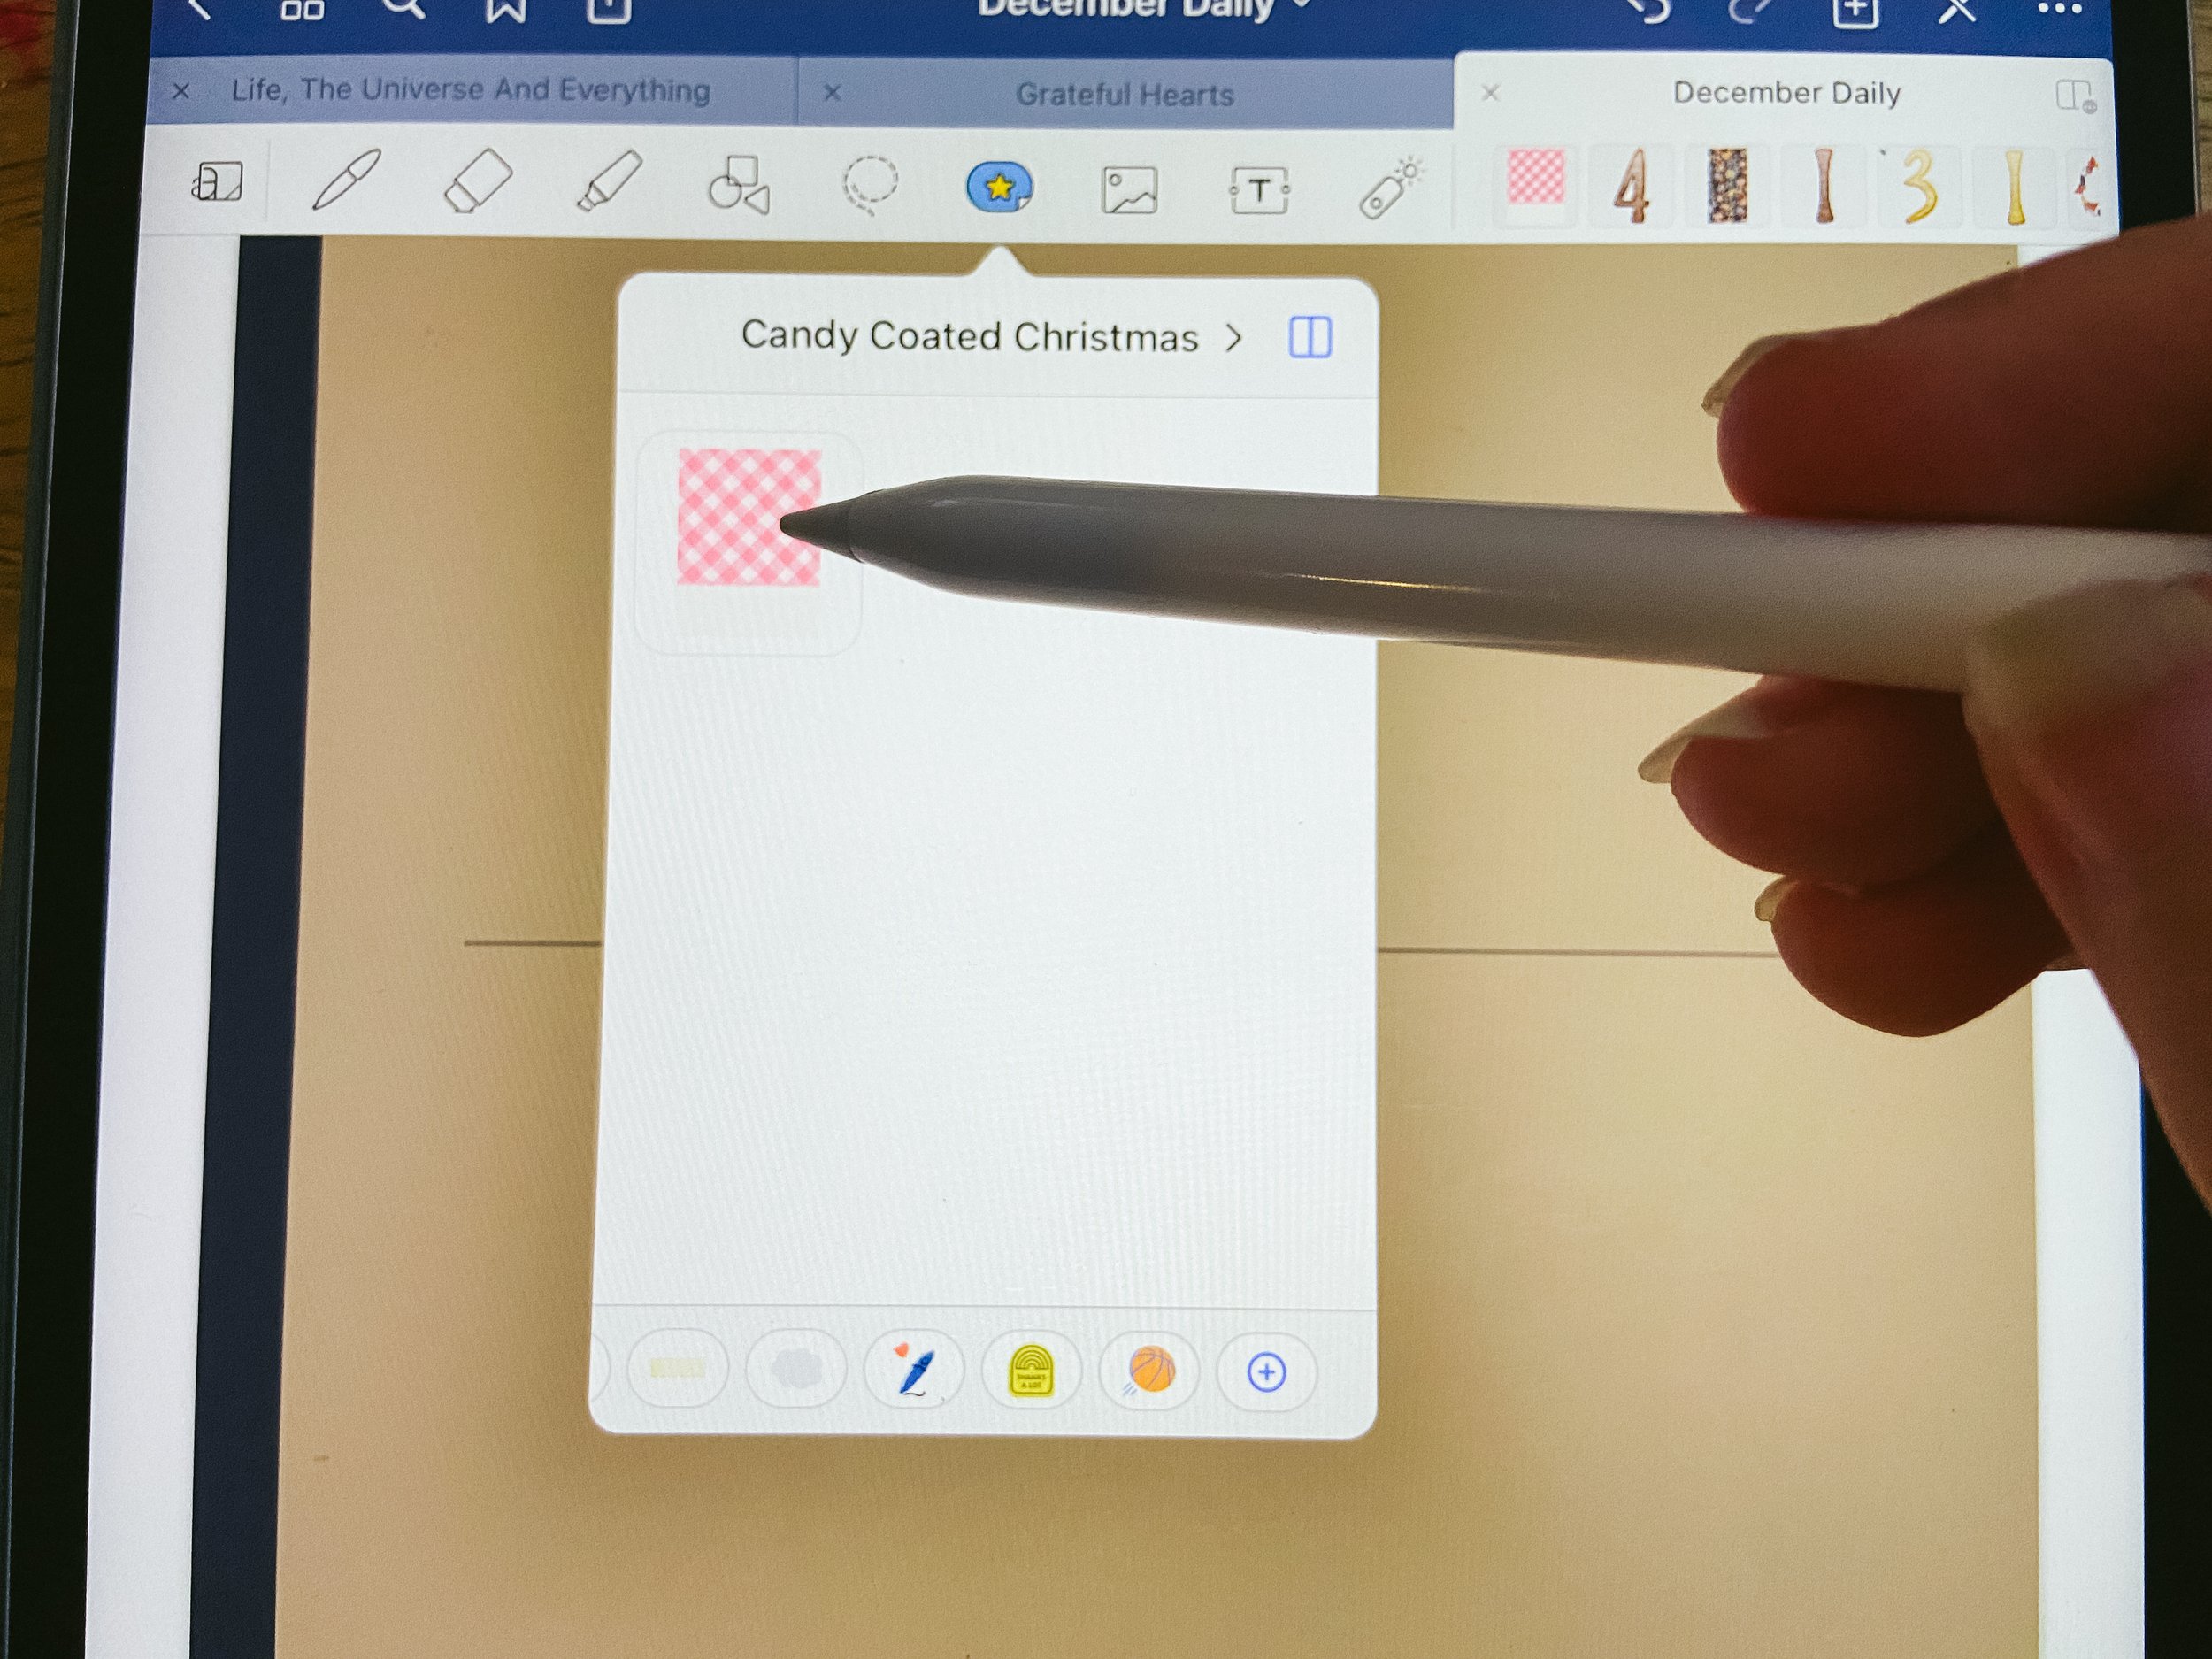
Any time that you want to add more to use you just click on the collection name, and then click “import from” on the pop-up.
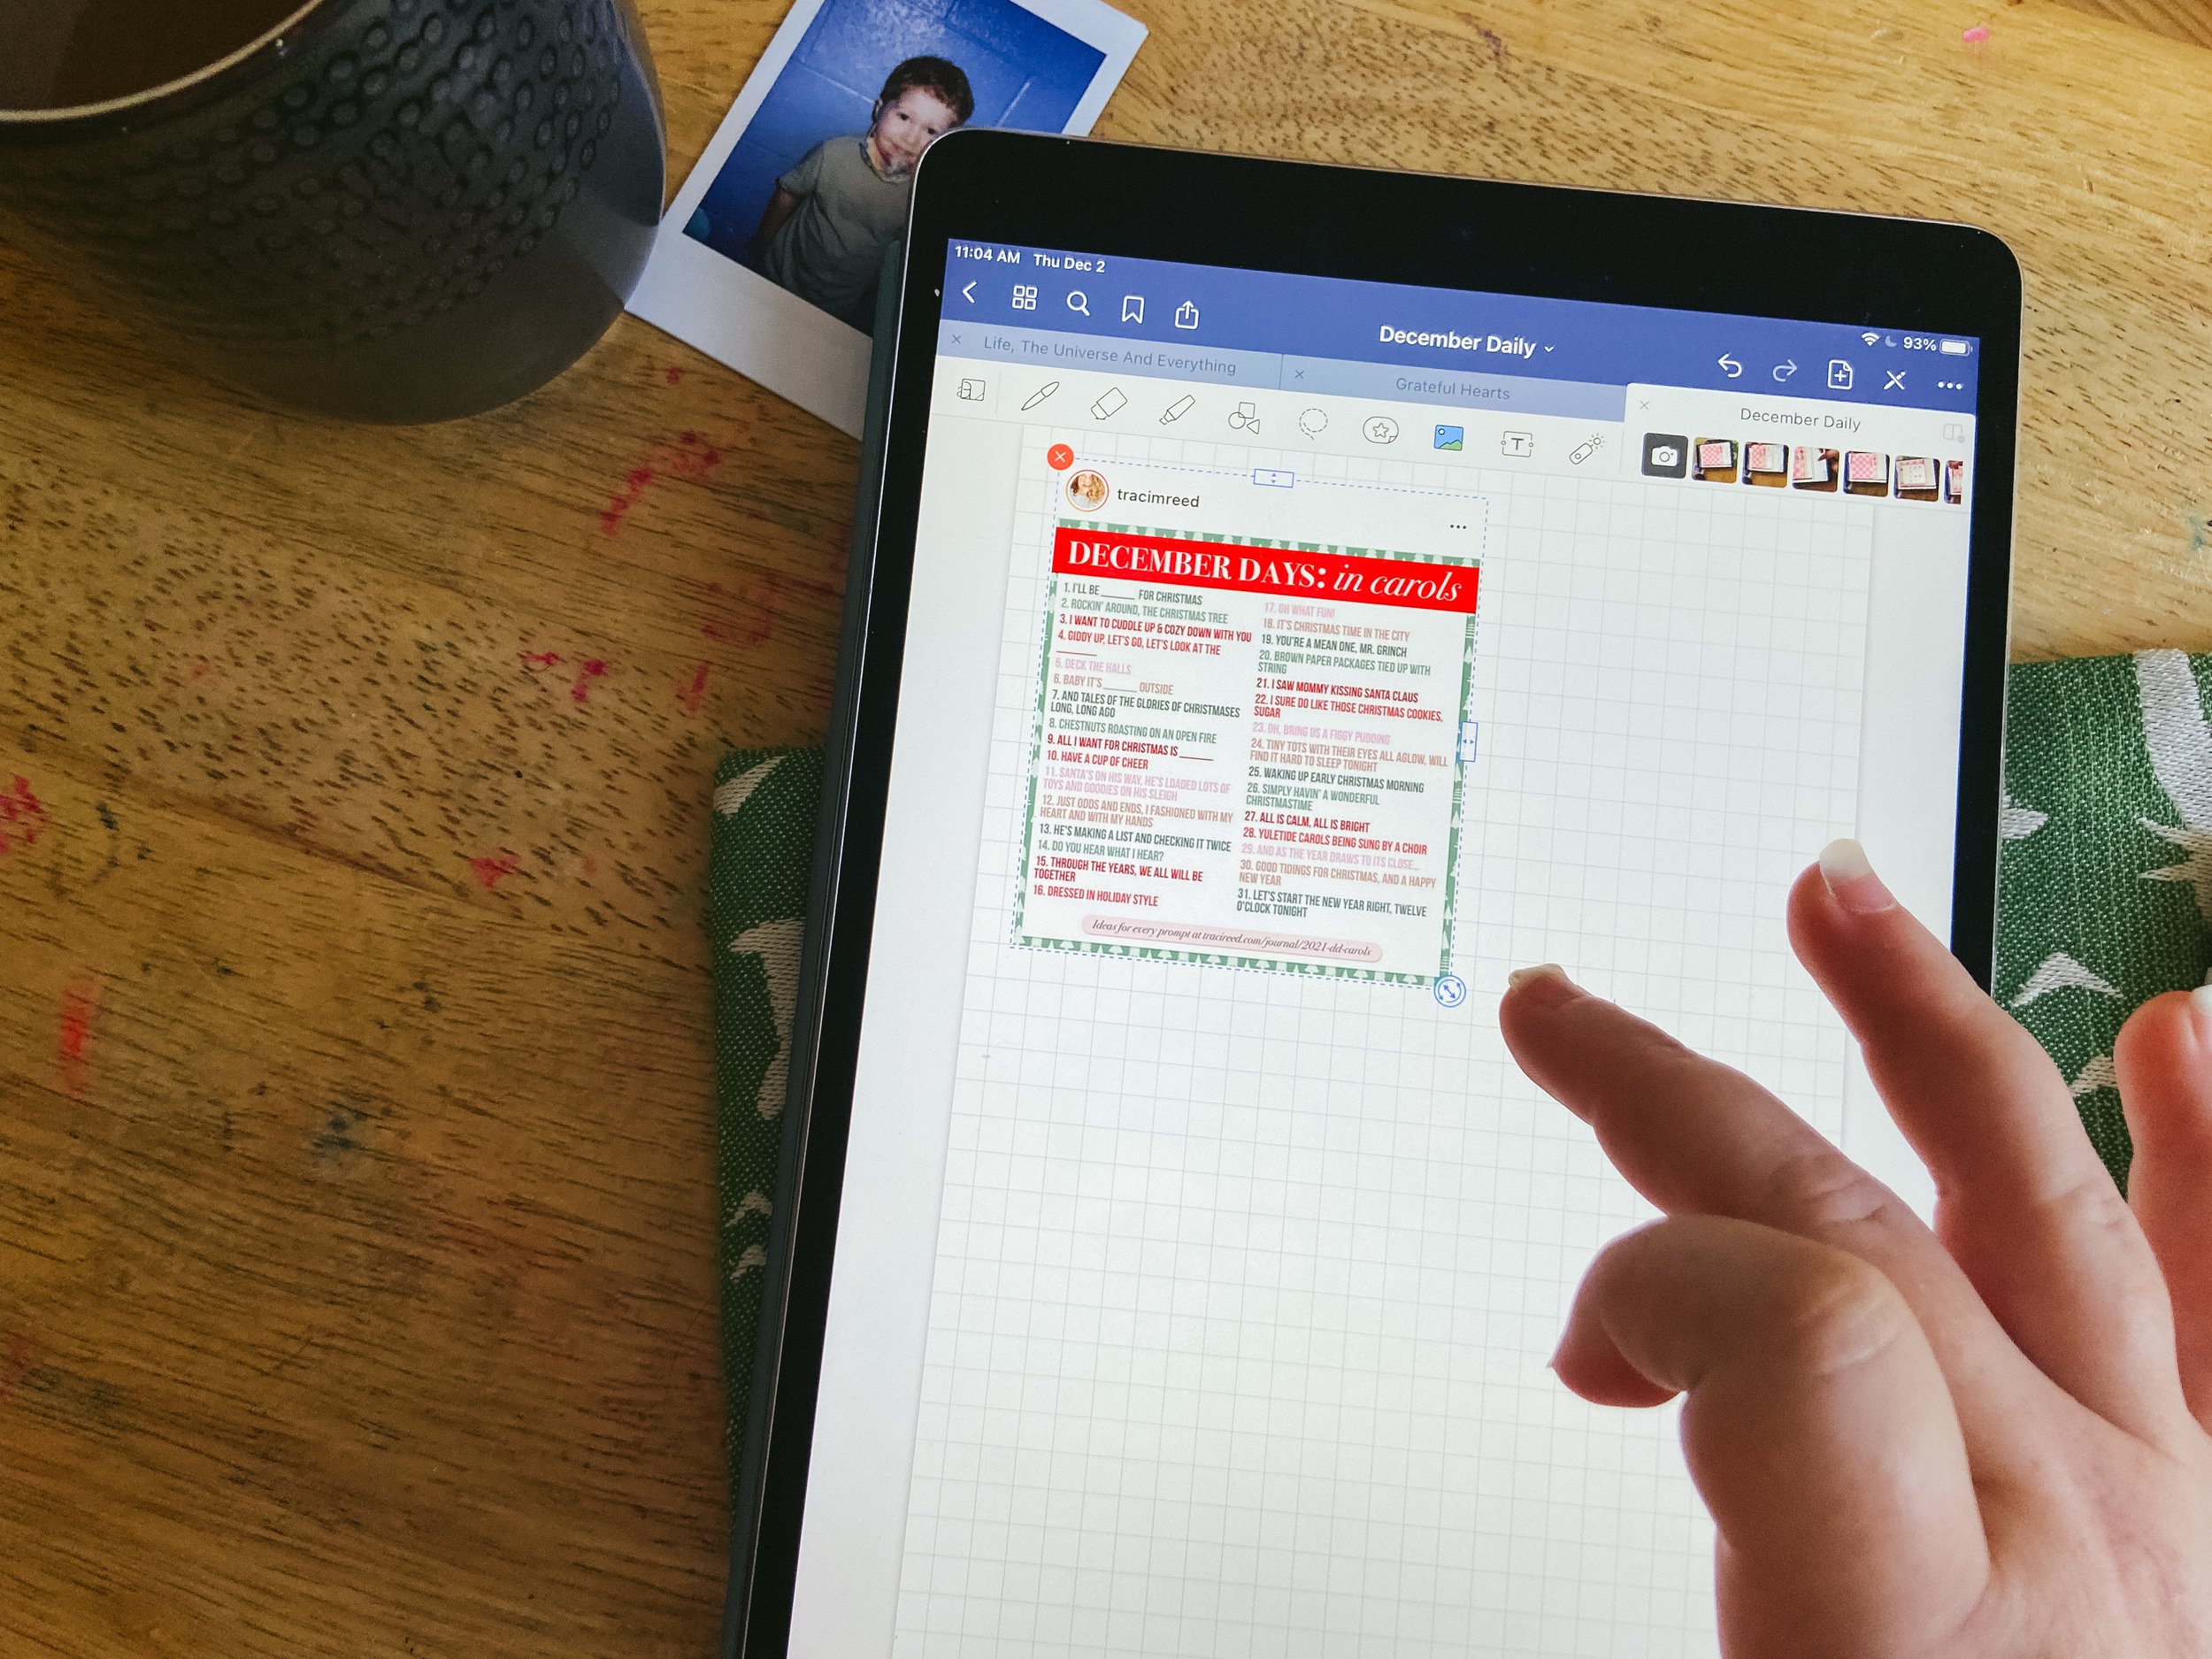
Resizing Images
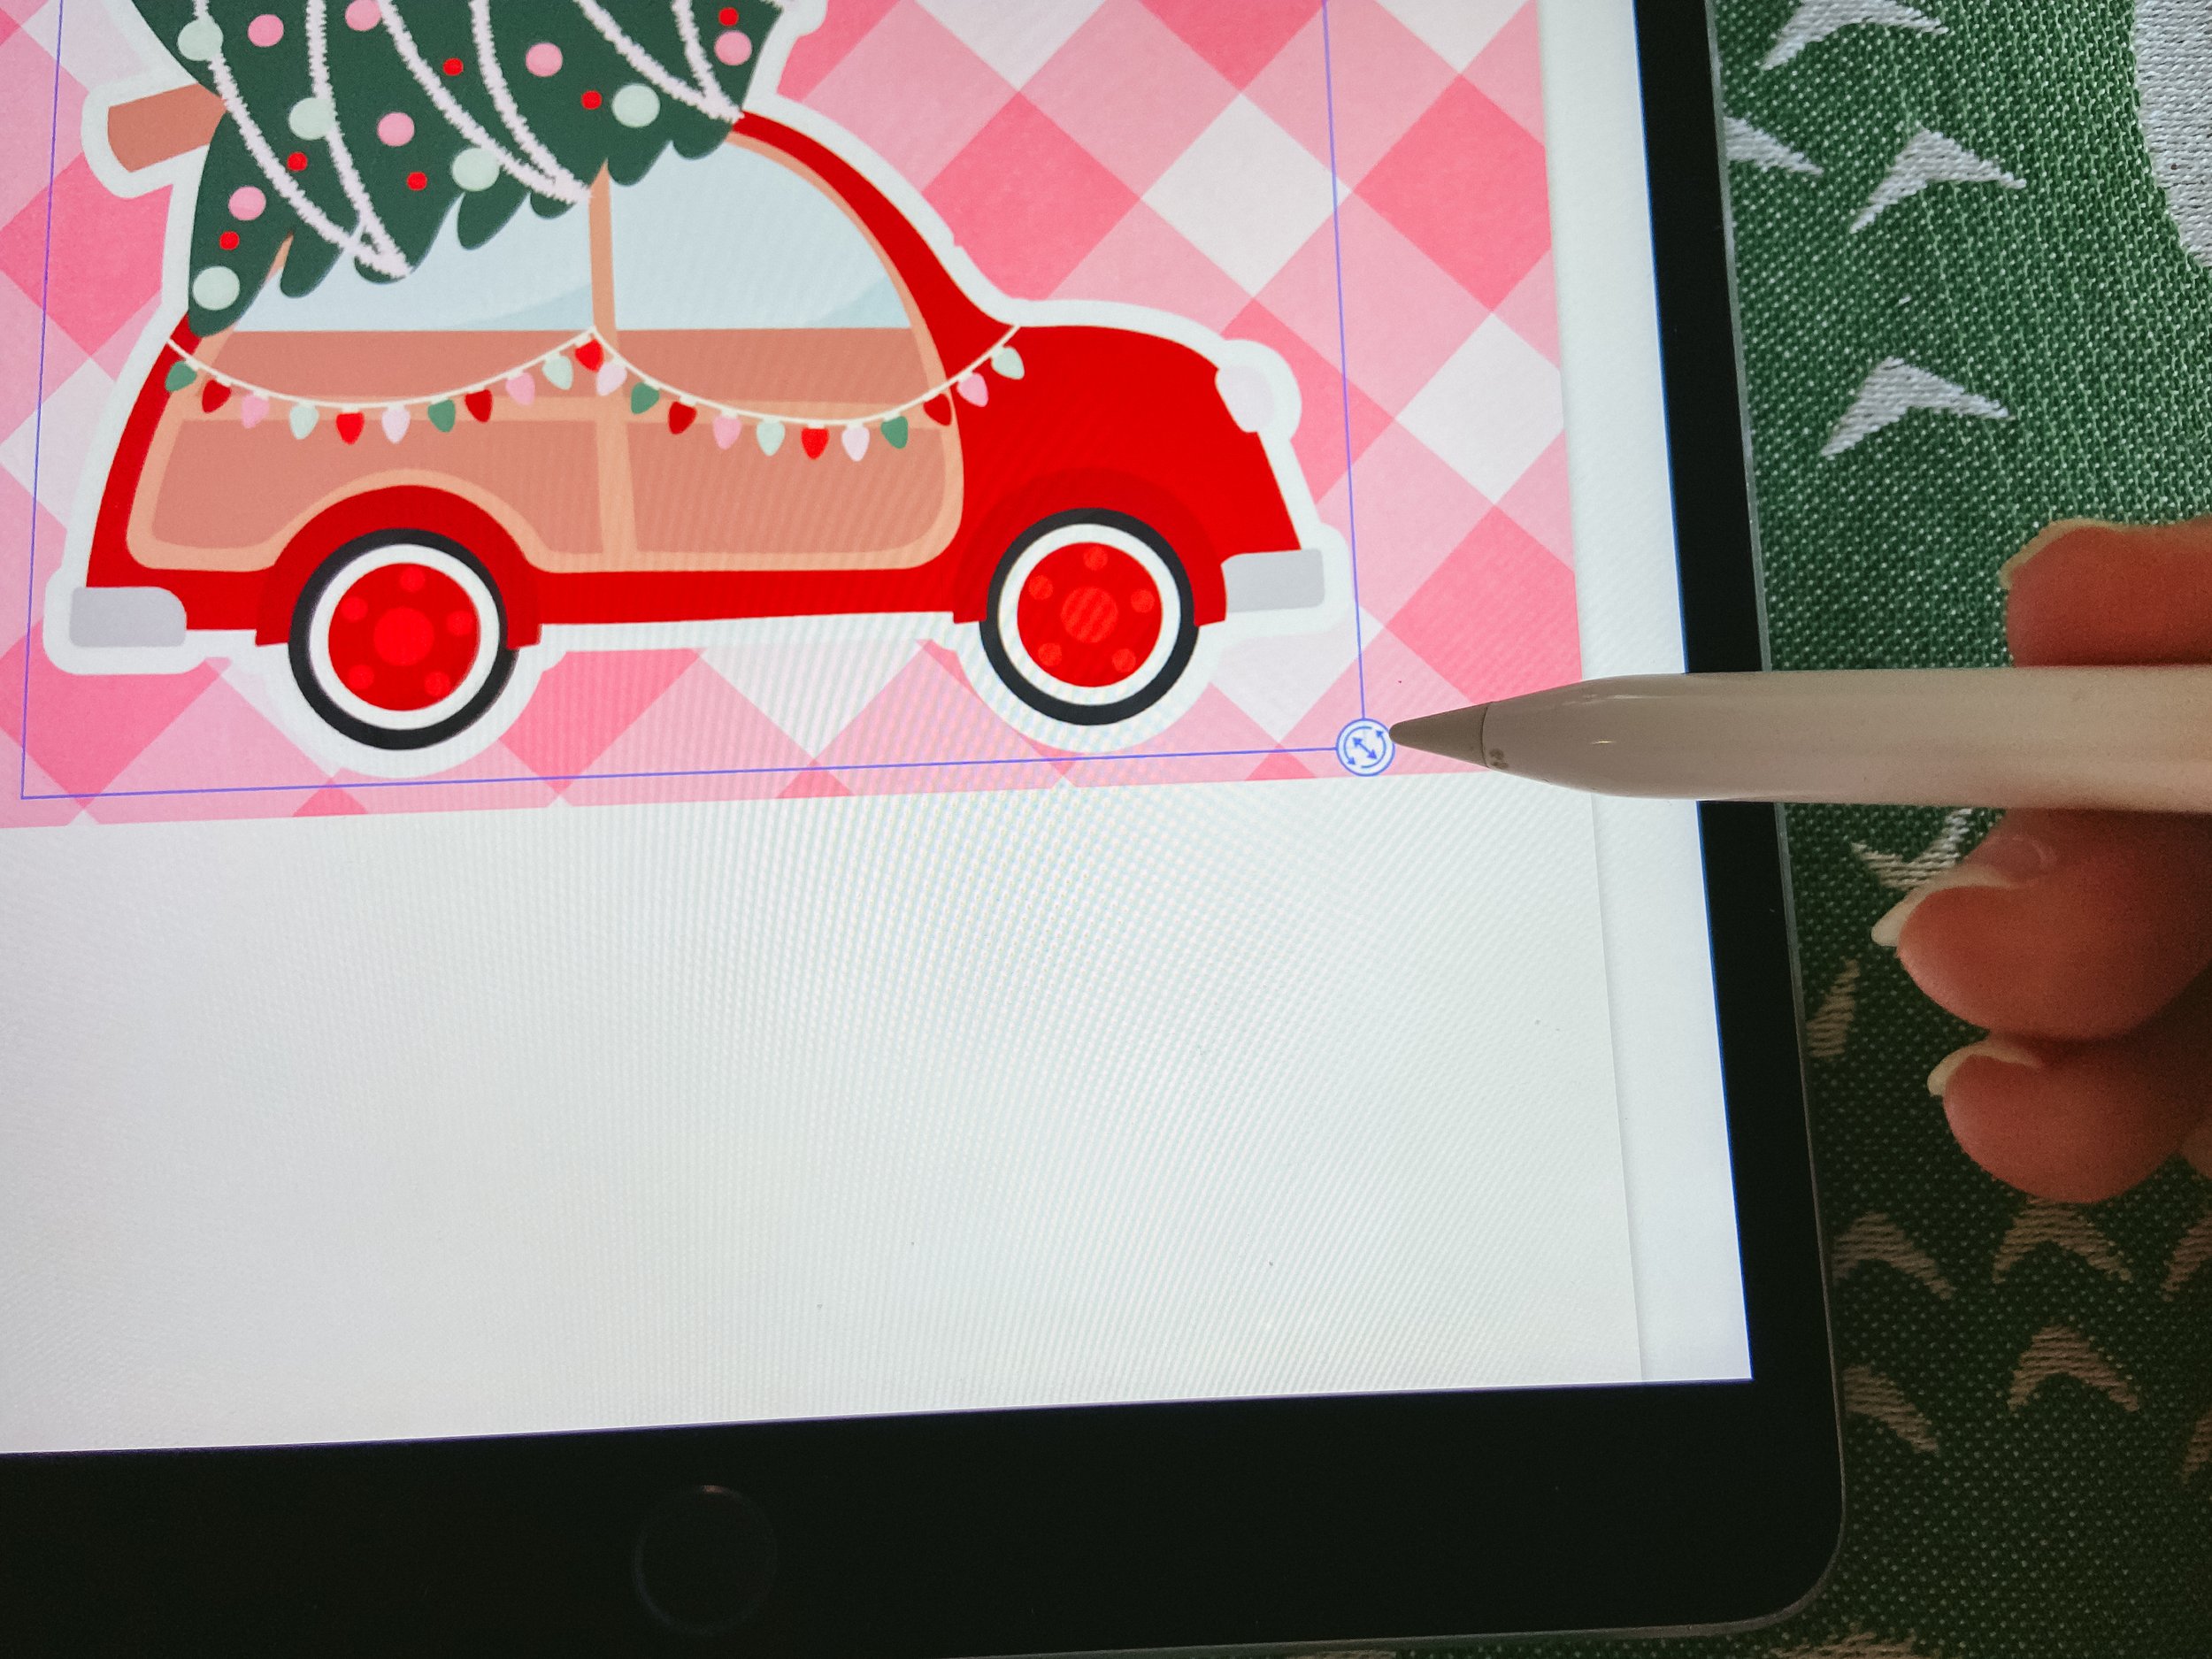
If you need to resize anything (and you generally will) at the bottom right of the item you are resizing you will see a small circle with arrows on it, you simply drag that to make the item bigger or smaller.
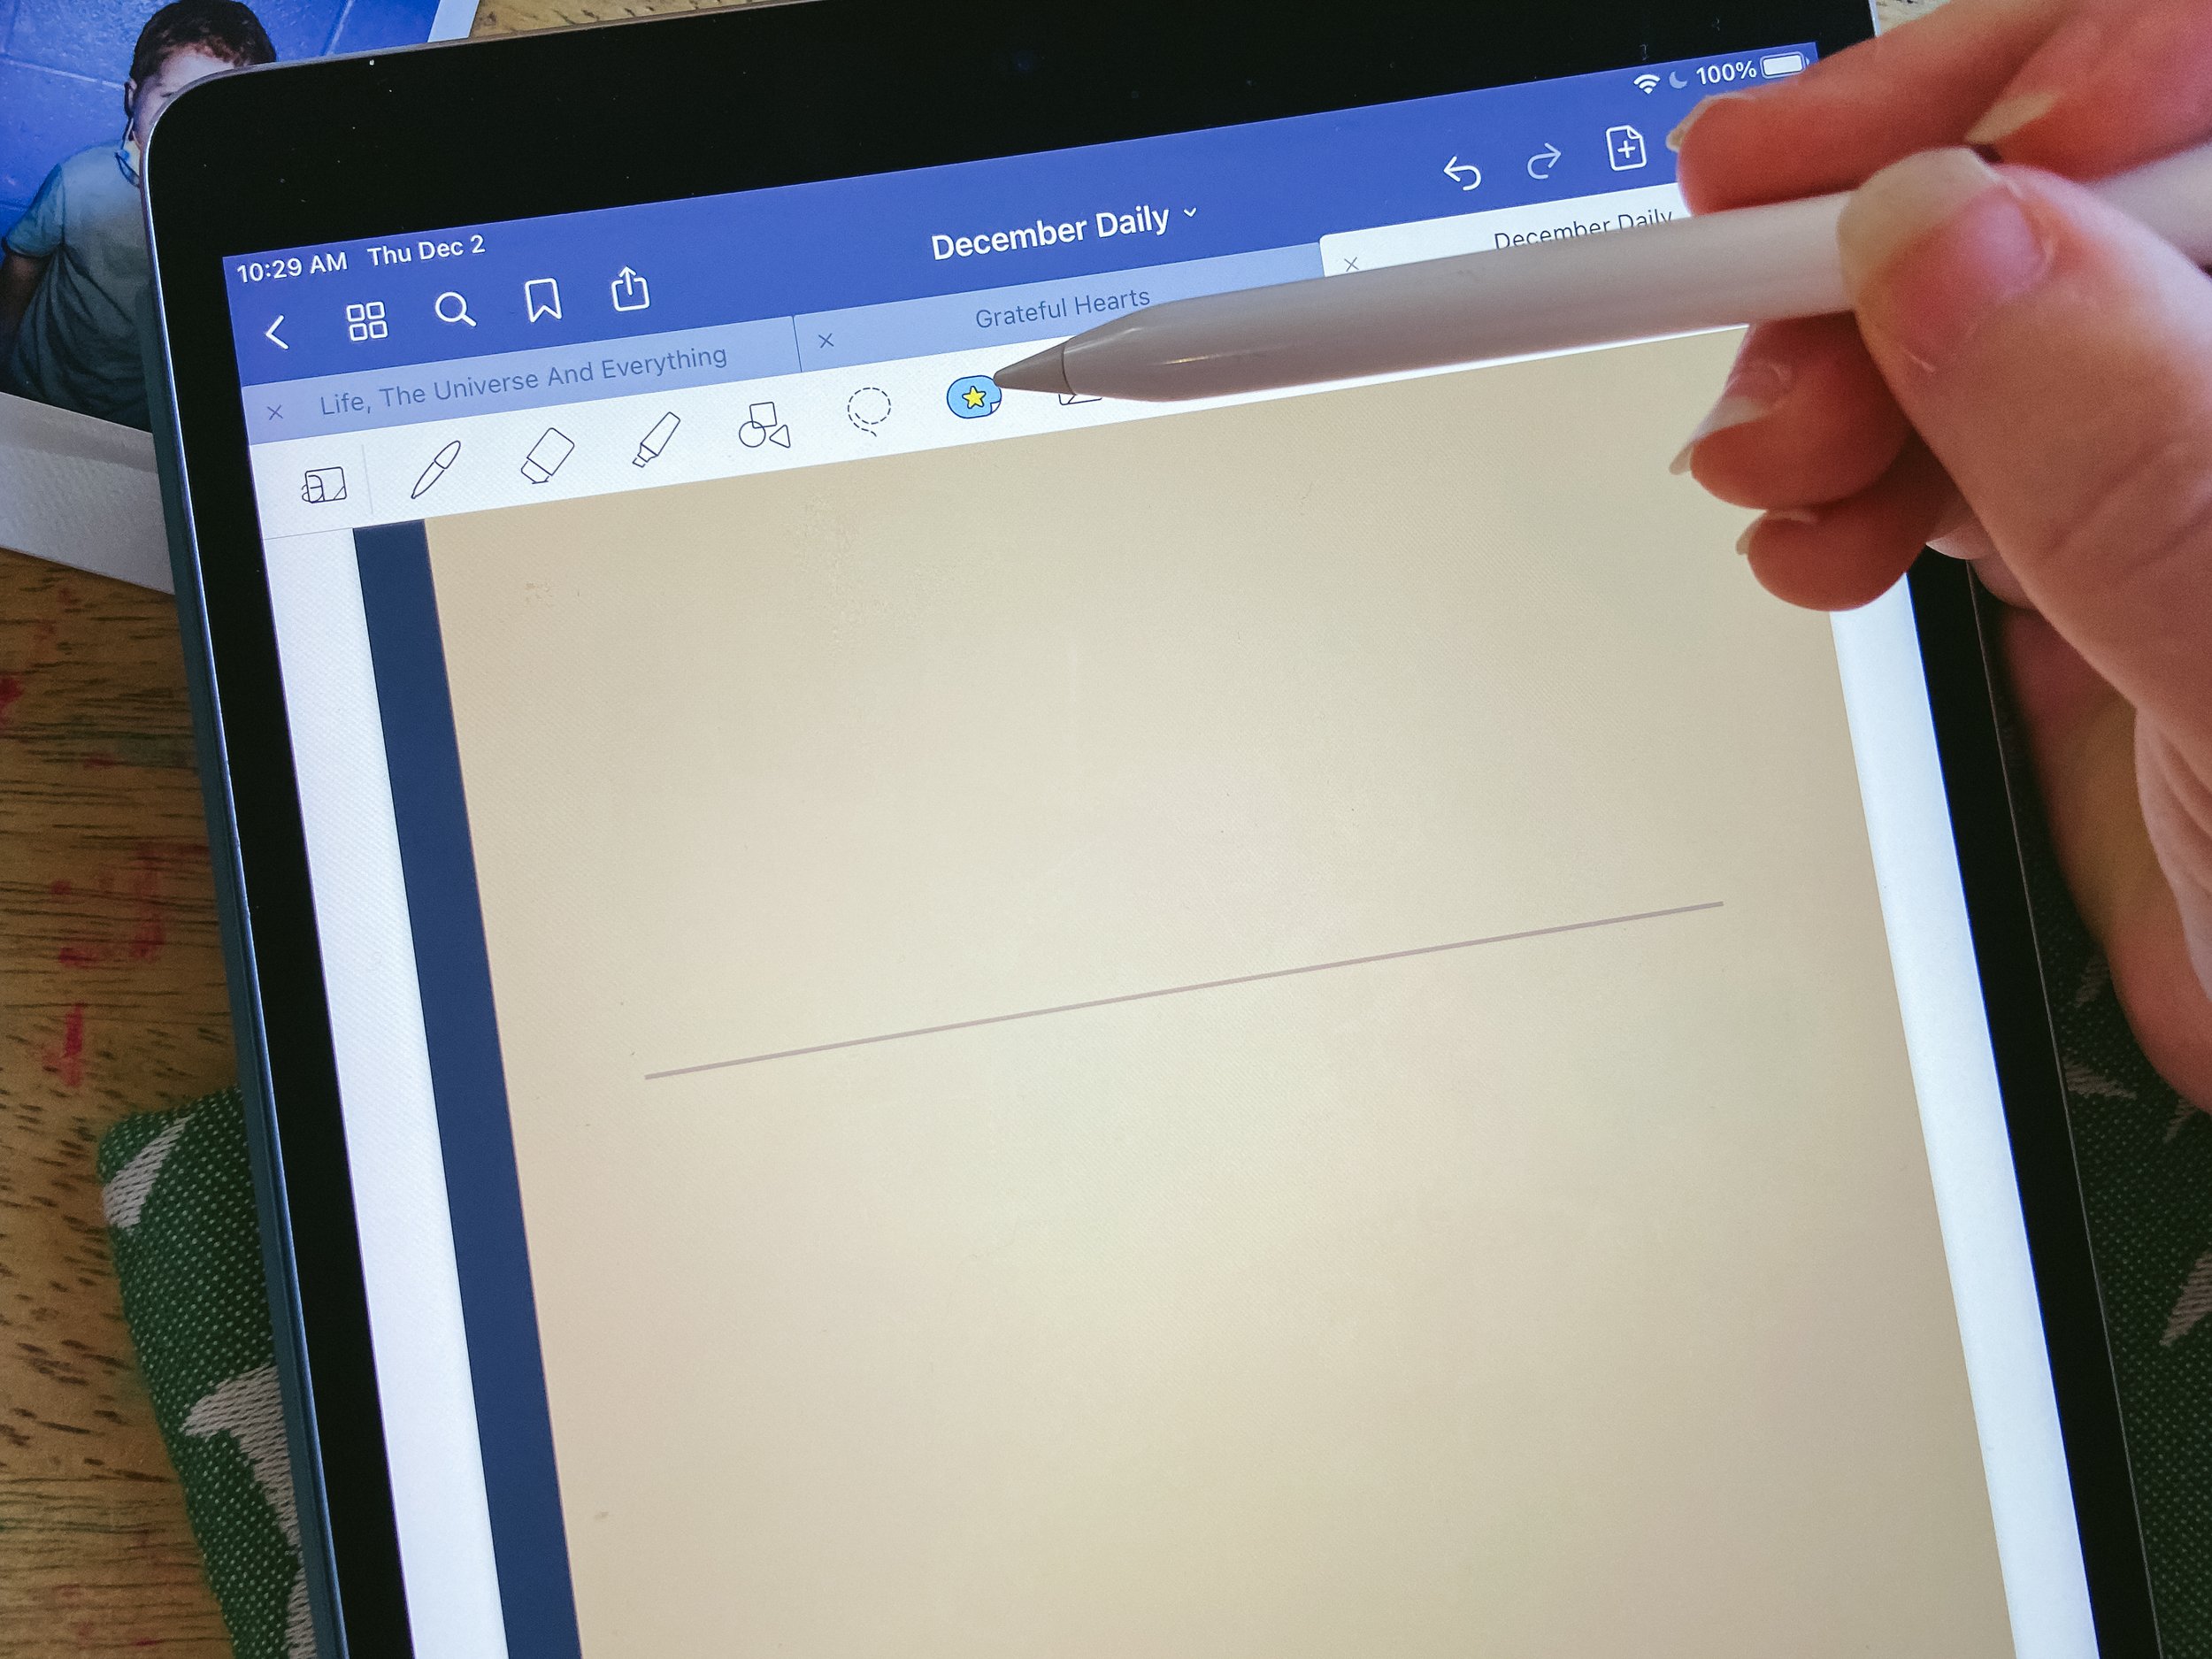
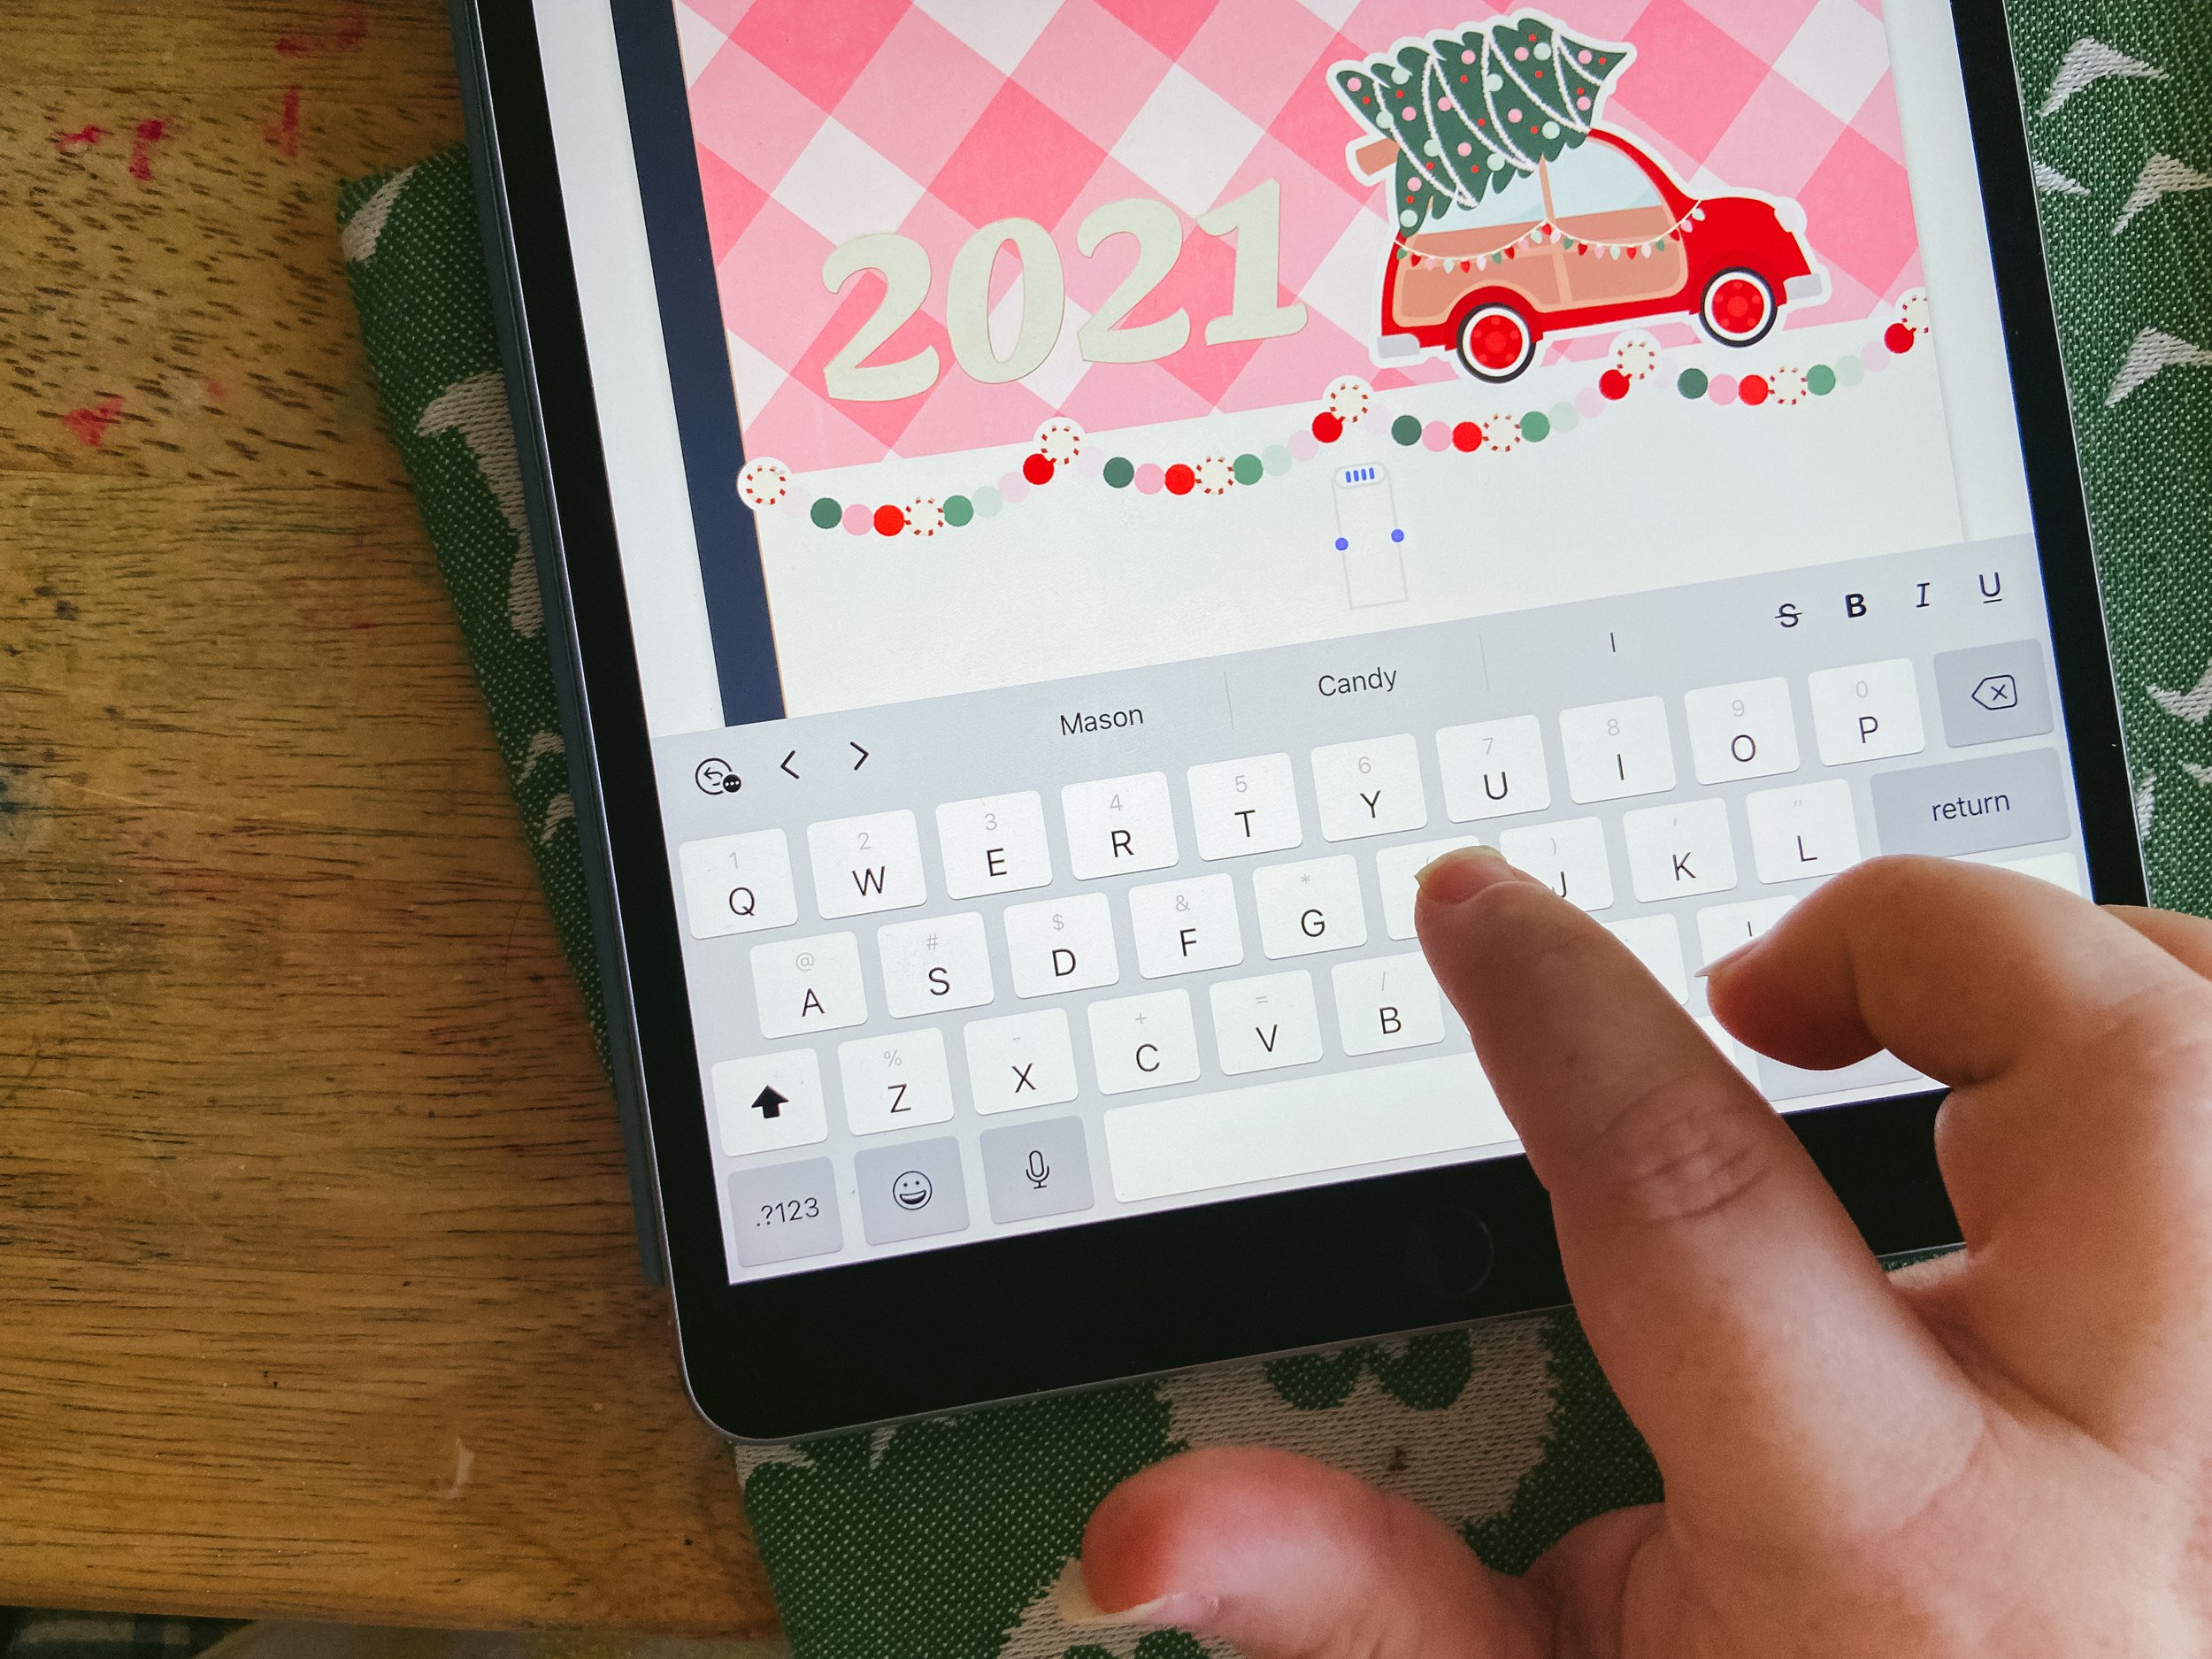
Now, if you are using an iPad and have a pencil or stylus you can use the pen tool to just write anything you want on there. Or if you have messy handwriting like yours truly, you can use the text option. Simply scroll the menu bar over to the left and then select the box with a T in it to access the text tool. You need to adjust the size and font before you begin typing as you can not edit those once you have typed.
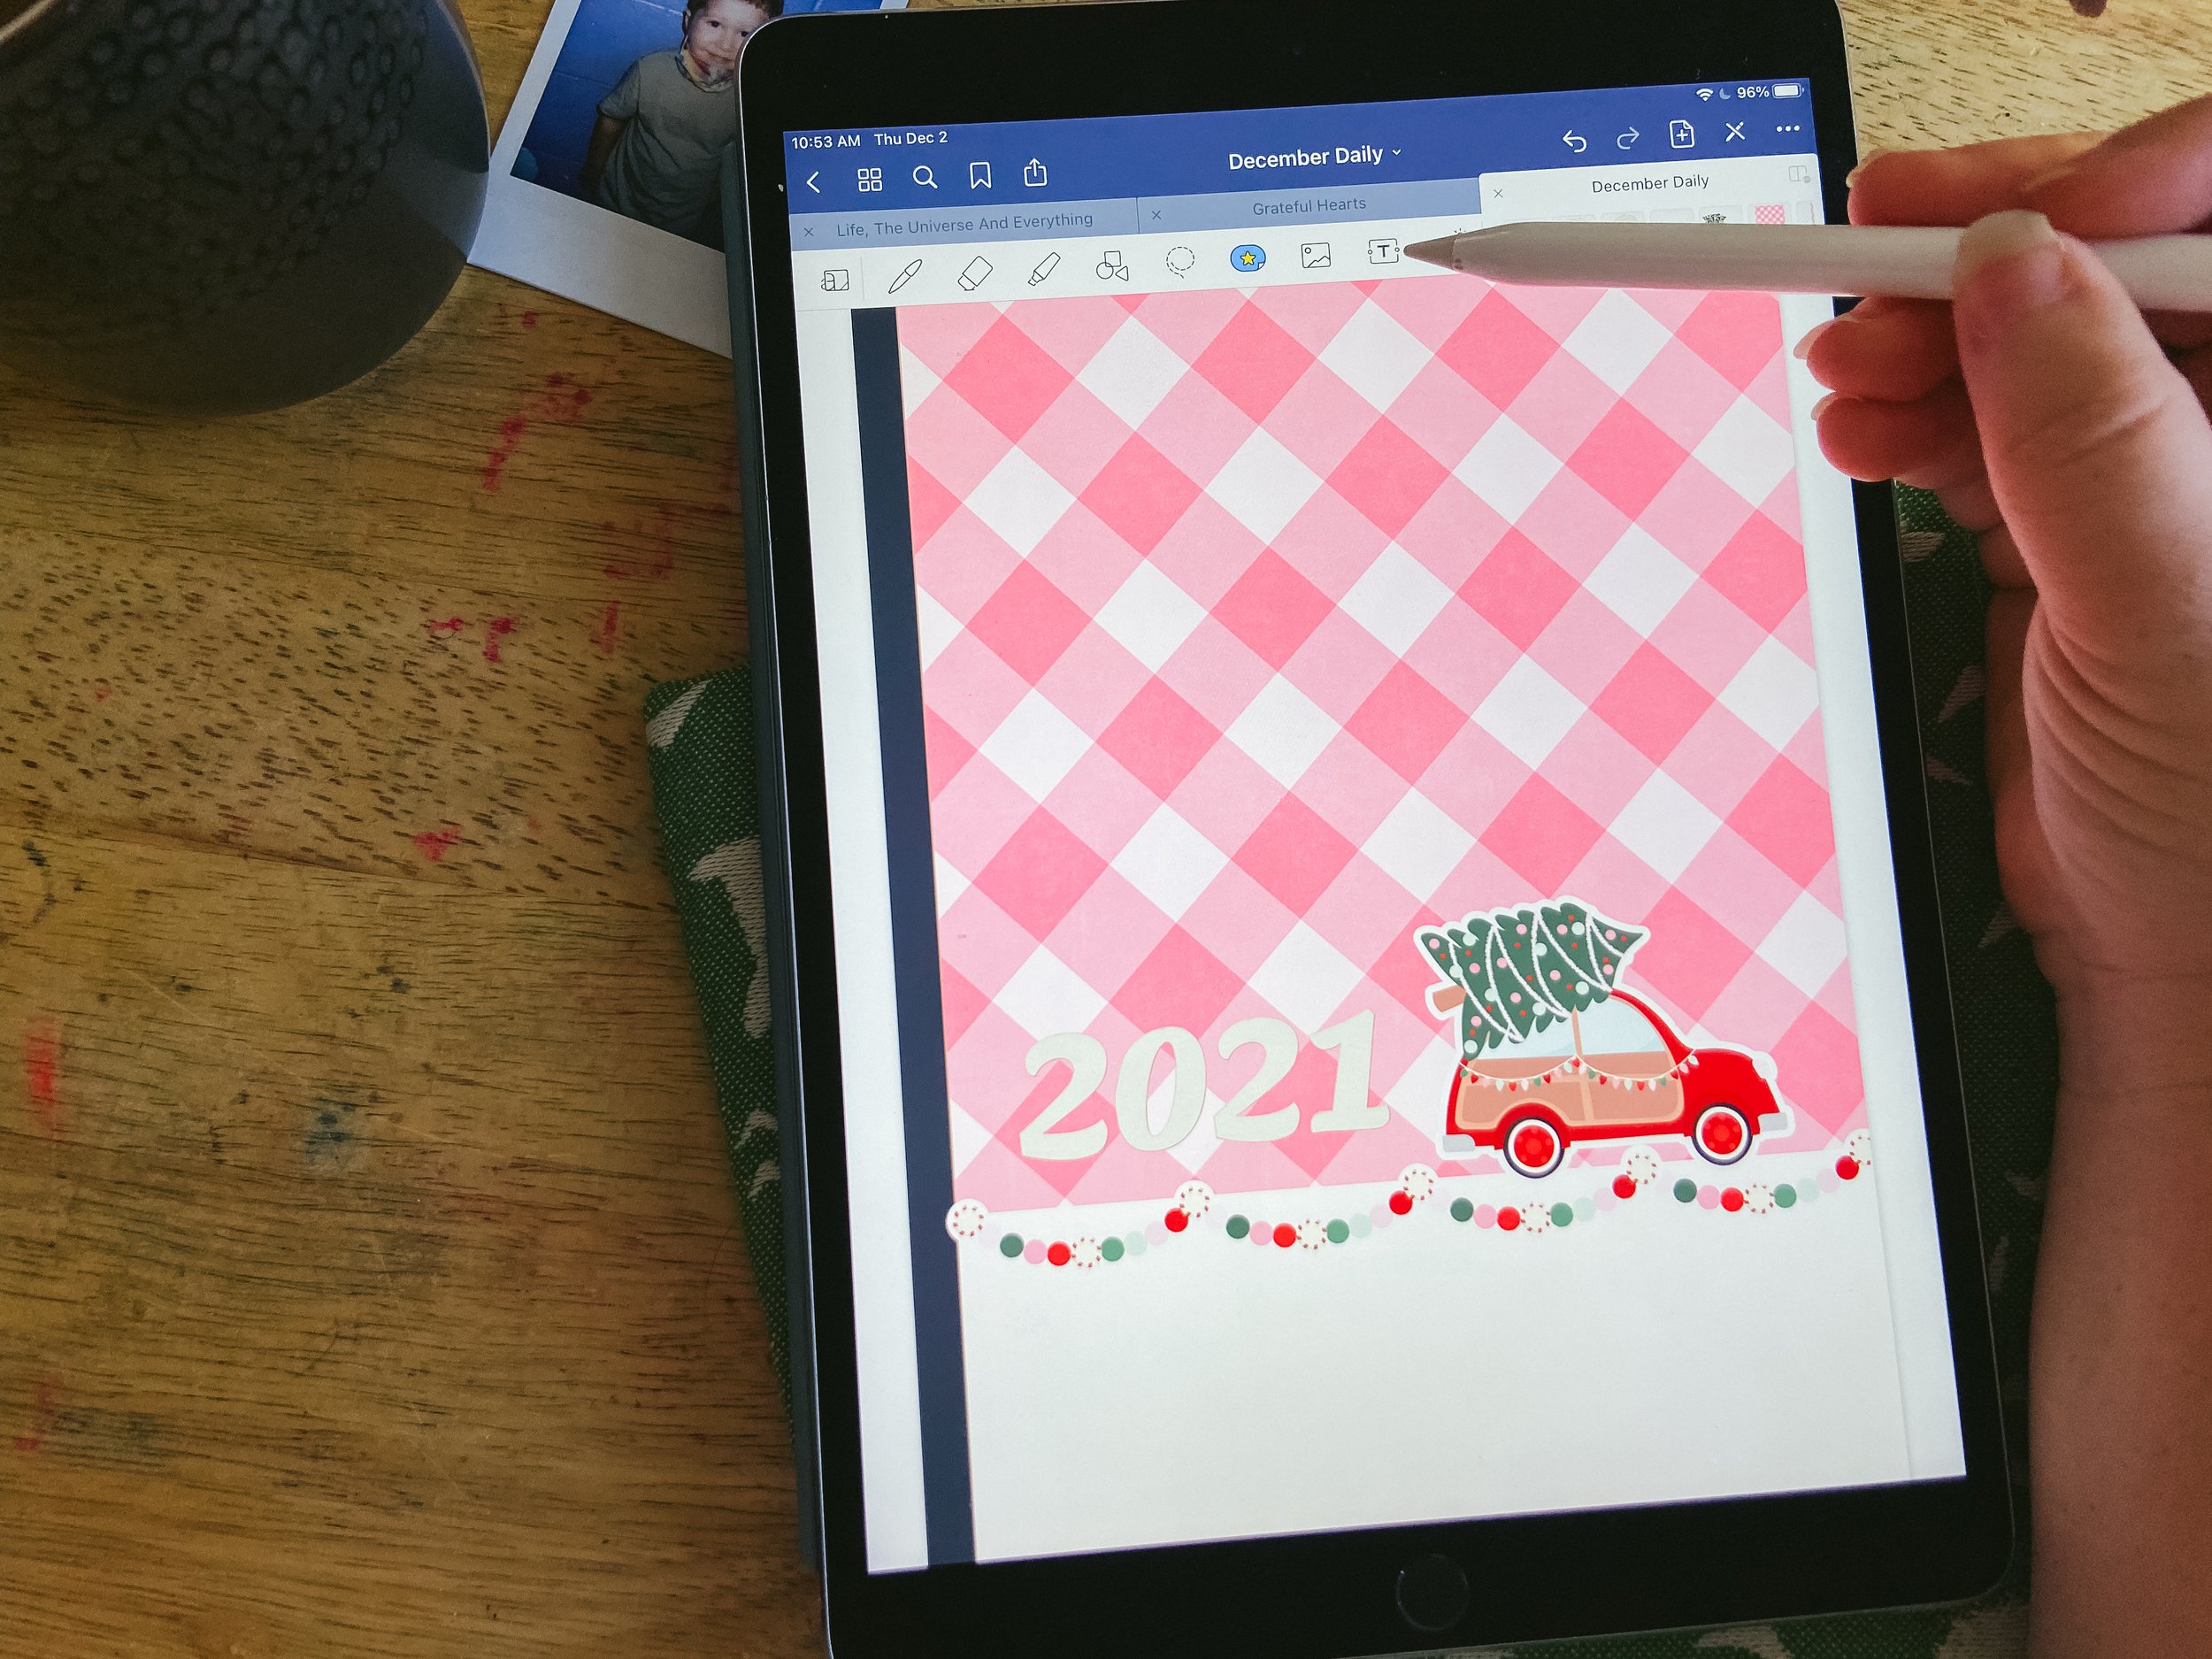
And that is it for your cover! You will basically just use those steps for all of the rest of what you plan to do for designing your pages.

Creating a New Page
Creating a new page is super simple. You can either click the three dots in the top right corner and select add new page or just select the area on the right side of your page and swipe it over and it will automatically create a new page using the same template you have been using.

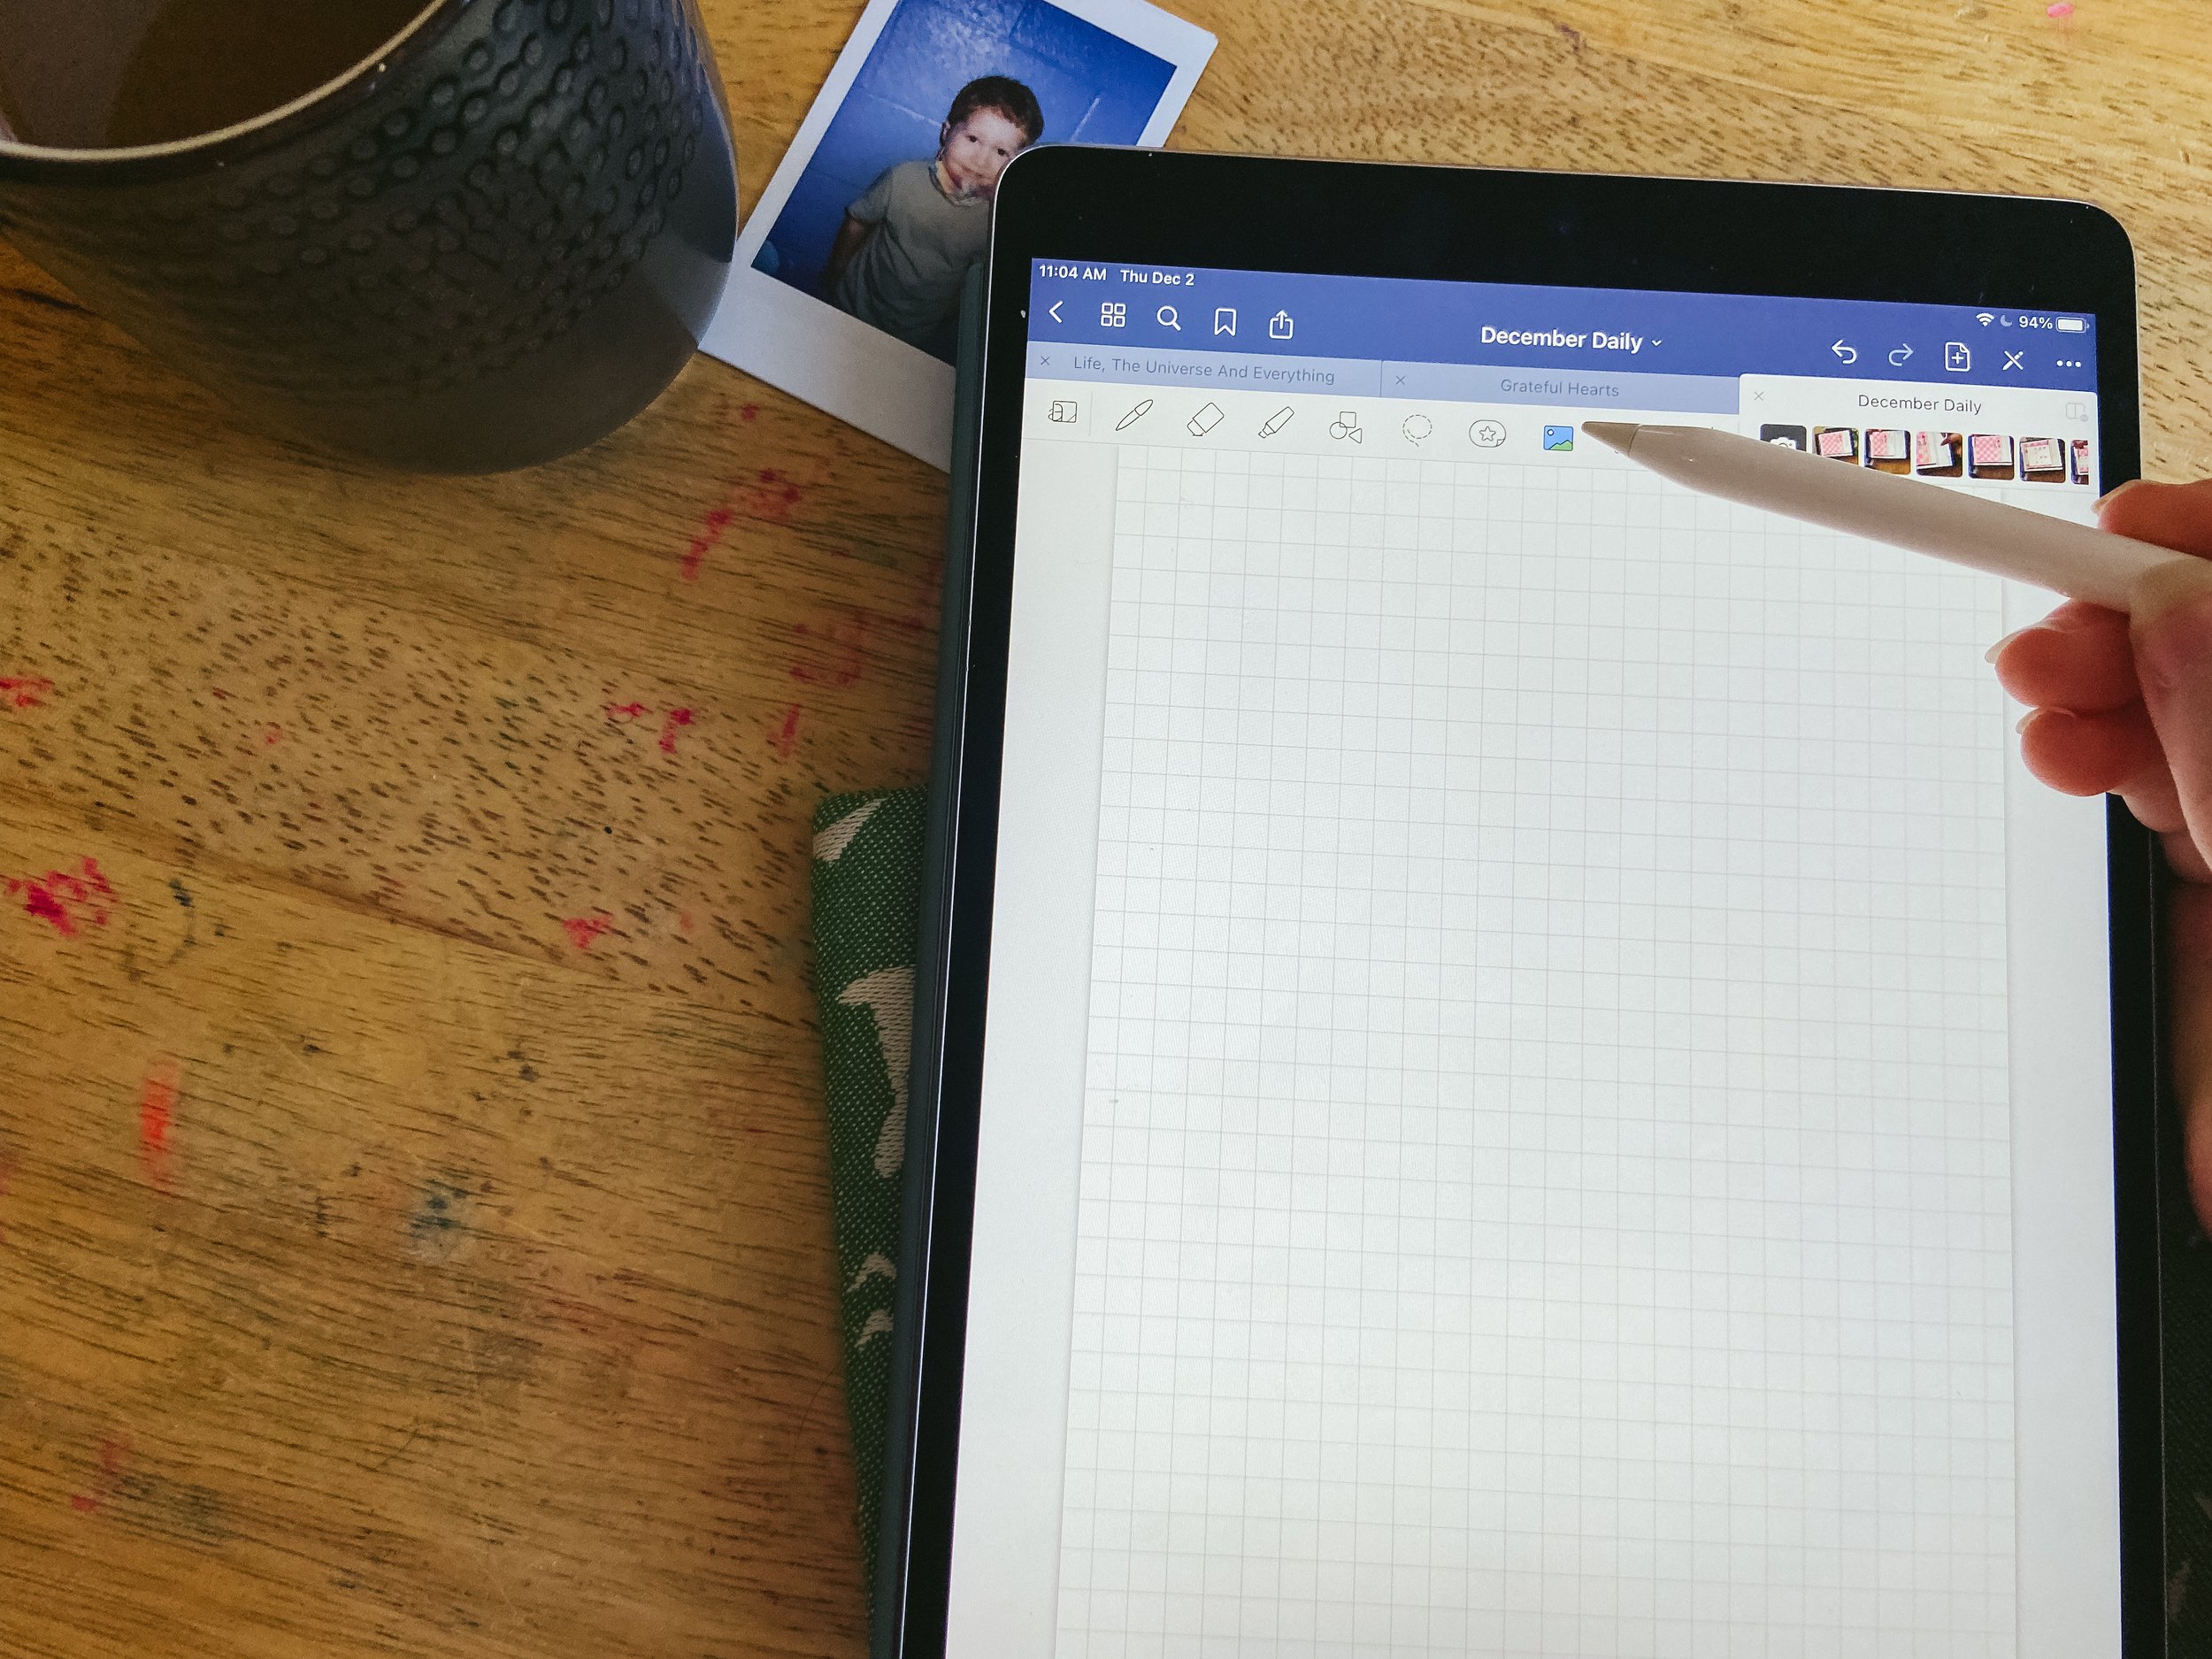
Adding Photos
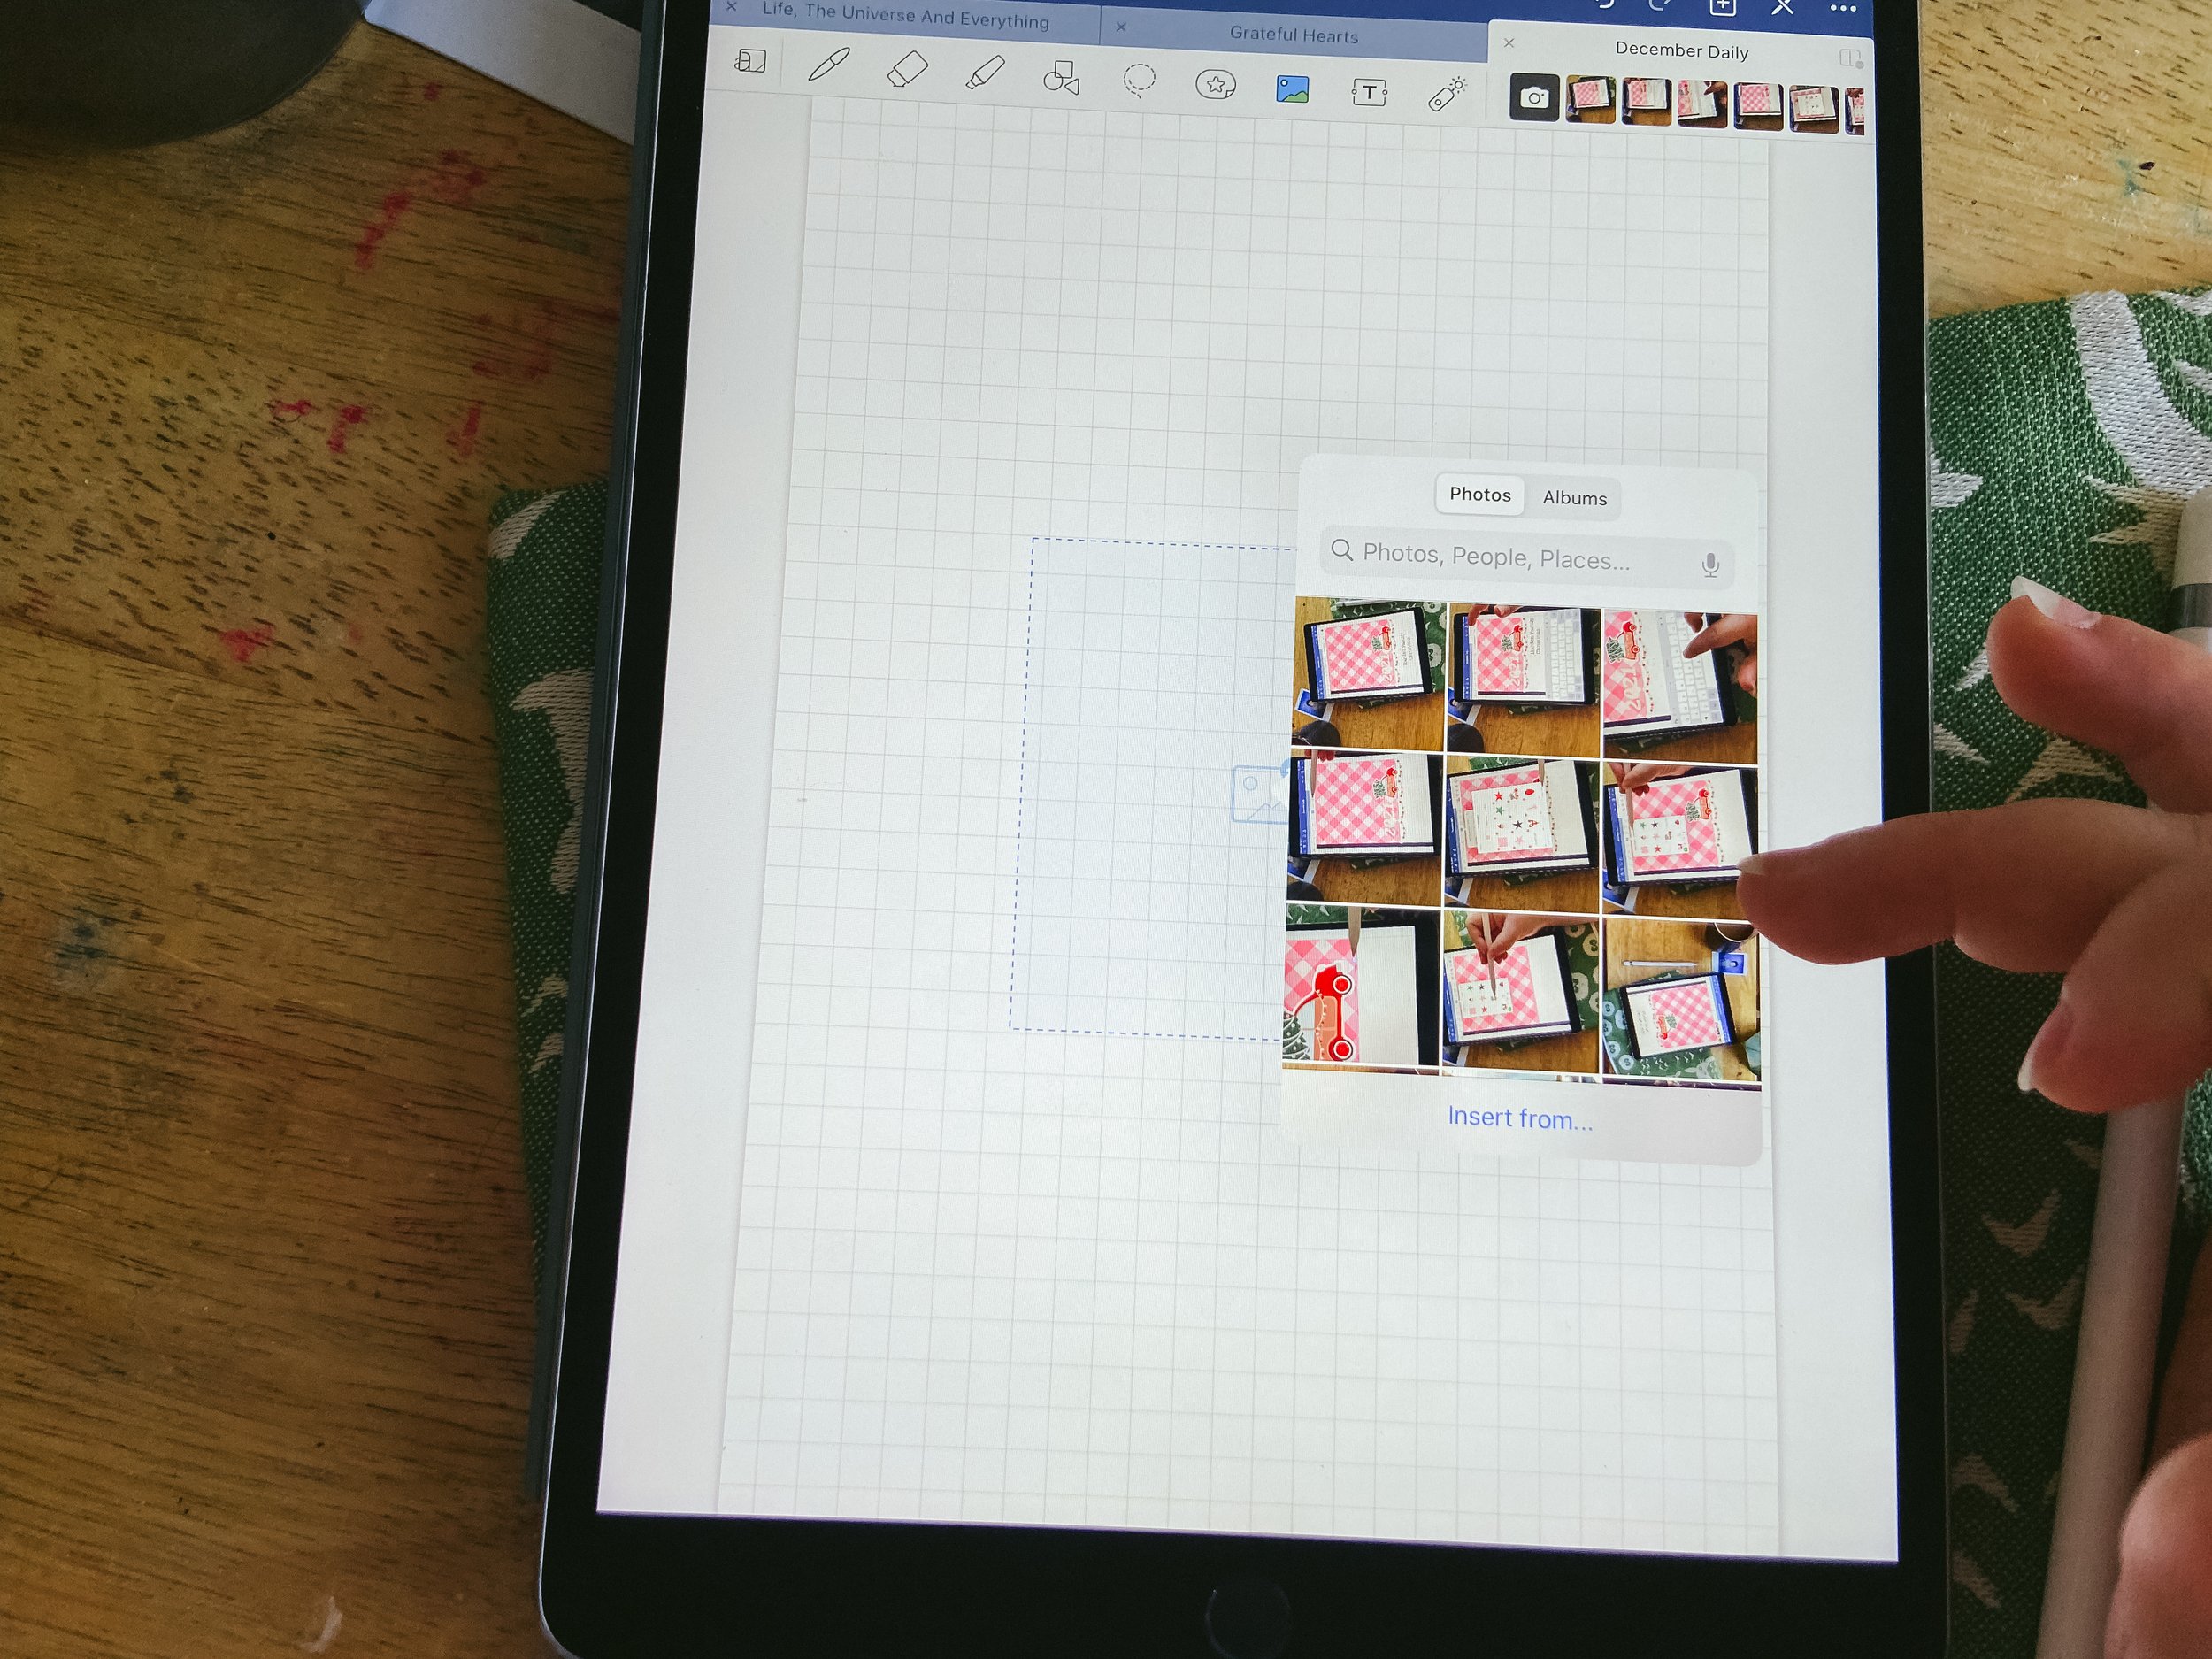
To add a photo click the square with the mountains and sun (it will be mostly blue and green when selected) then tap anywhere on your page. A pop-up will come up and take you straight to your photos. Once you select your chosen photo you resize it the same way you do for resizing other items.
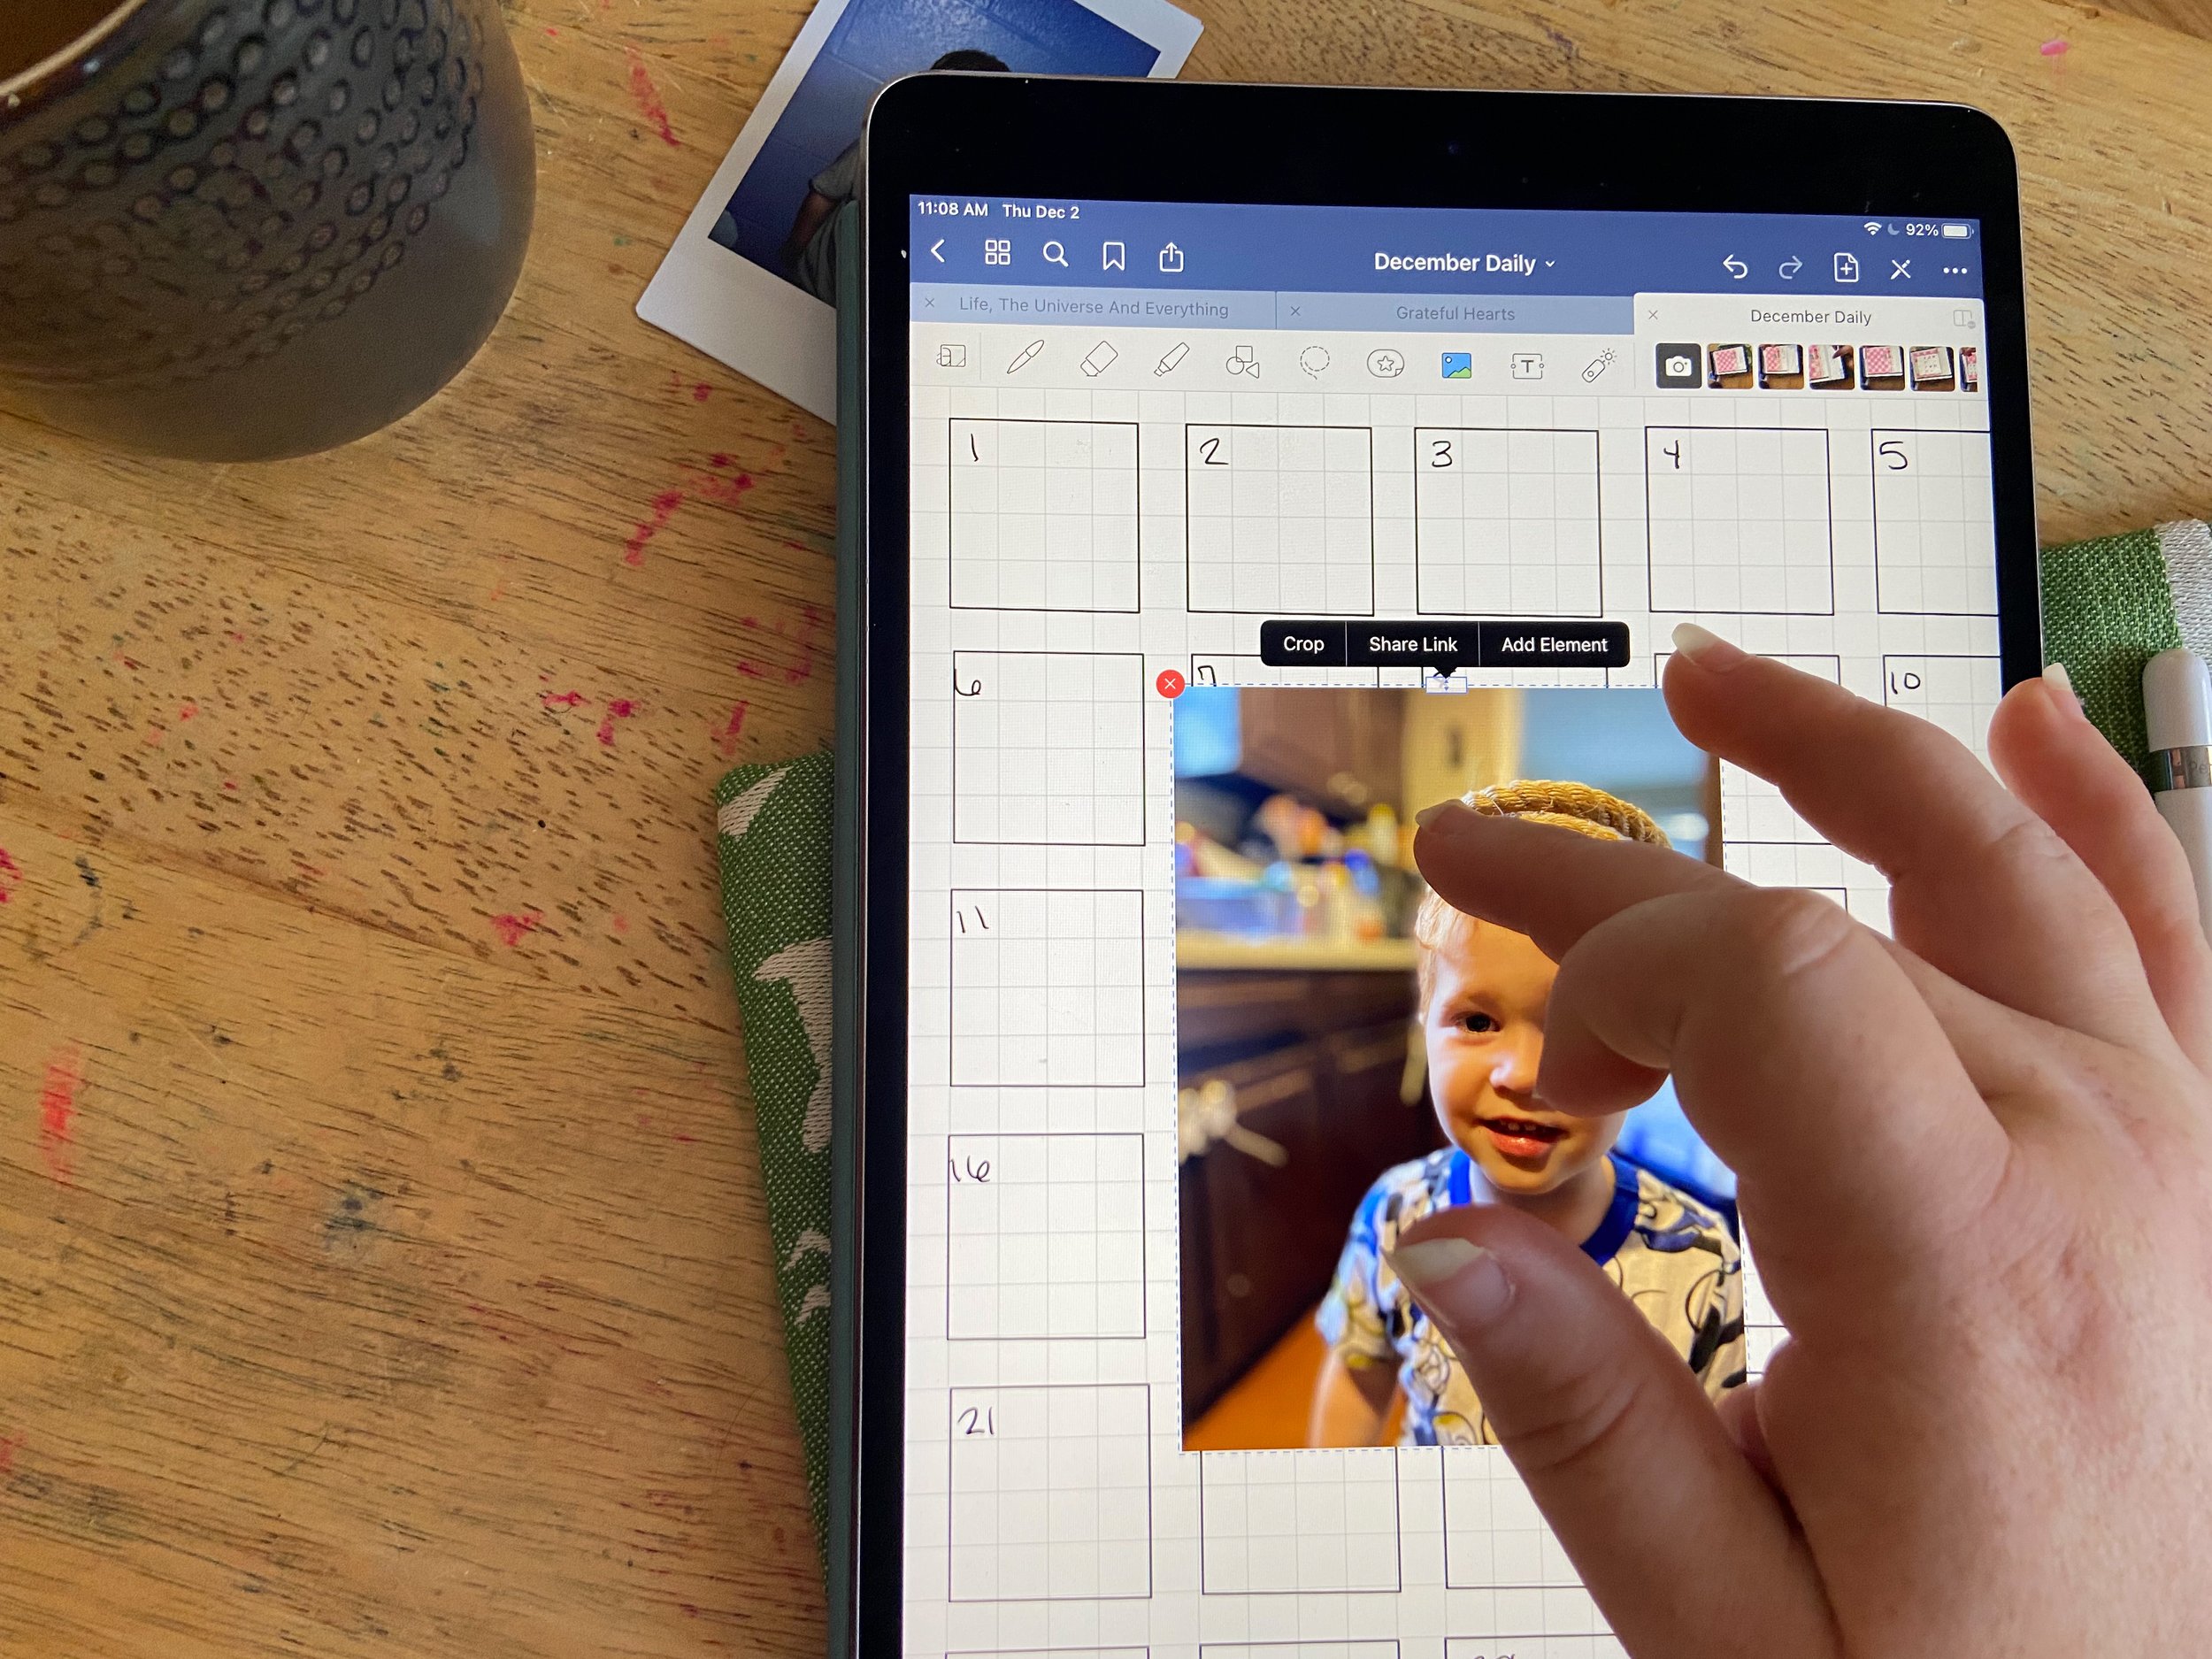
Cropping Photos
To crop your photo you simply tap your photo and select crop and then it allows you to edit your photo.
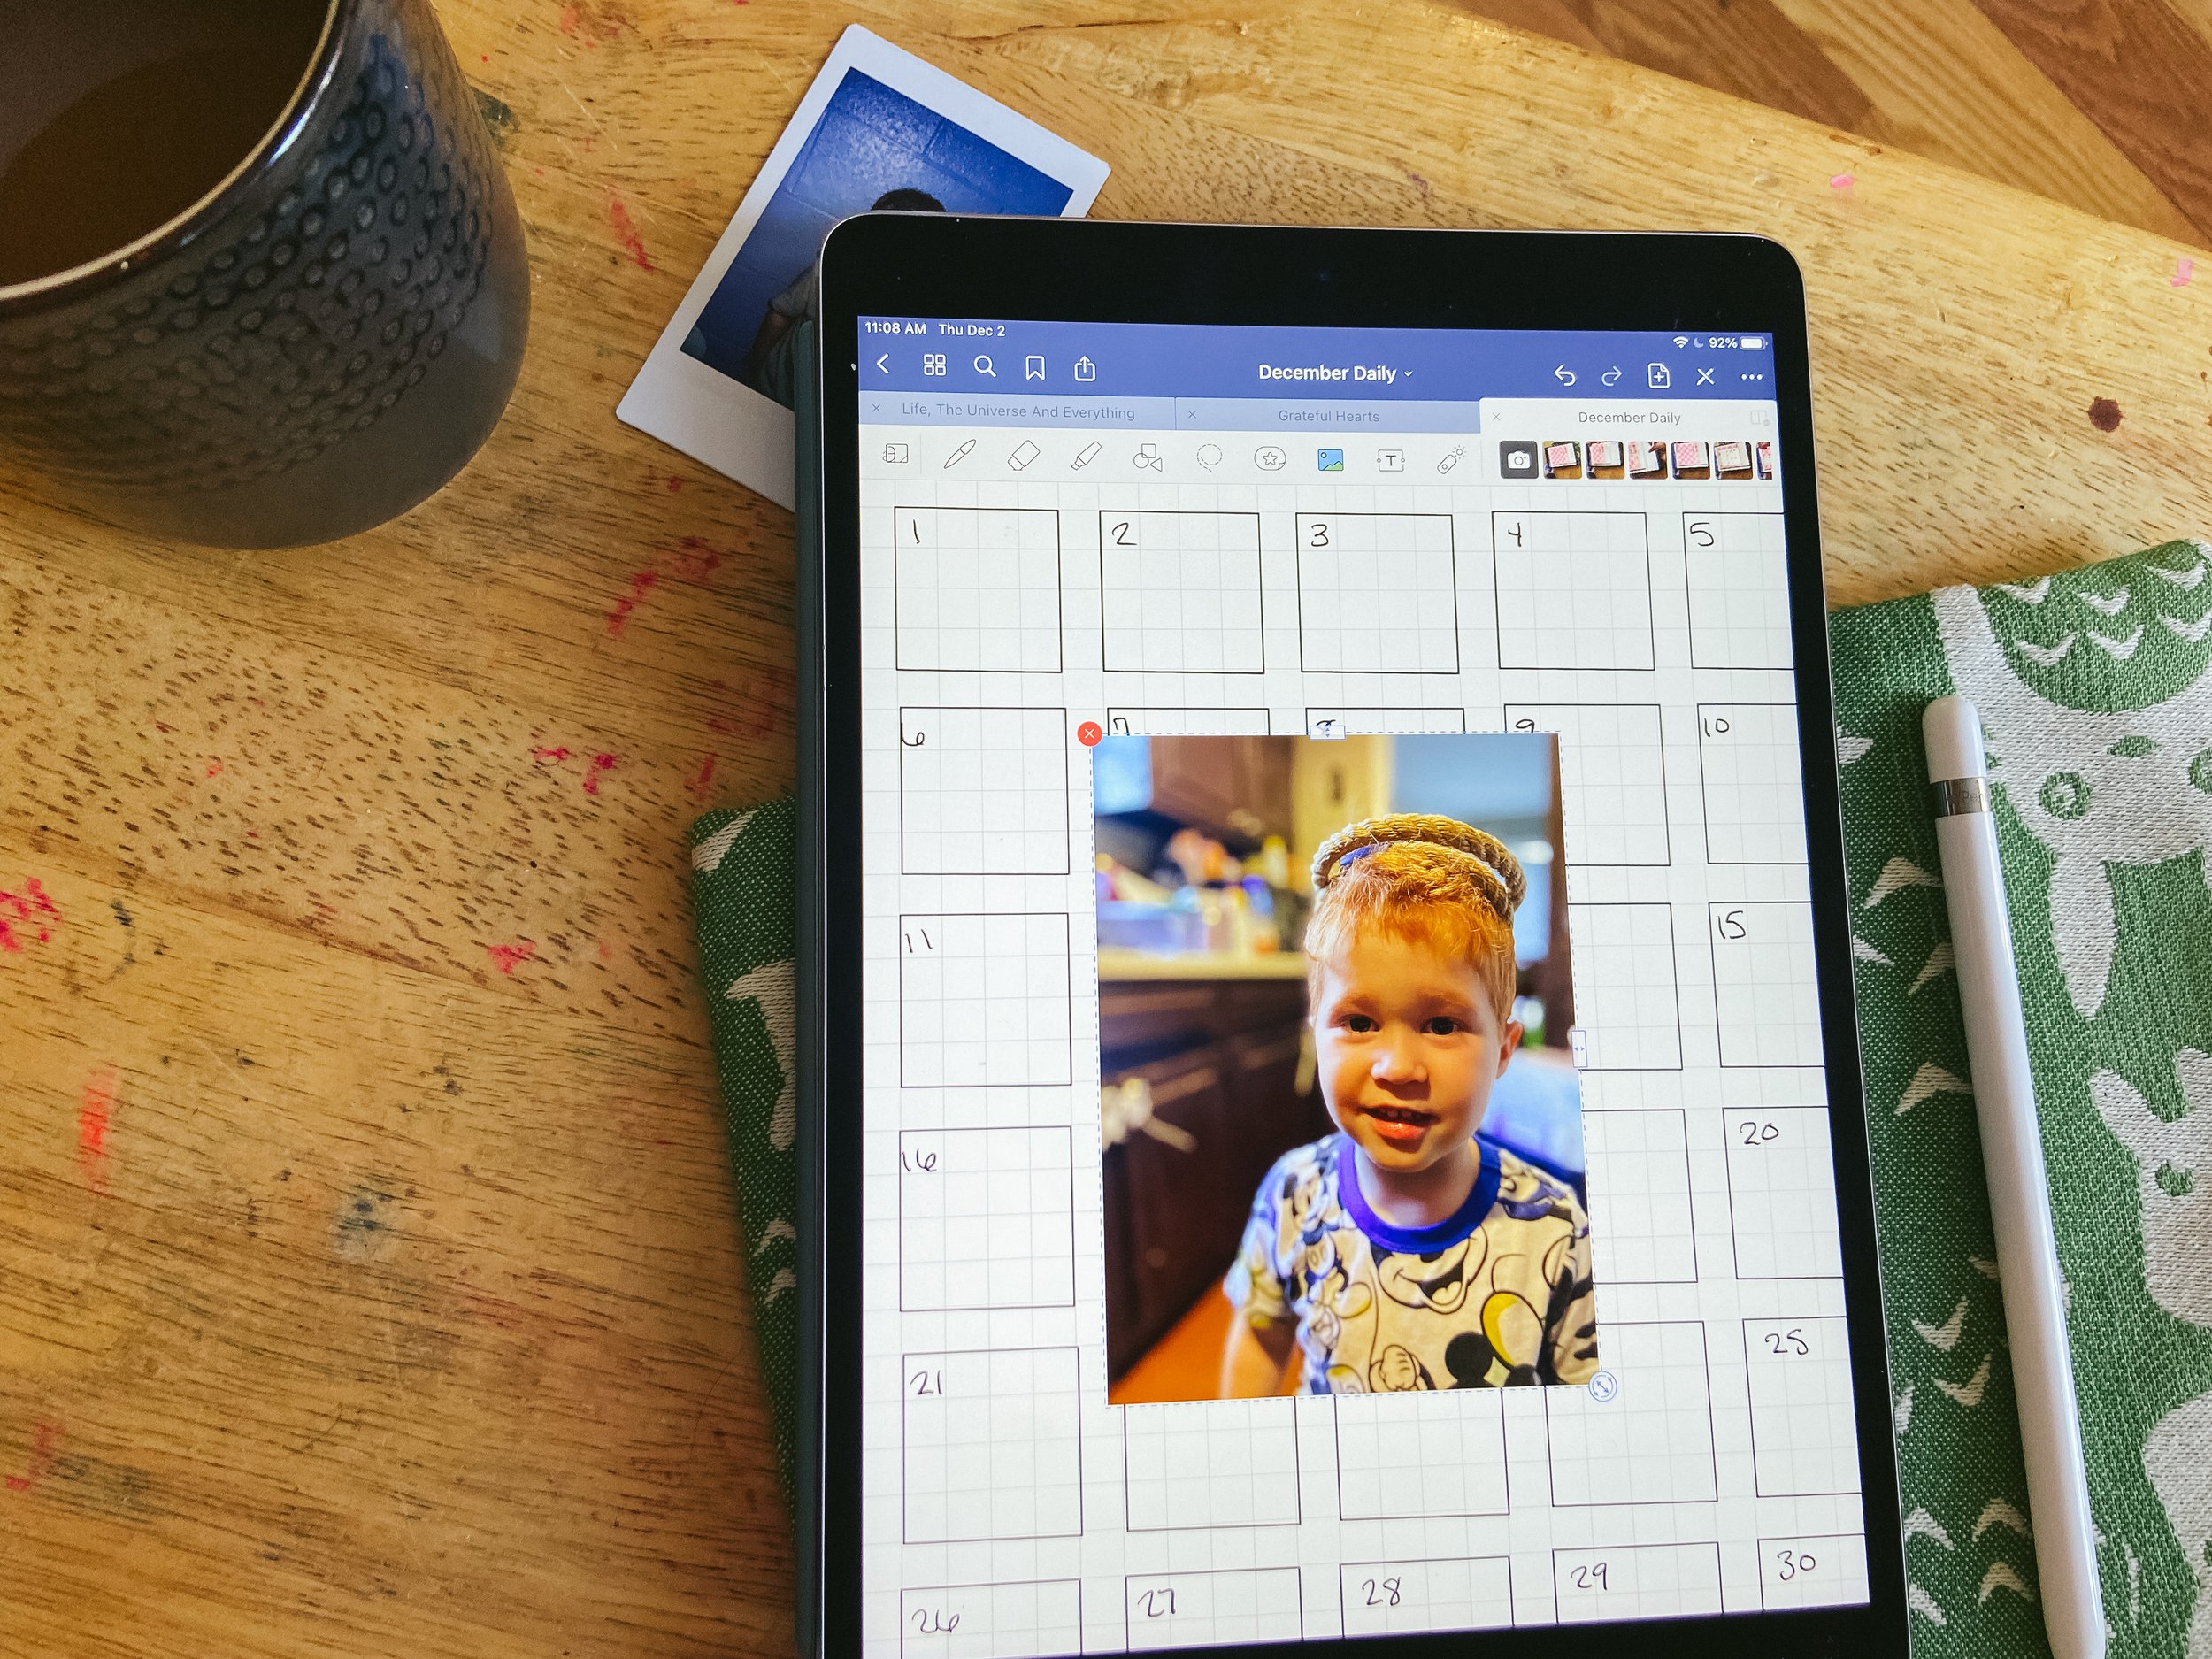
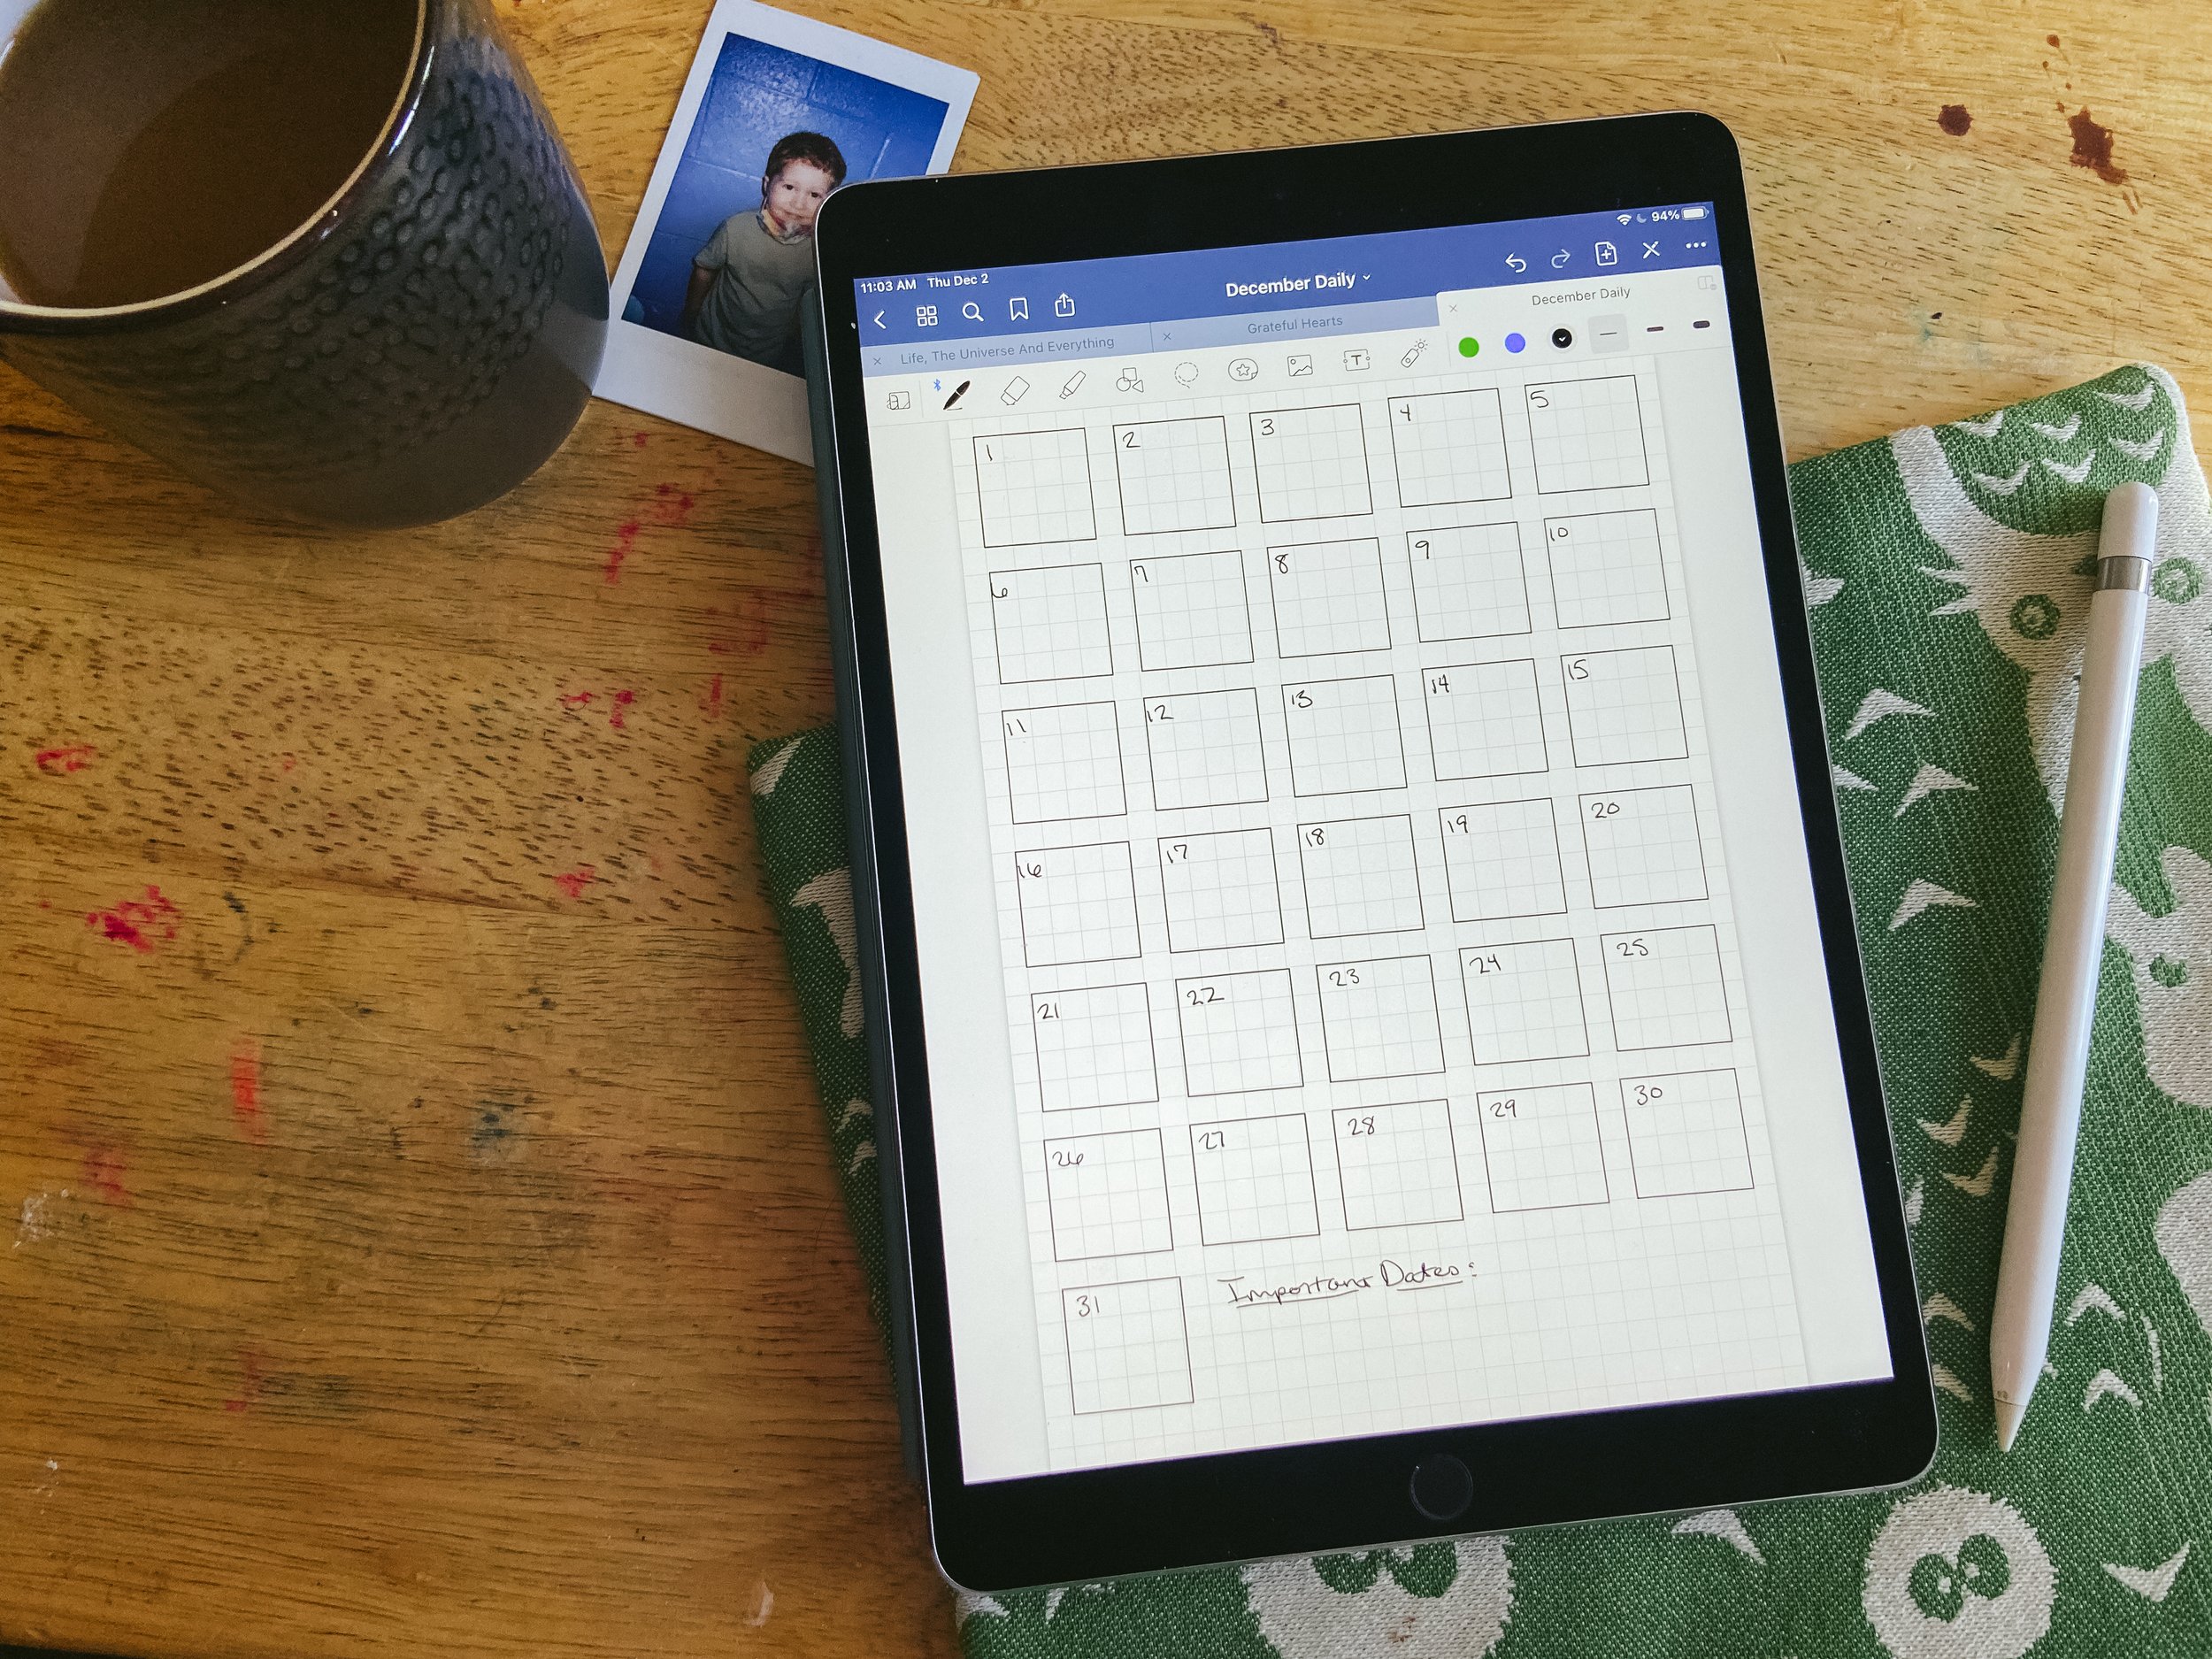
Last month I found it incredibly helpful to have a grid at the beginning of my notebook where I could add the photo I was using from each day at the end of the day while on my phone trying to get my youngest to sleep. It was actually super simple to set up since they have a handy shapes tool that takes your not-so-great shape and makes it look all nice and neat.
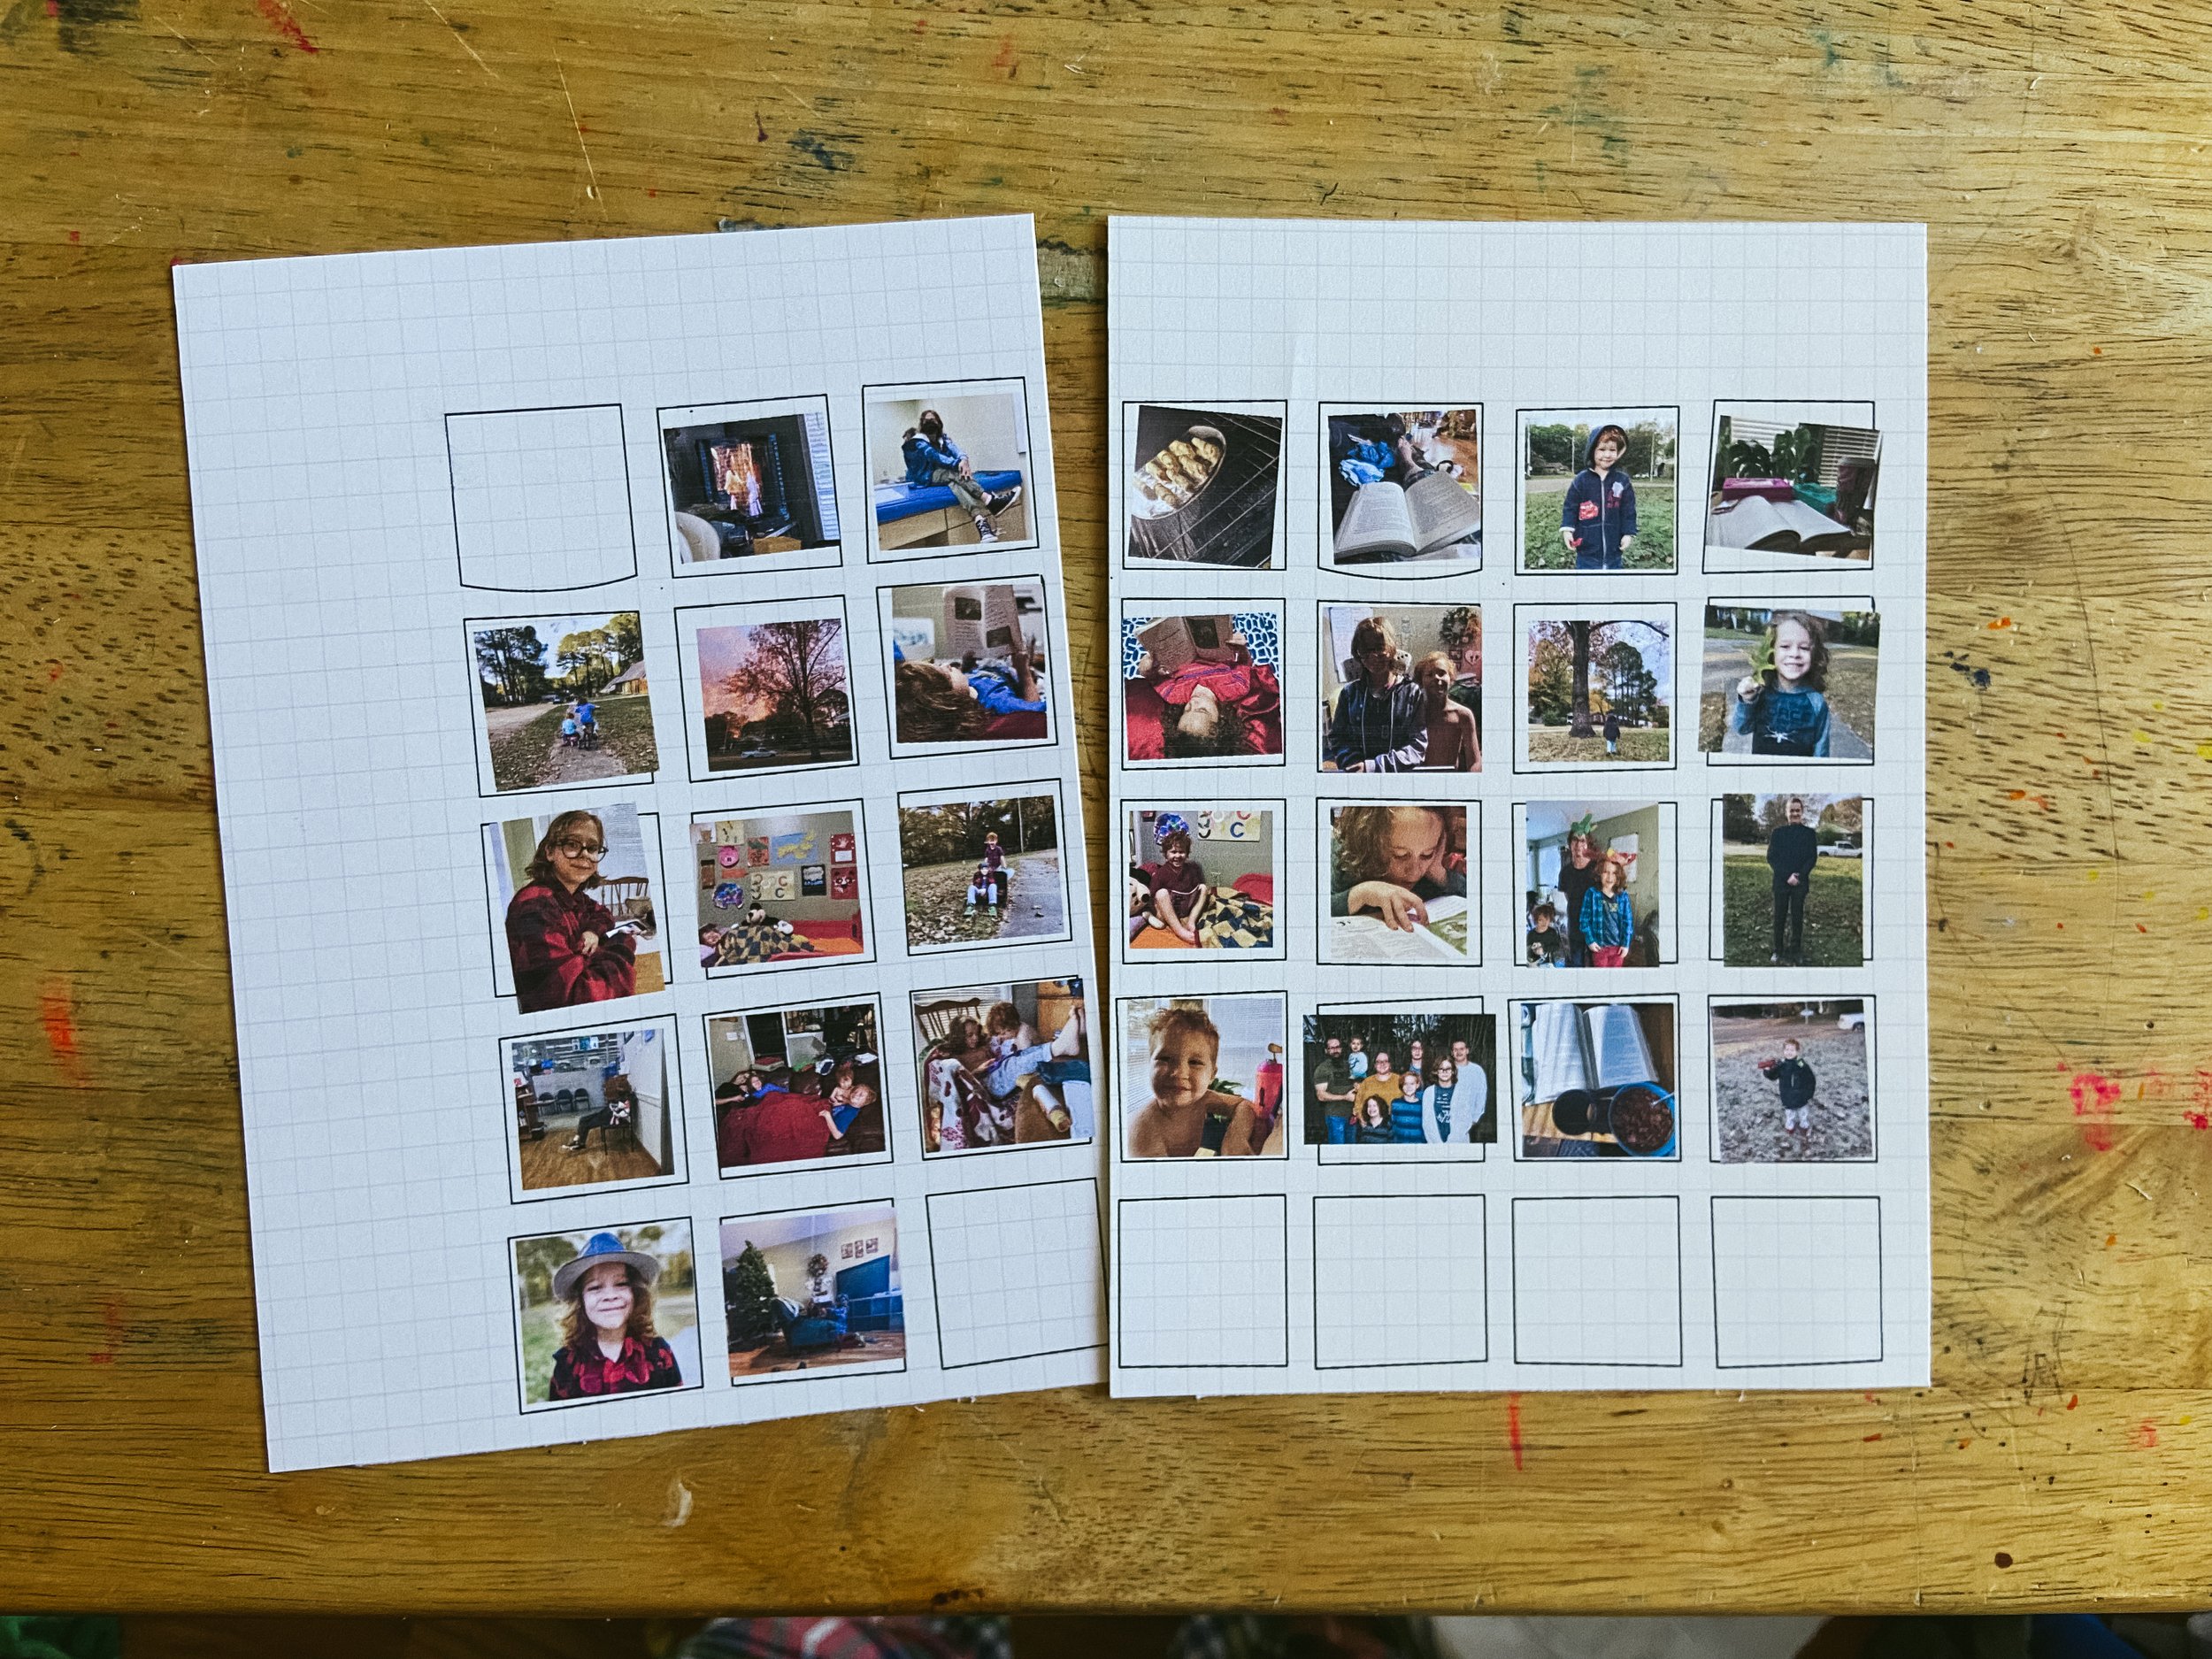
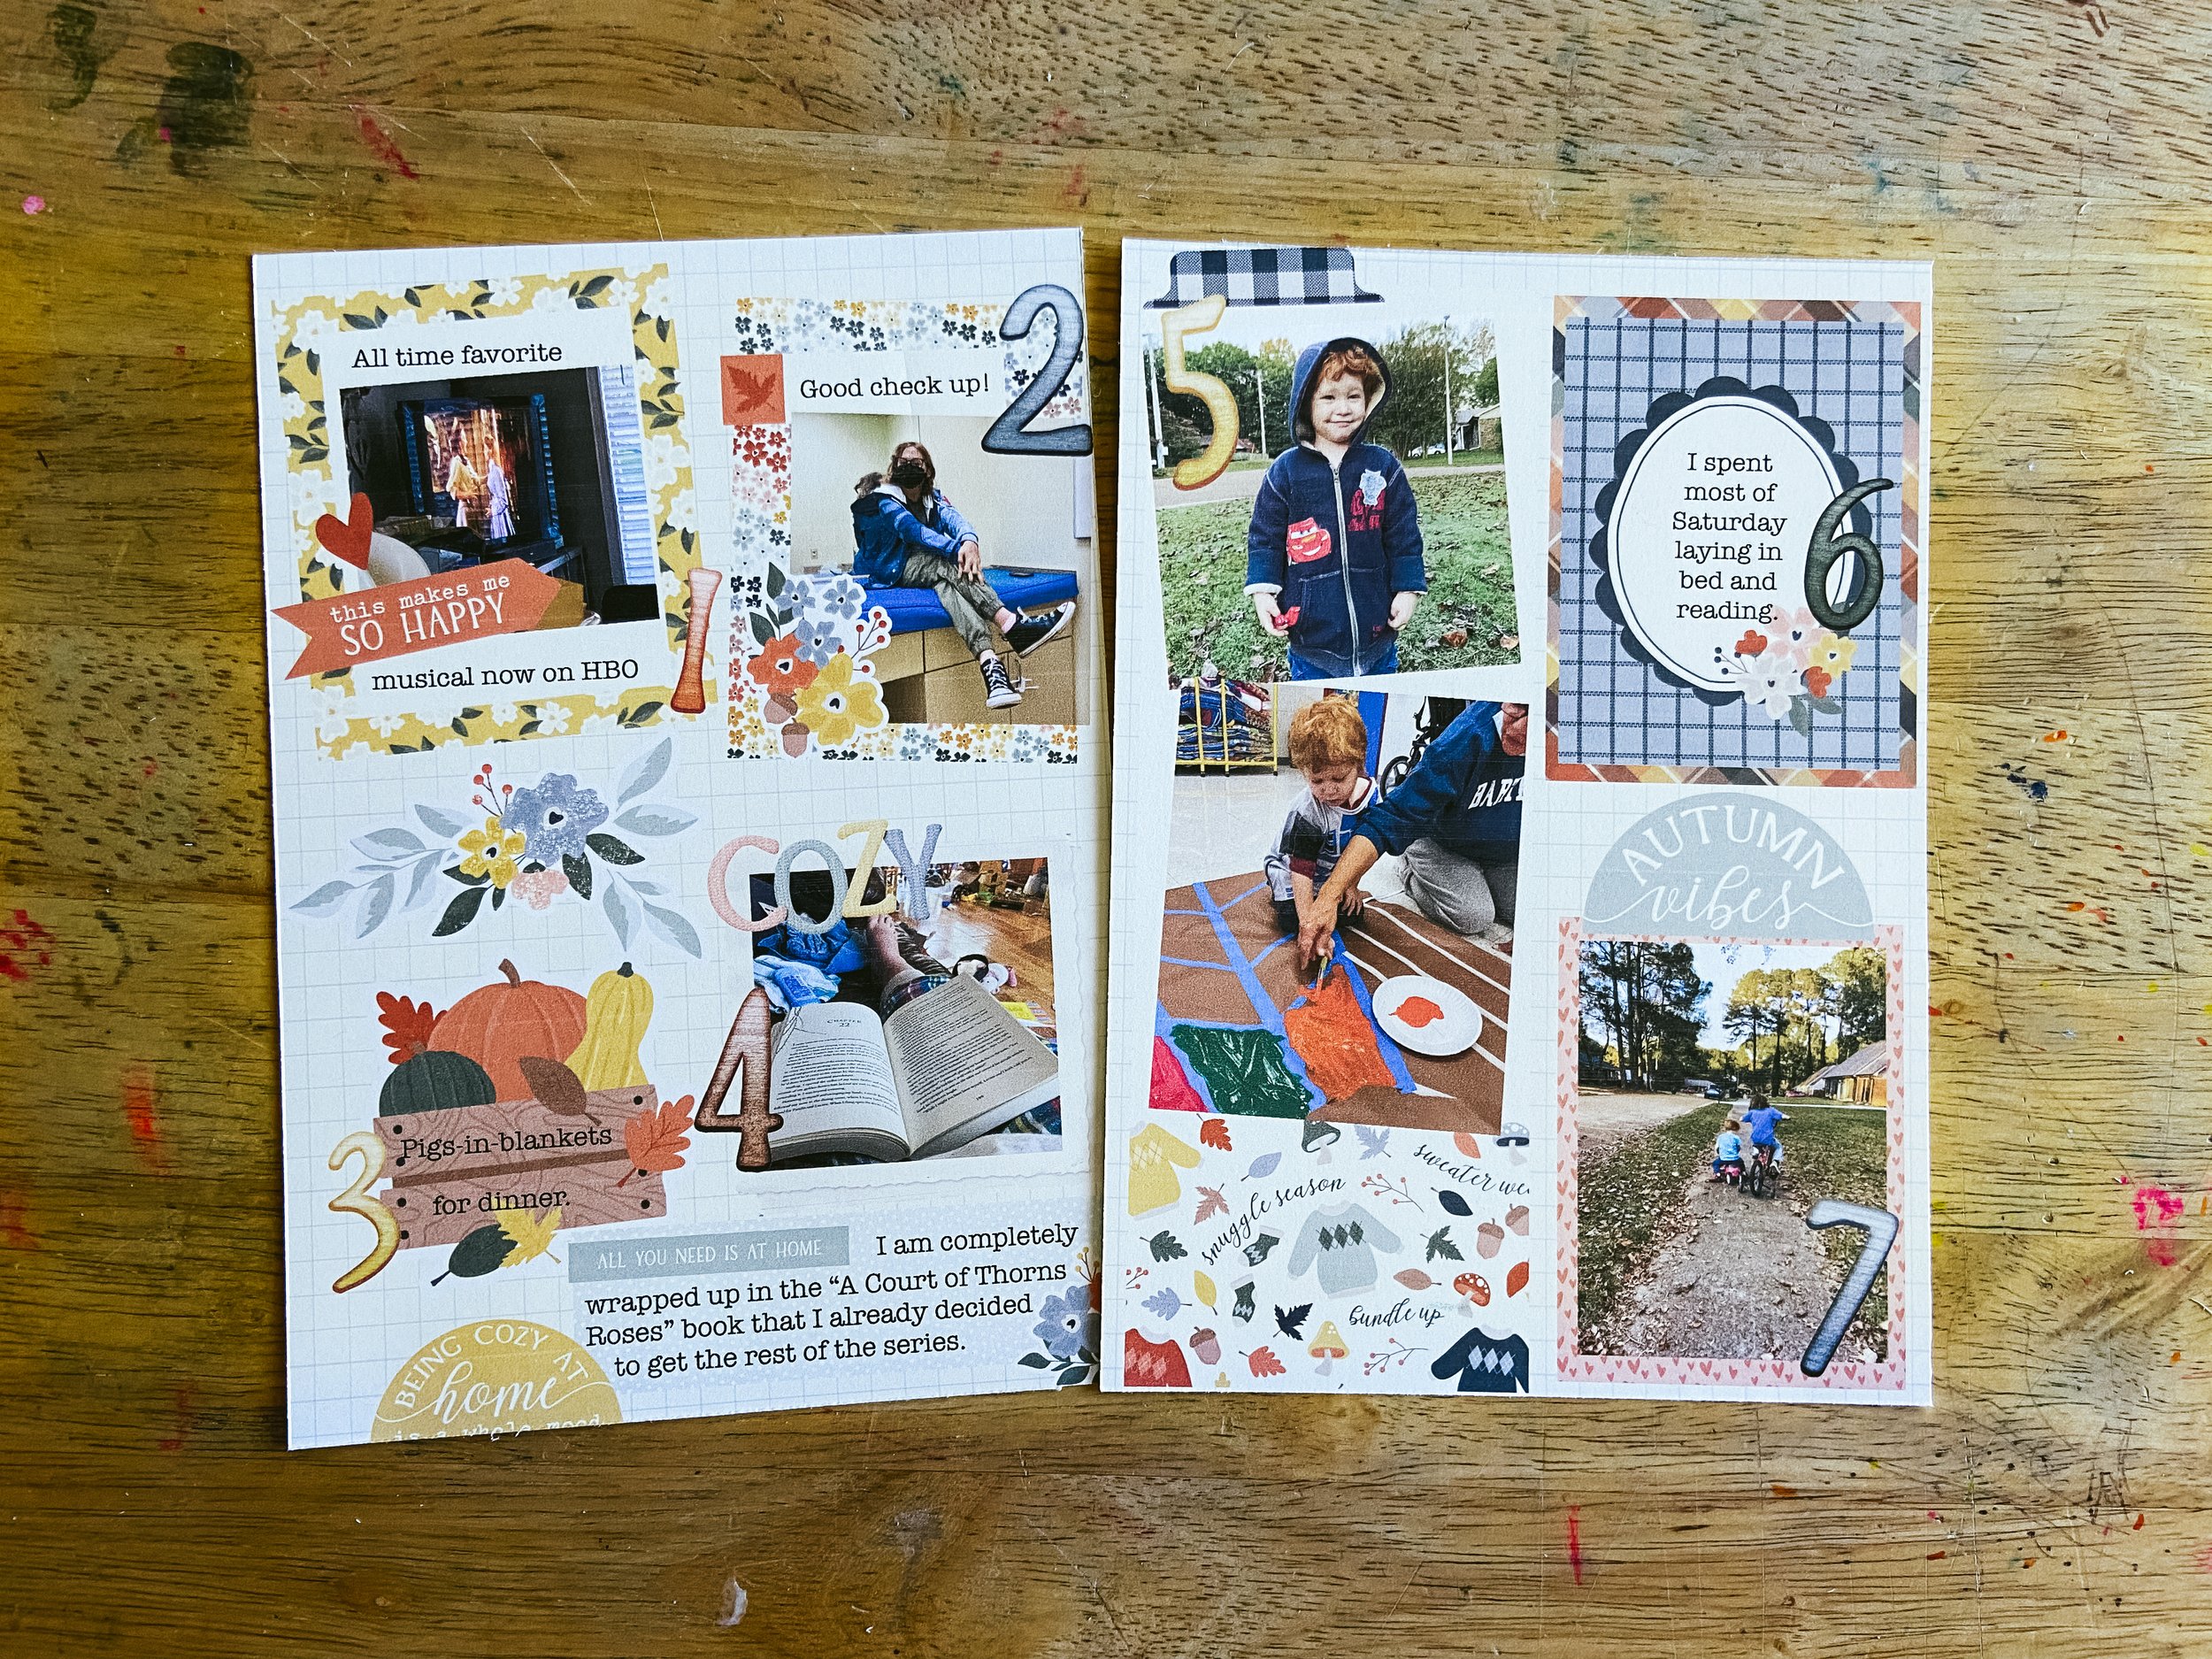
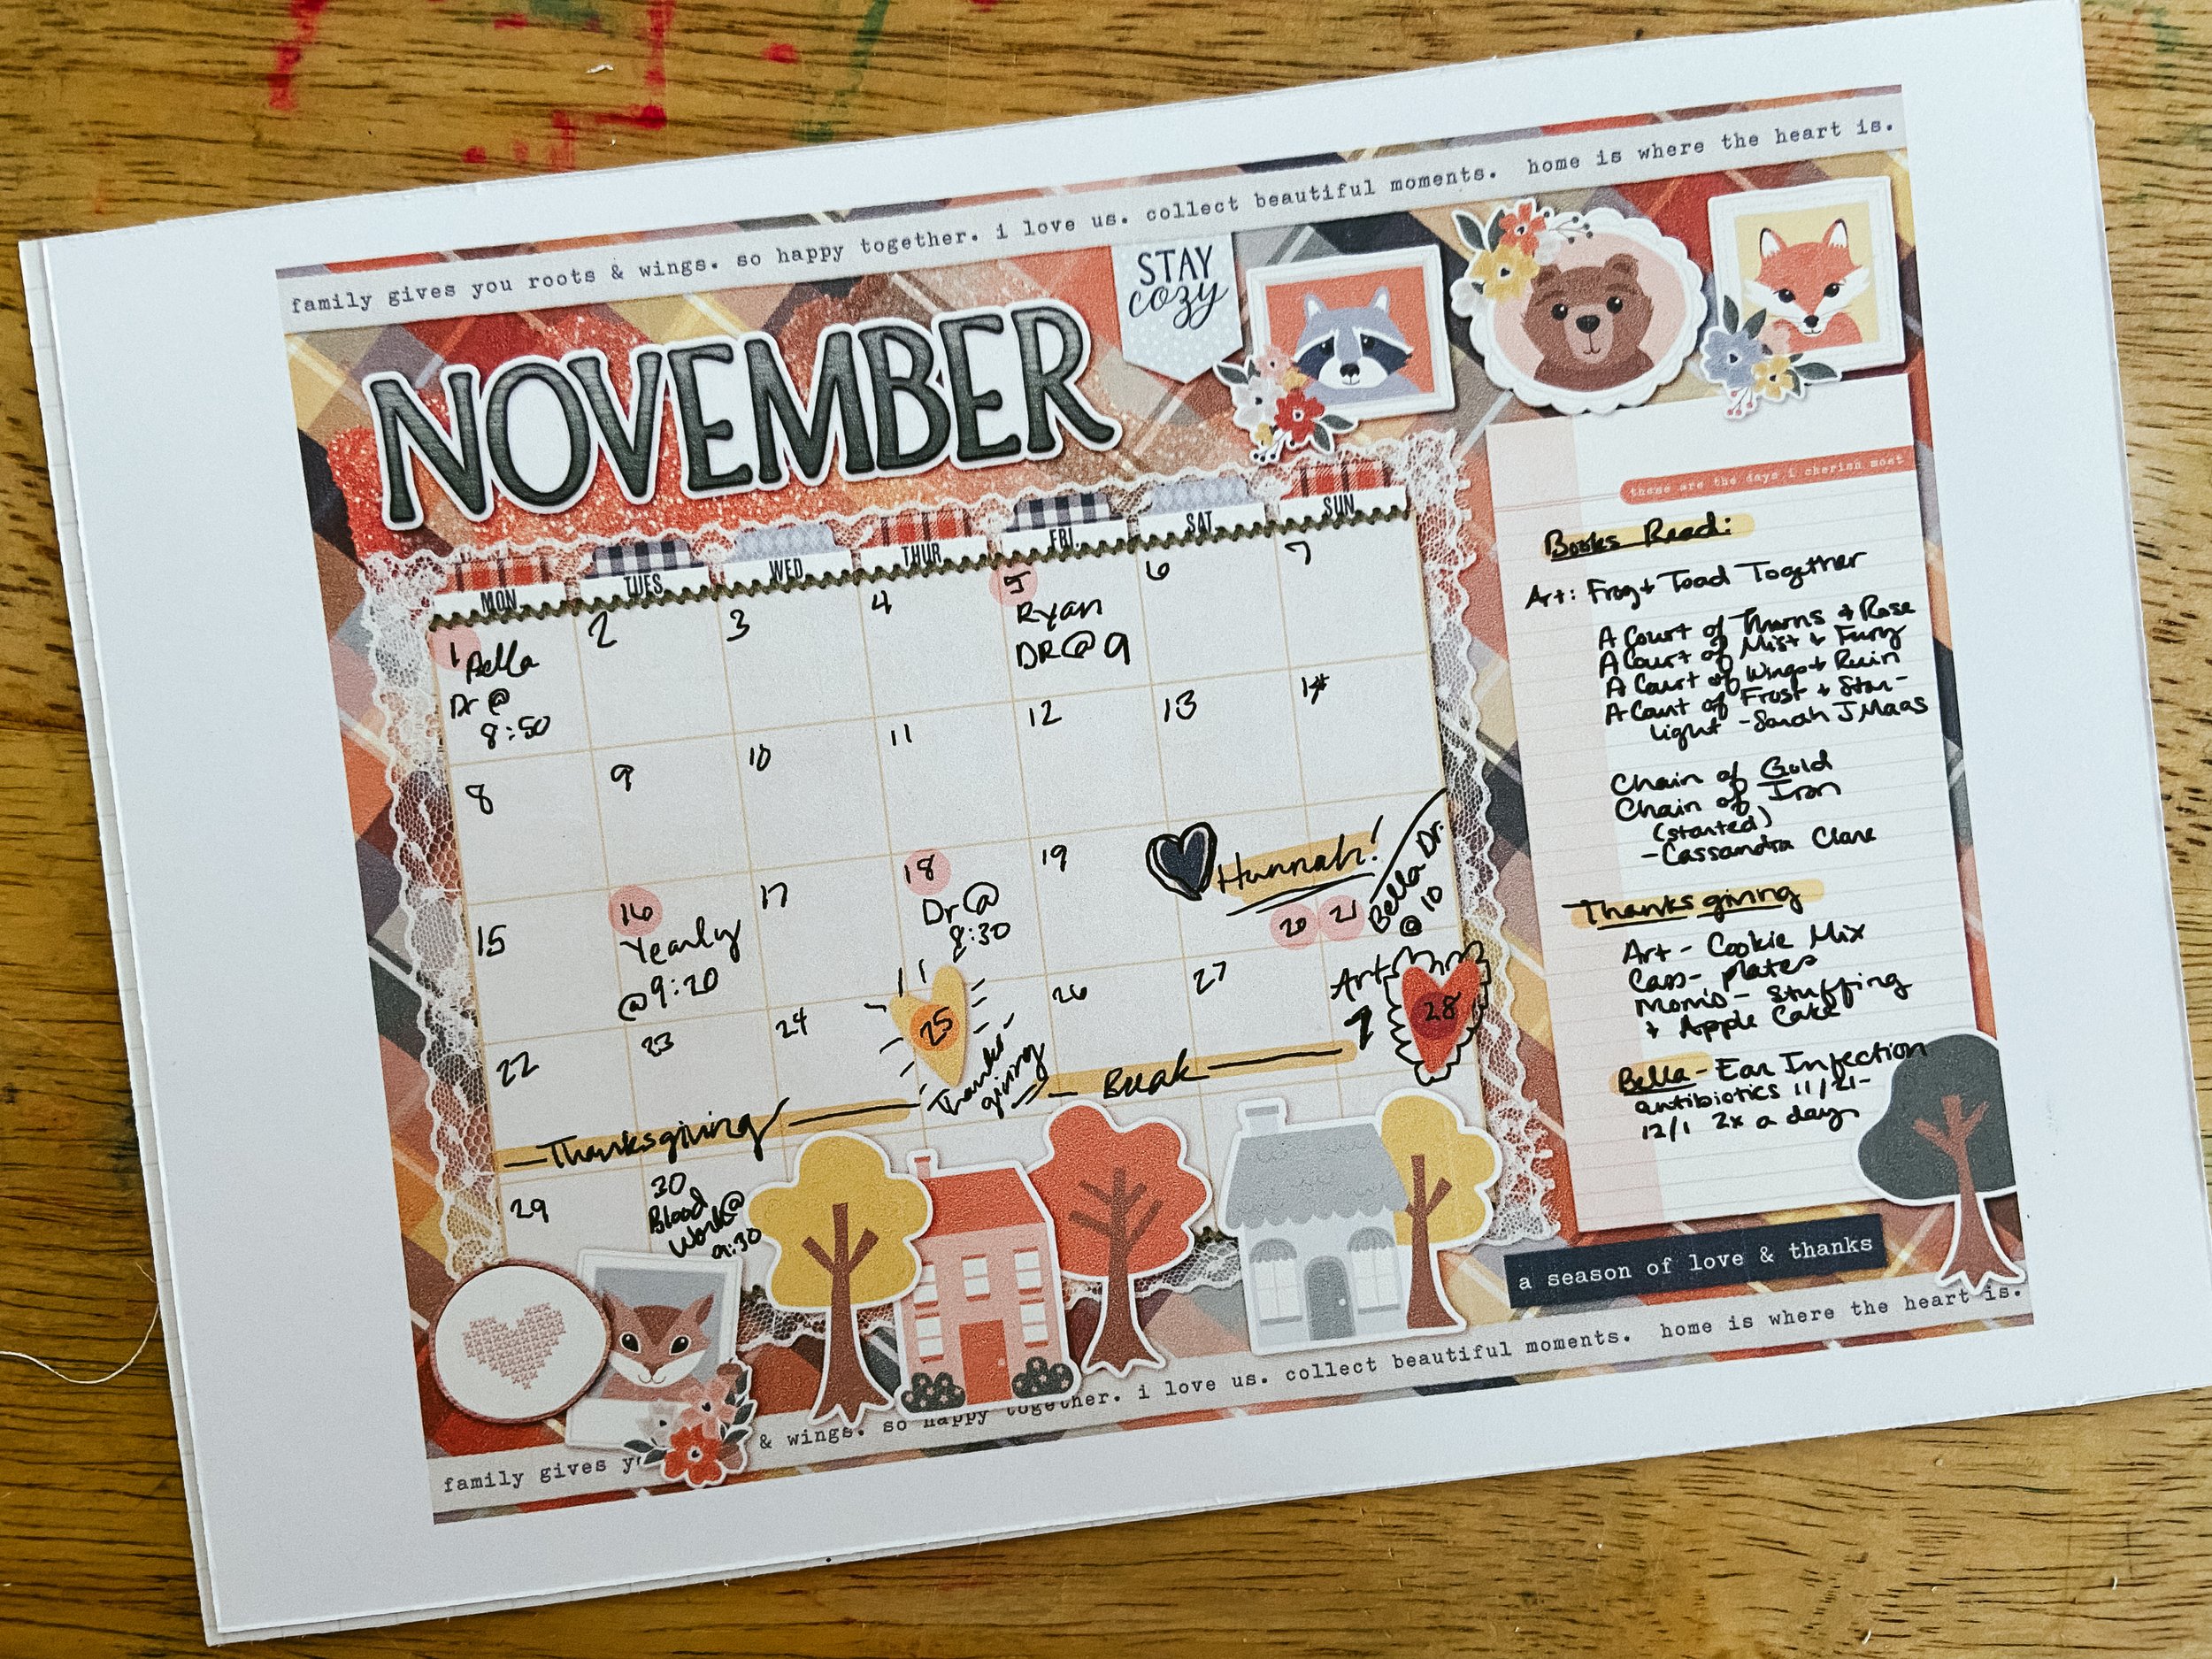
A Look at the Past Month
Here you can see two of the pages that I got done using this setup last month. I didn’t create a page for each day, instead just a little, simple cluster for each day. I also created a calendar template in Photoshop to import in at the beginning of the month to mark appointments, and such on.
And bonus, everything you just did on your iPad? Yeah, you can do those on your phone and computers as well, which is perfect for getting stuff quickly documented while a kid is at practice, or a meeting, or you find yourself sitting with a few minutes on your hands.
