Clustering with Cheryl - Let The Layers Happen!
Hey y’all! It’s Cheryl here again creating with another amazing collection from Traci!, Equinox!
I started out this layout with a yellow paper and my photos. The first photo was my selfie, and the other two photos were of a mural at a local restaurant my husband and I went to over the weekend. One of the mural photos was almost cut from the layout because they looked so similar, but I wanted to recreate the mural look that spanned the restaurant onto my layout, so I used both across the width of the page. Once I placed them in a horizontal line, I added my selfie at the bottom, overlapping both photos. Don’t be afraid to overlap your photos, especially if there is blank space in the photo composition.
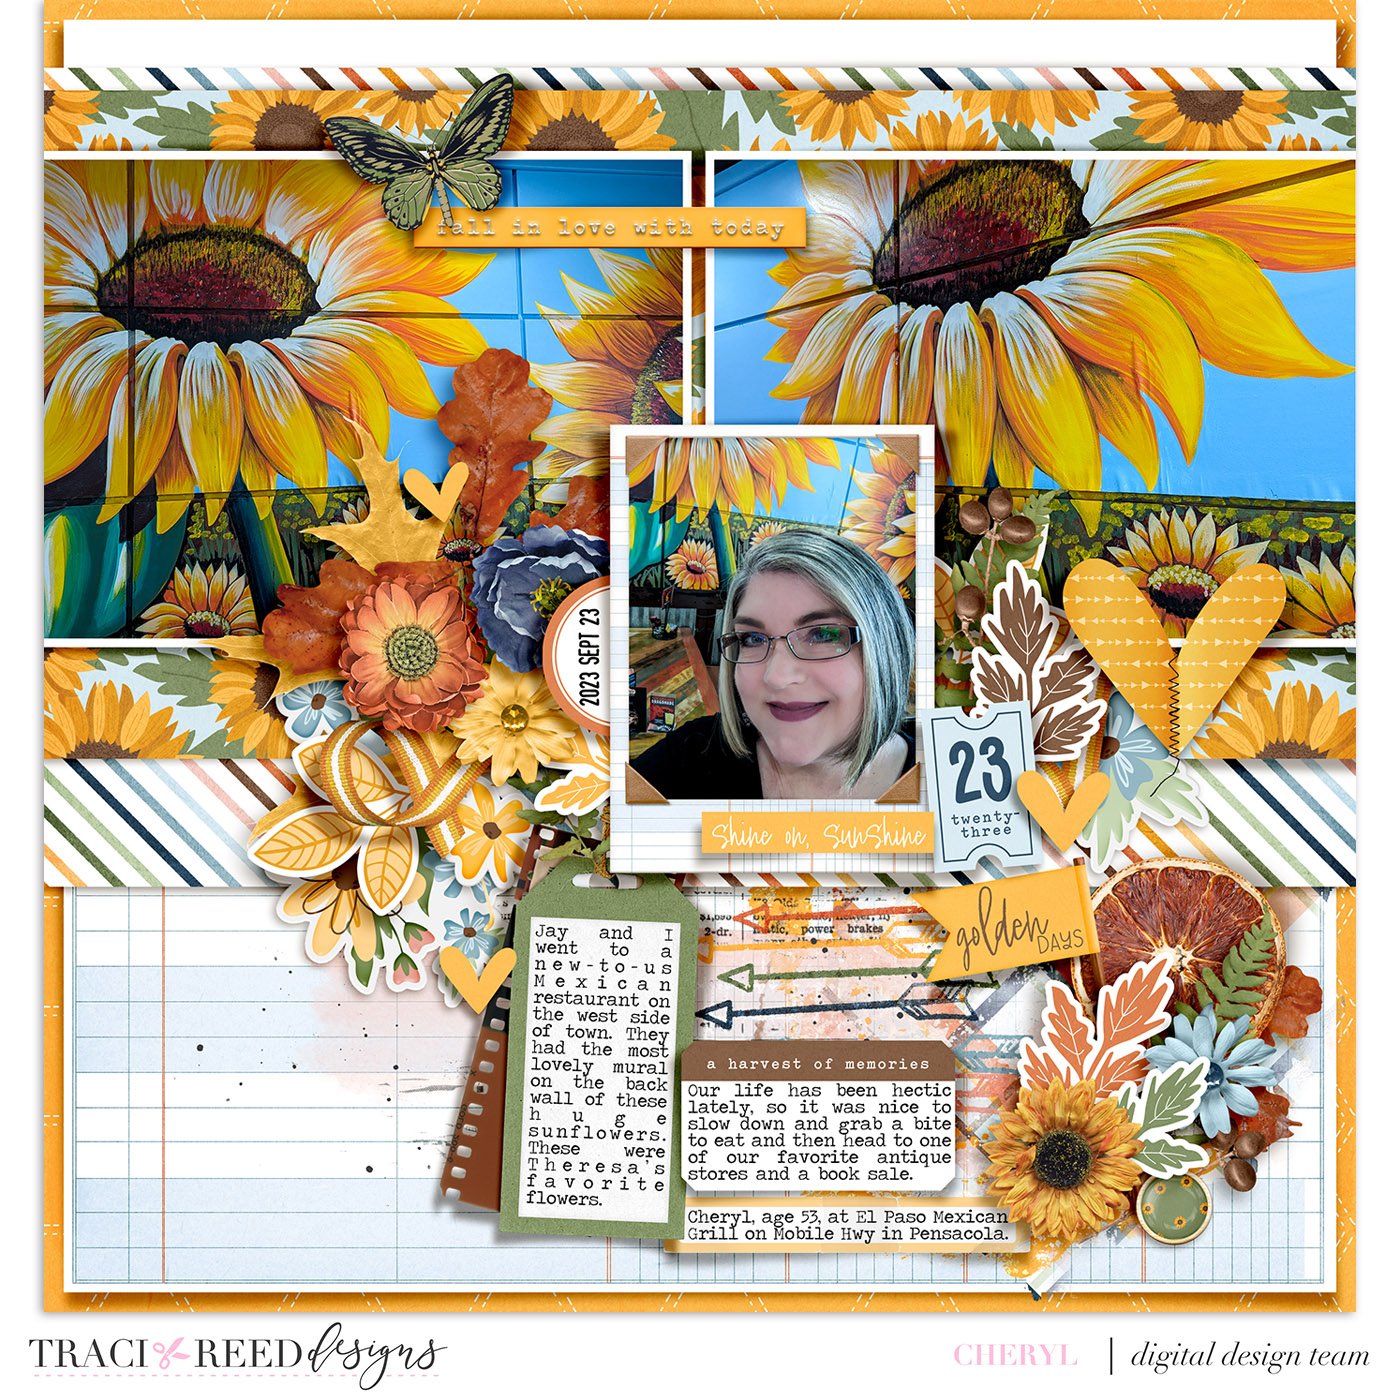
I then began adding all my embellishments. I chose quite a few stickers and mixed media paints and combined them with the dimensional elements from the digital kit. Once I started building my layout, the embellishments took up more space around my selfie. Again, don’t be afraid to let your embellishments cover portions of photographs especially if you can help draw the eye from spot to spot on your layout.

I finished off the layout with a couple of labels and a tag for my journaling. The label that had “a harvest of memories” on brown had dotted lines for journaling, but what I had to include wasn’t going to fit. I used the eye dropper tool to select the white of the label, created a new layer, and then chose a basic round brush to cover up the dotted lines. That way, I was able to change the font size and spacing for everything to fit nicely.
After my layout was done, I felt that the yellow paper was overwhelming the rest of my layout, so I chose a ledger paper and layered it on the yellow paper, leaving a small yellow border. The ledger paper ended up making my framed photo stand out more, and it also added more of the sky blue to really draw out the blues in the photos.
TRD Product Used In This Post
