Bring it Back to the Basics: Embellishment Clusters: 101 with Vanessa
When it comes to creating embellishment clusters the first and most important rule is there are no rules. Your clusters can be big or small, there can be 2 or 10, you can add one piece of ephemera or 30 it is all up to you. The only thing to remember is to create clusters that are pleasing to your eye. I hope that the ideas shared here will give you some ideas to try when creating embellishment clusters for your next project.
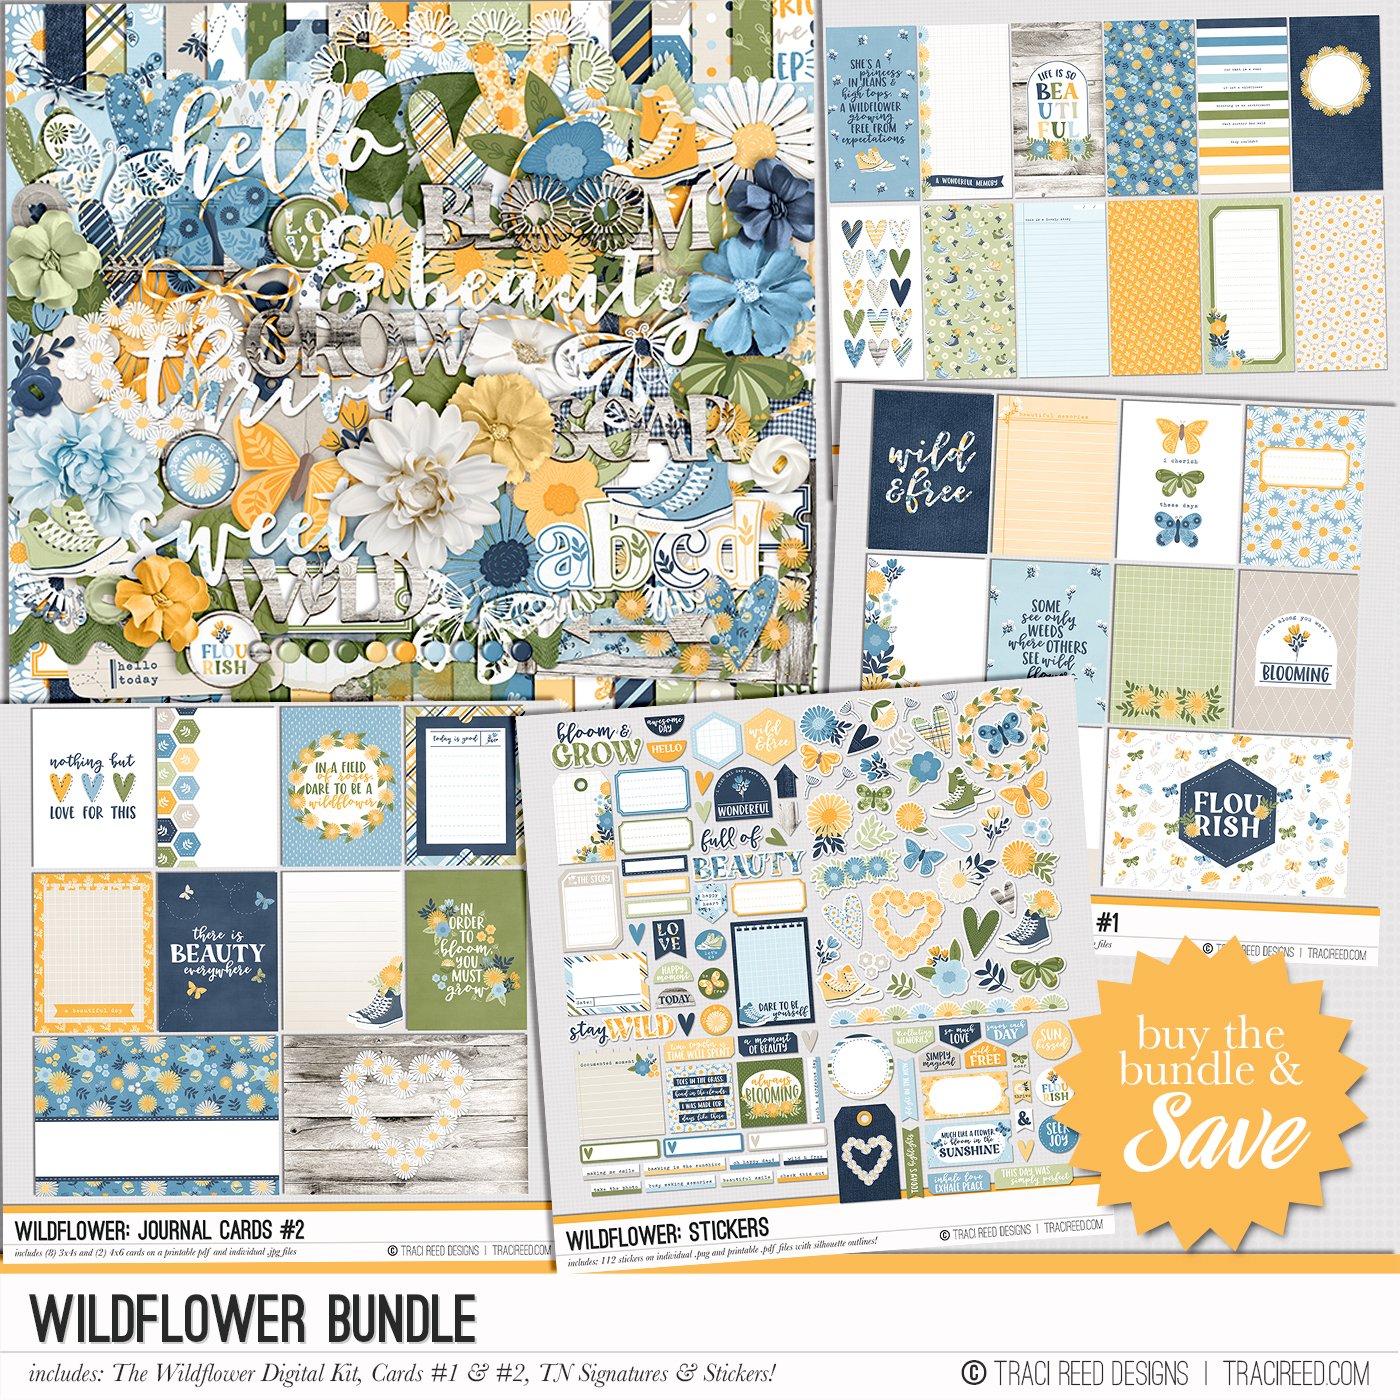
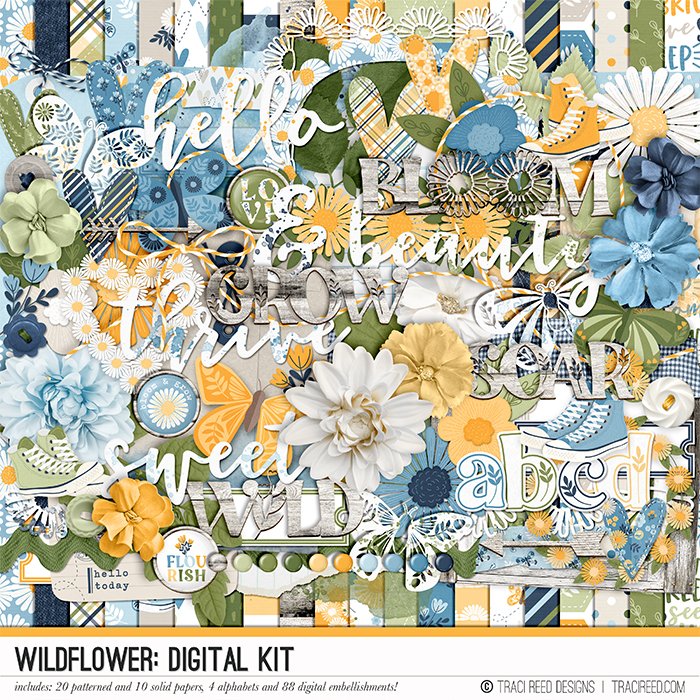
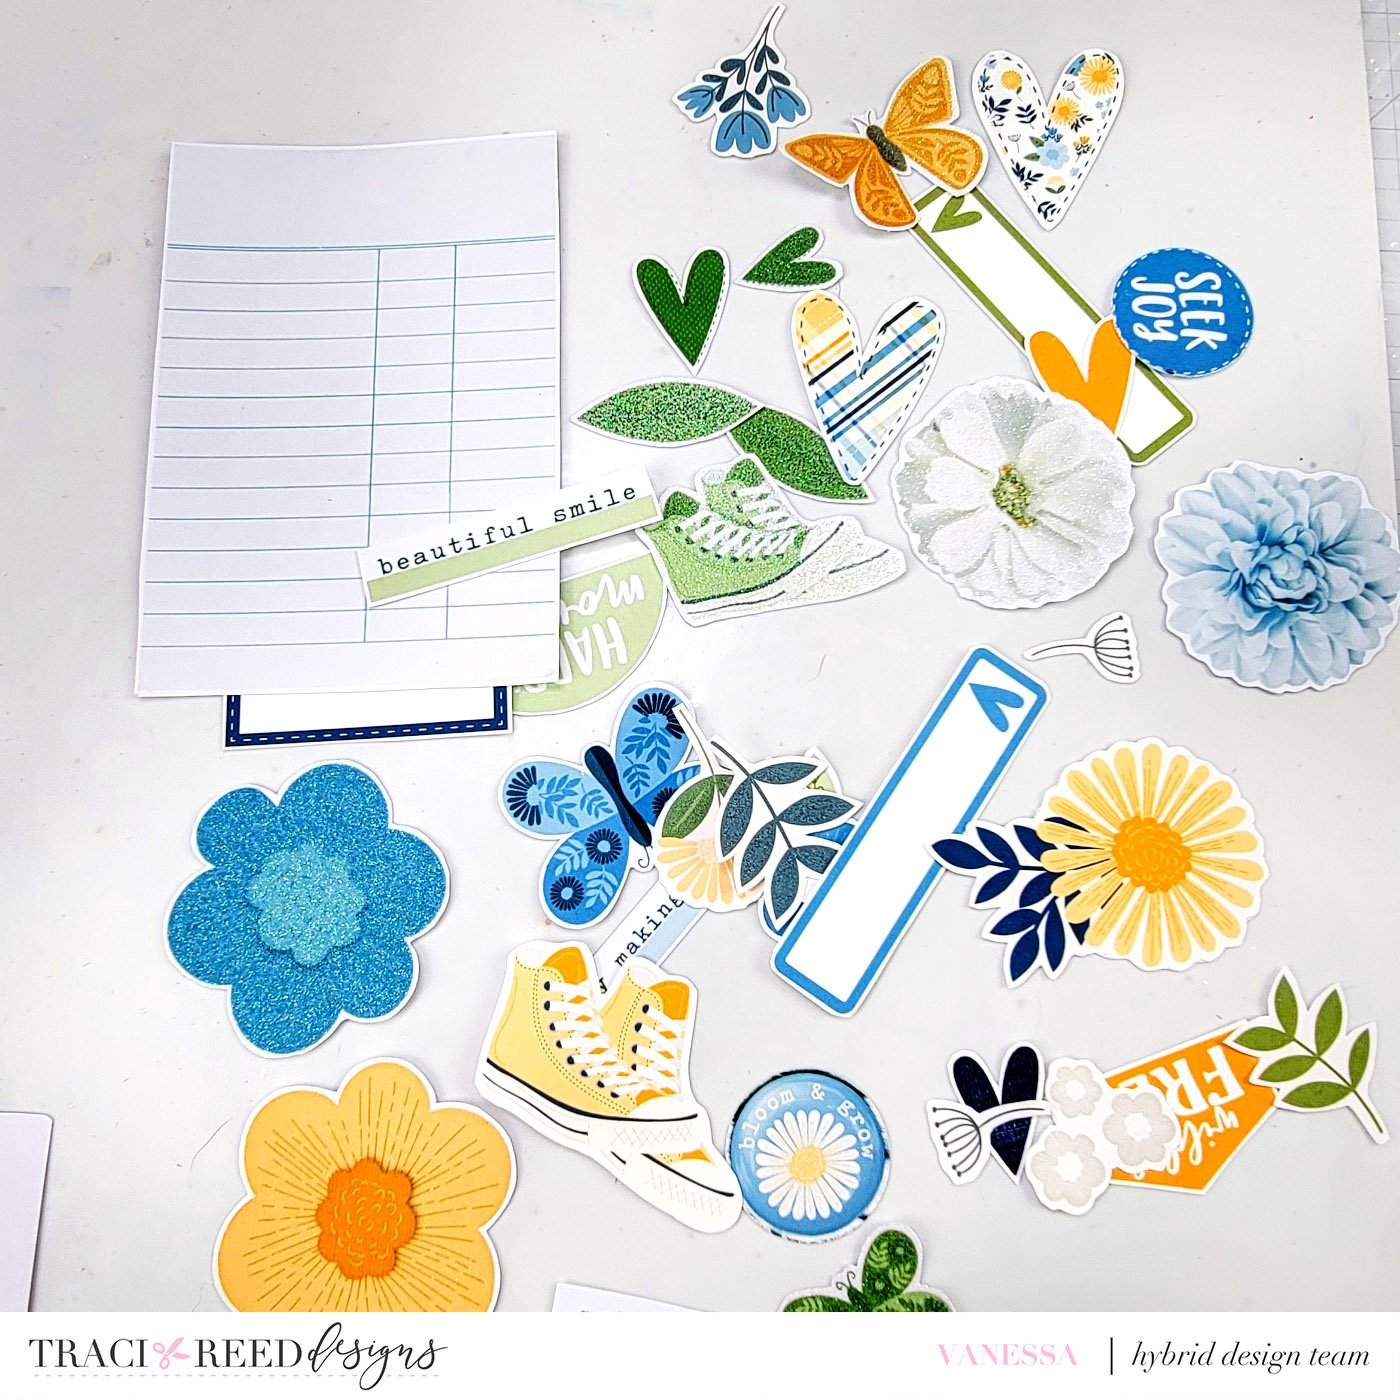
One of the things I love about working with working with hybrid collections is the wide variety of ephemera that comes in each collection. Traci’s collections are always full of bits and pieces that make putting embellishment clusters together quick and easy. For our embellishment clusters today, I am going to be using the Wildflower collection. I have taken bits and pieces from both the sticker and digital collections. To begin I cut out all my ephemera and placed everything into piles so I could see all the like items together when creating my clusters.

When I create clusters, I like to work in odd numbers which means for my pages I like to place an odd number of embellishment clusters on my pages. In addition, not only do I like an odd number of clusters, but I like to vary the sizes of the clusters from big, medium, and small. This gives me a good balance and variety. For this post we are going to break down creating embellishment clusters into three easy steps.
Step 1
Looking at the piles of embellishments I choose several of the large sized pieces to act as cluster bases. Cluster bases can be as large or as small as you want them. They can be anything from a journal card to a doily or as small as a label. For this blog post I am going to put together a variety of clusters and at the end there will be a completed layout using a few of the clusters created in this post. In the photo below you will see that I pulled several different sizes and shapes to use for my cluster bases.

Step 2
For the second step in Embellishment Clusters: 101, we next need to pull several different shapes and sizes of embellishments that we can use for layering in our clusters. This can be anything from florals, hearts, stars, leaves to labels, word strips, circles, and geometric shapes. Look at all the embellishments you have and pick your favorites items in varying sizes. We want to varying sizes so that we can layer them up on our cluster base to add interest and dimension. For my clusters I focused on florals, hearts, circles, words, and labels since those are the types of embellishments I pull for most when I scrapbook.
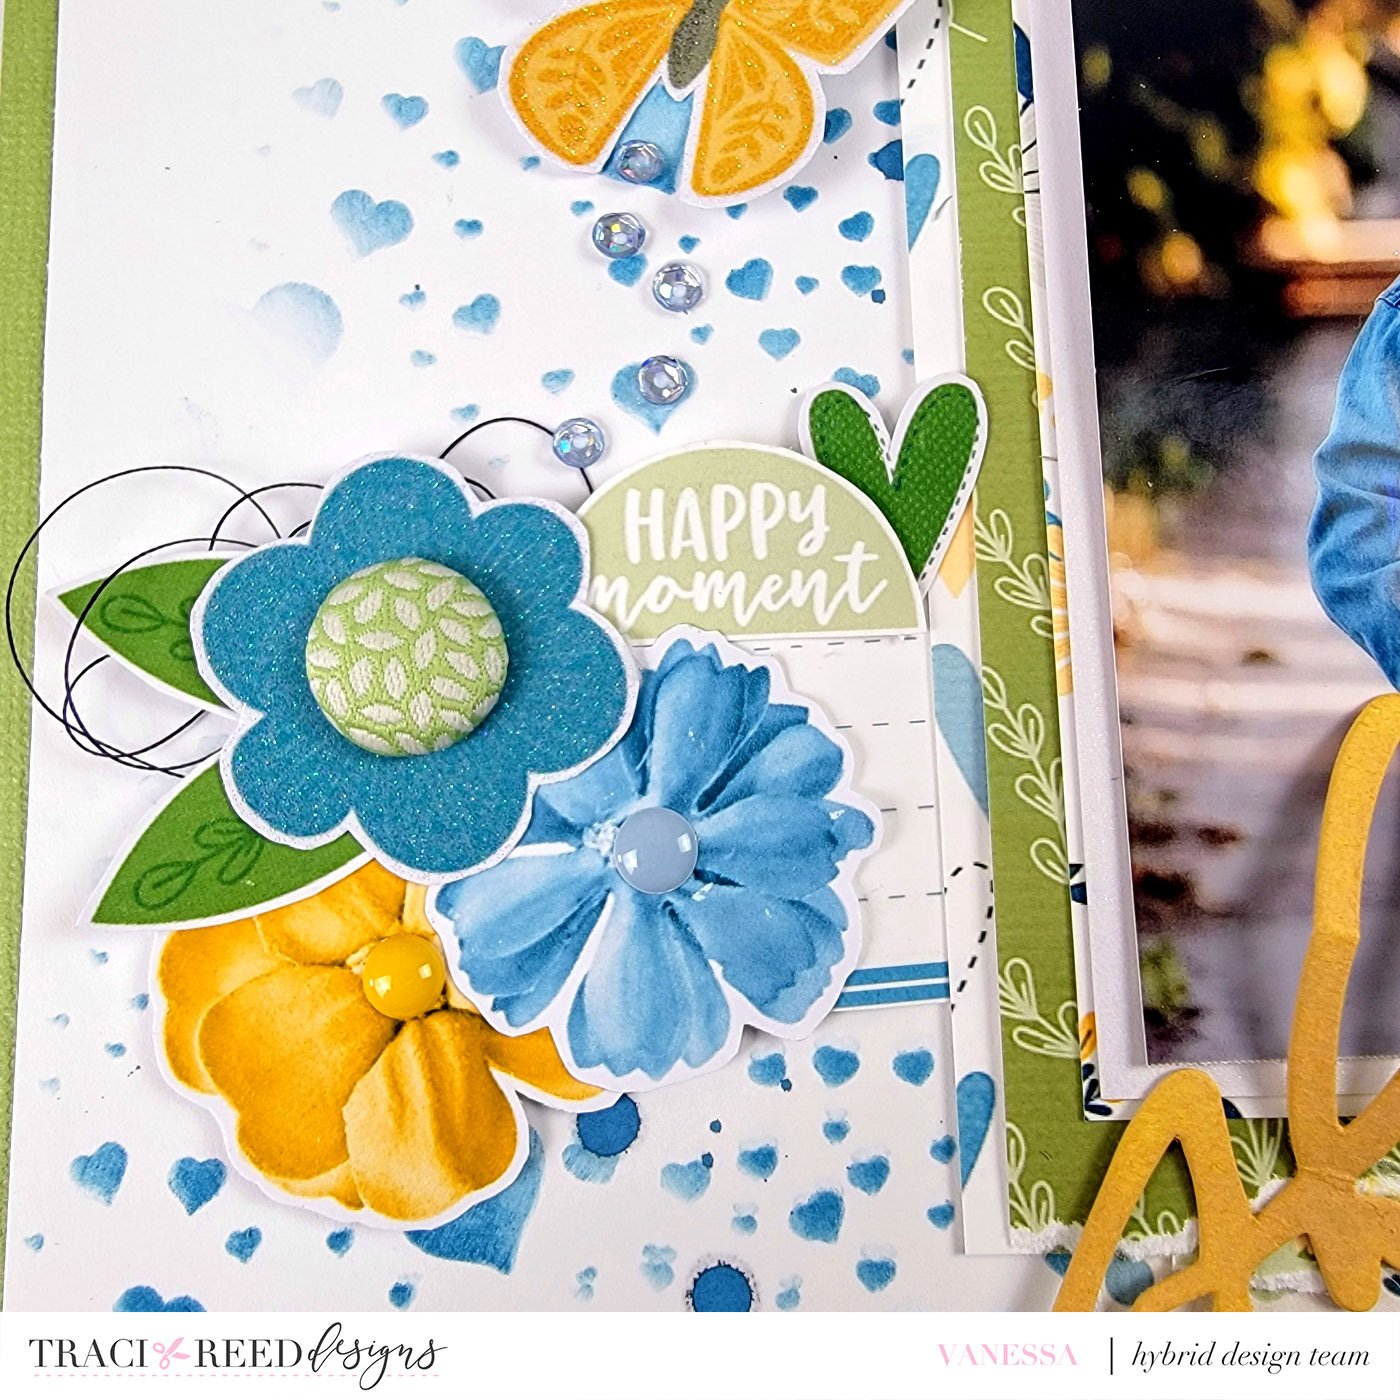
Now that we have everything selected, starting with the cluster base I work from largest to smallest and begin laying up the ephemera until I create something that is pleasing to my eye. To add a more organic feel to your clusters think about hanging some bits and pieces over the edges and be sure to pull out your dimensional adhesive and pop up one or two items in your clusters up to add some high which will give even more interest to your clusters.

Step 3
The final step in Embellishment Clusters: 101 is to add the finishing touches. As you can see in the photo our embellishment clusters are varied in size and dimension. Now because we are working with all paper up, we now want to look at adding in some non-paper items to dress up and add even more texture and interest to our clusters. This is where your sequins, enamel dots, nuvo drops, ribbon, trims, buttons, metal, acrylic and fabric items come into play. Look for places in your clusters to tuck the non-paper embellishments. For the nuvo drops, enamel dots, and sequins use those to layer on top of your clusters like in the centers of flowers or dot clusters in and around the clusters to add dimension.

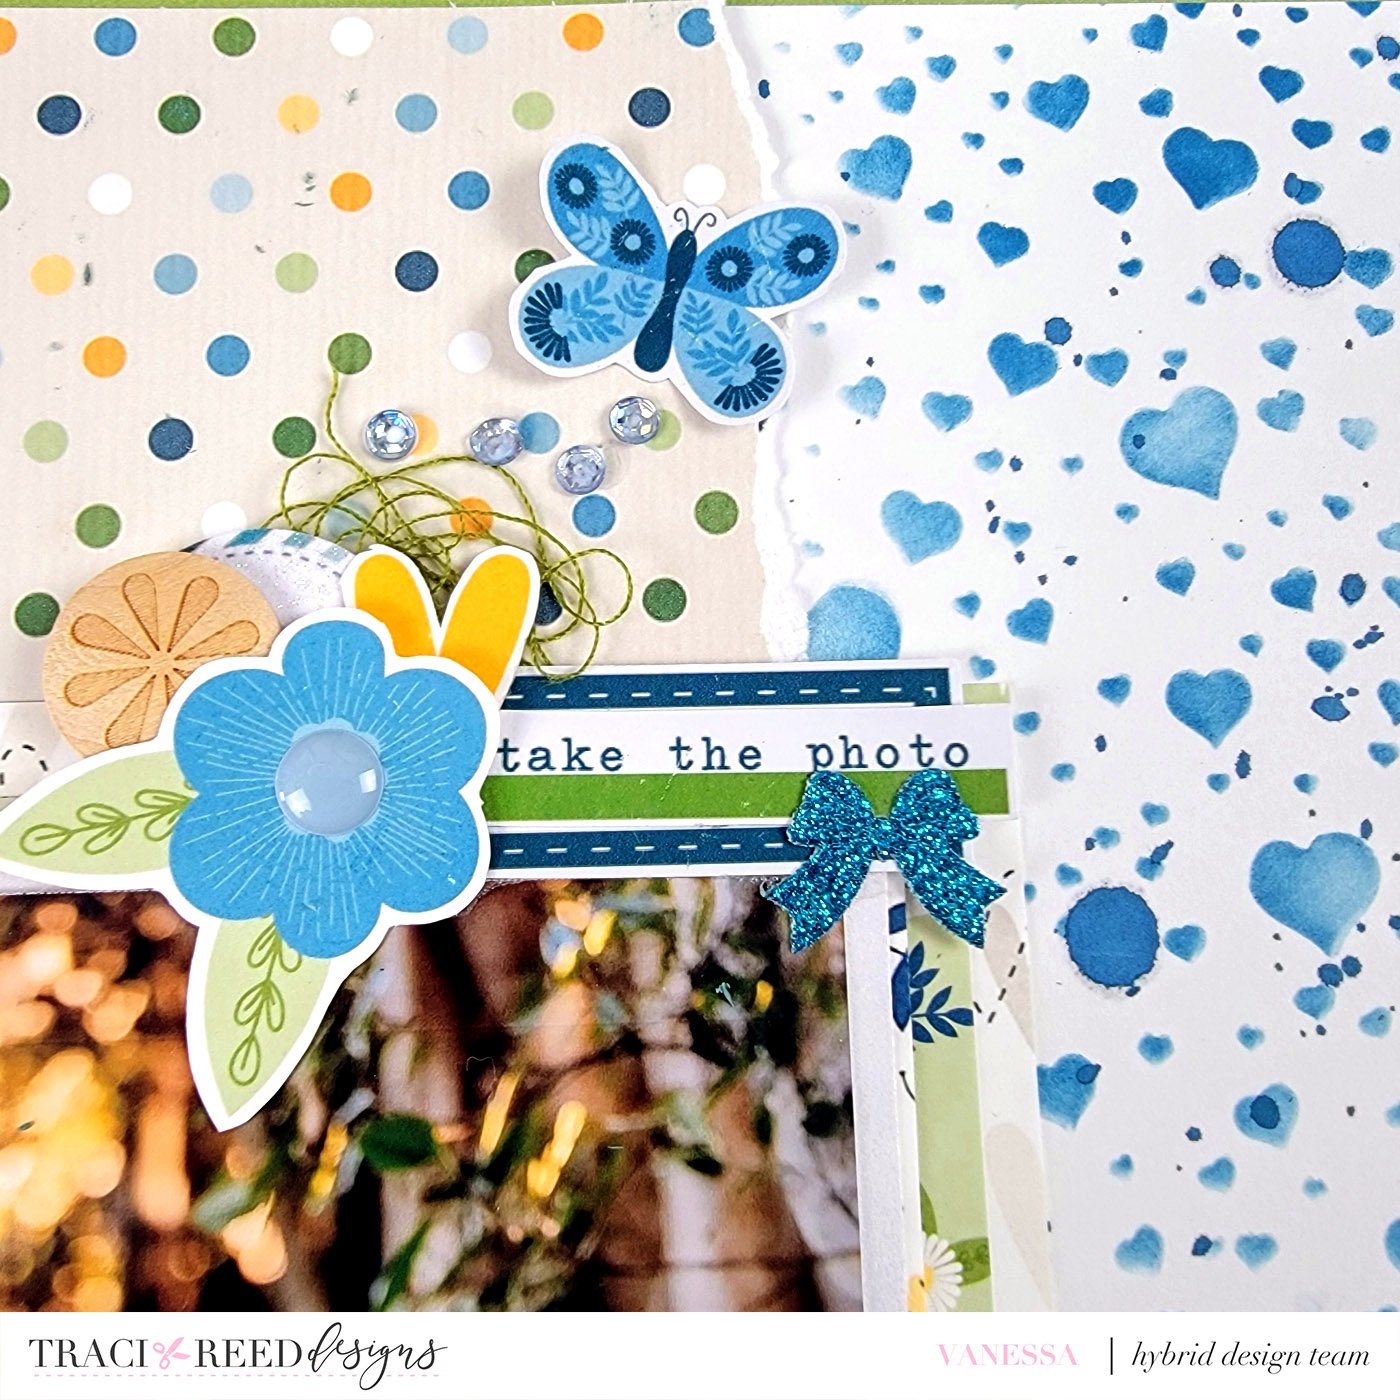
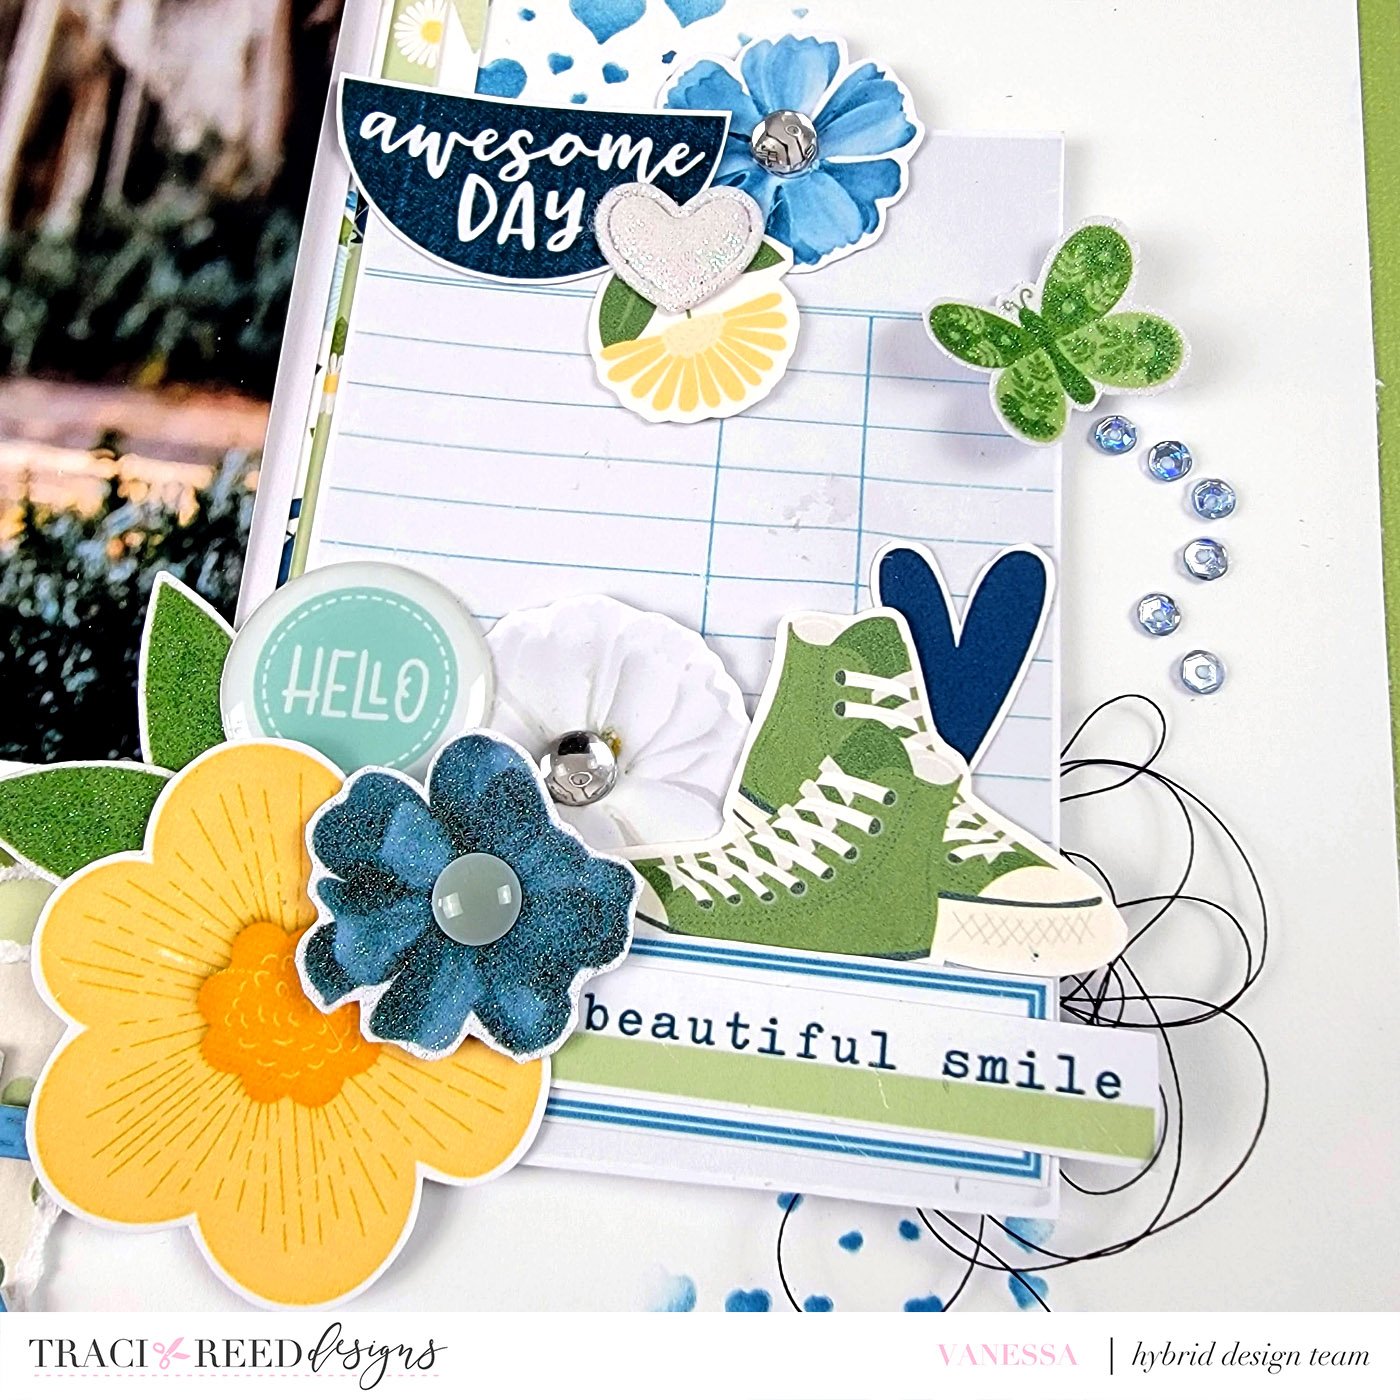
Now just like that in three easy steps we have created embellishment clusters that we can use on our projects whenever we need them. Creating these clusters ahead of time makes putting pages together quick and easy. Below is a layout created using the clusters we made in this blog post.

I hope you enjoyed Bring it Back to the Basics: Embellishment Clusters 101 and found some inspiration to create embellishment clusters for your next project. I would love to hear what your go to items and steps are for your clusters. If you create your own embellishments, be sure to tag TRD designs so we can see what you create. If you want to see how each of these clusters came together, you can check out the process video linked below.