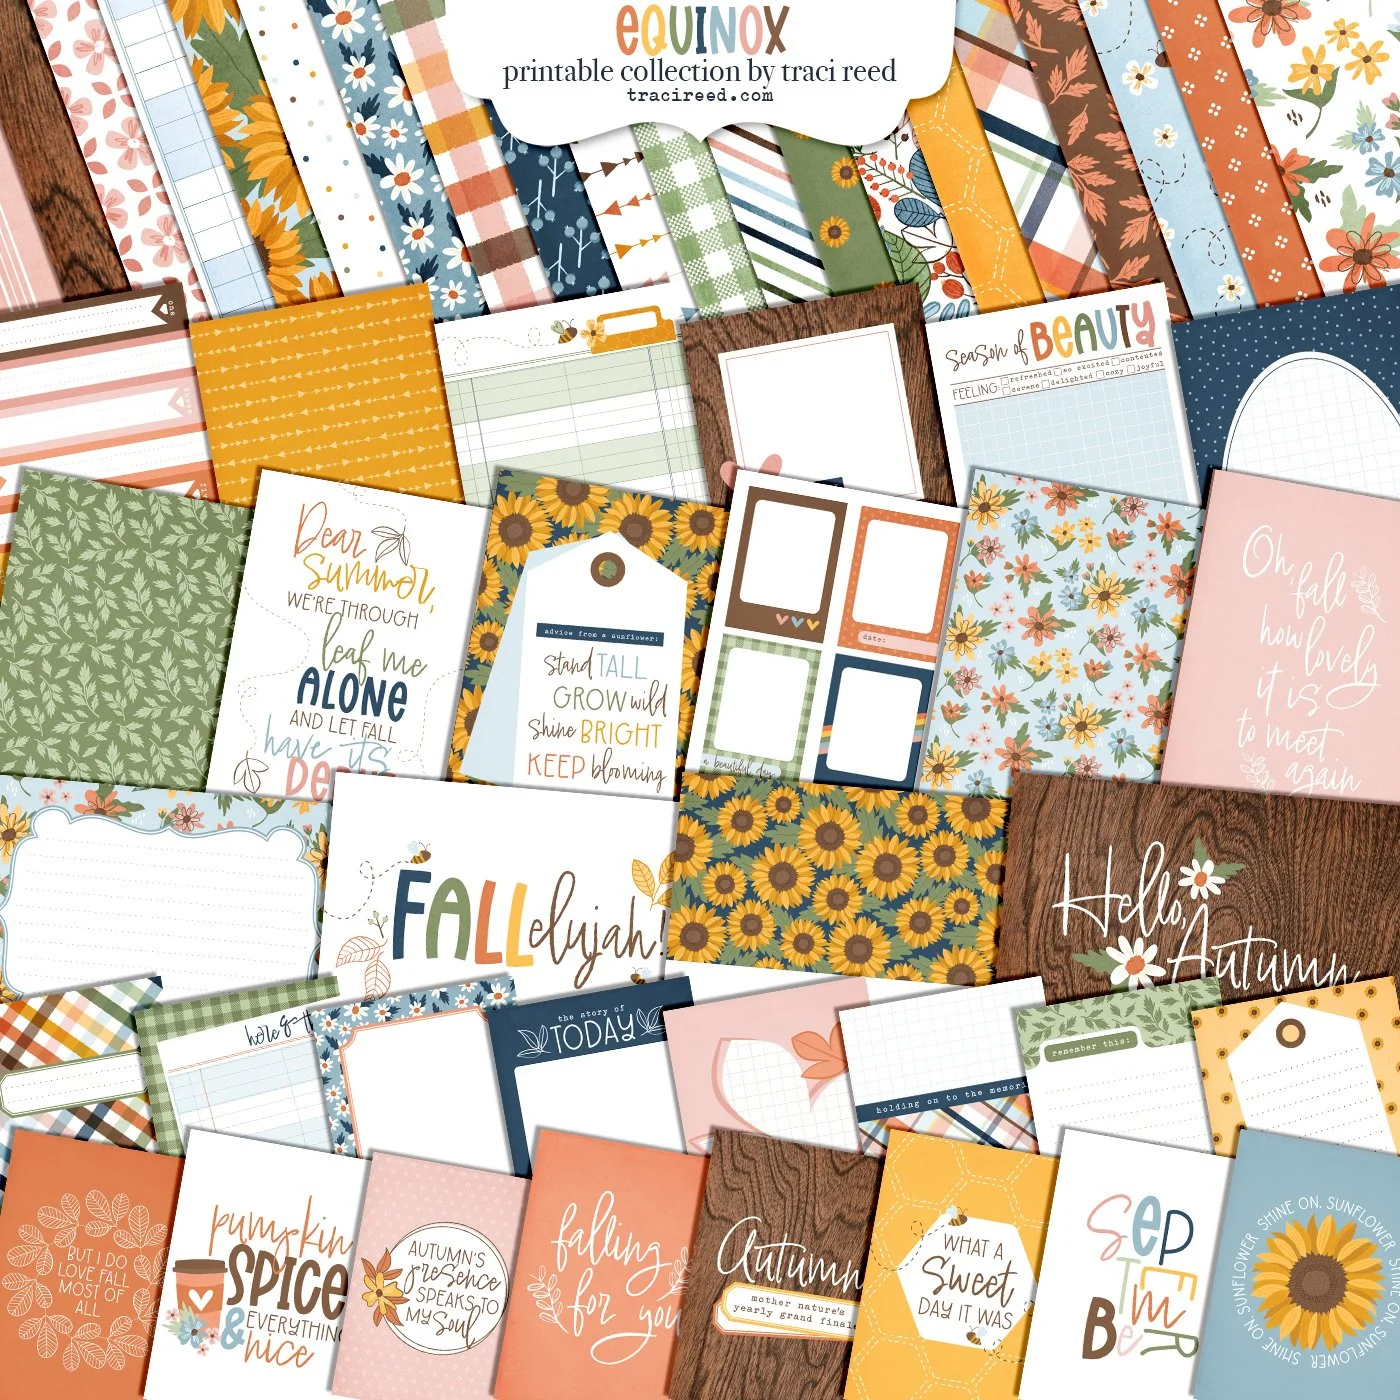
Think Outside The Theme With Melinda: All Occasions Cards Using Equinox!
Do you ever find yourself struggling to use a “themed” collection no matter how much you love it?
I know I can find myself in that exact position and sometimes, I’ve discovered, the best way for me to be able to use a collection is to think a little outside of the box and then inspiration will hit!! And often, in a BIG way!! Exactly like I have done with the gorgeous Equinox collection.

As you can see above I have taken this Autumn themed collection and I have created 6 cards for a variety of occasions and, you guys, I LOVE the way that these turned out!!
I started by choosing a bunch of the pattern papers that really spoke to me and sizing them to fit 4 to an A4 page and printing those out onto some good quality thick-ish card stock for my card fronts.
Because the embellishments in this collection are so beautiful I just printed and cut all of the printable sheets knowing I would have a bunch to choose from to decorate my cards.
For all of my cards I have used some dies, hot foil plates and letter press plates from my stash to build the designs.

I was first inspired by the blue pattern paper to create a shaker Christmas card and I just love the non-traditional colour scheme that I ended up with.
I’ve cut my sentiment, using the shadow sentiment die, from the centre of the blue pattern paper and then cut the actual sentiment on matte silver card stock to match the Spiegelmom Scraps “Silver Stardust” sequins I’ve used.
What do you think of my non-traditionally coloured Christmas card?

Second was this birthday card and as soon as I had my pattern papers printed I knew I HAD to have a card that featured that stunning floral pattern prominently!
I cut my sentiment using the wood grain pattern – making sure I cut from the centre of that so I could use the rest as a border! I then layered that onto a doily and built my card, finishing off with some “Gold Medallion” sequins also from SpiegelMom Scraps.

Next was another birthday card and this one was inspired by the yellow honey comb pattern card and the adorable bees and bee trails from the sticker sheets.
Again, I’ve cut my sentiment using a die from my stash and again cutting from the centre of the pattern so I could use the left overs in my layers.
With this card I also decided to add a little extra depth using some ink blending with Wild Honey Distress Oxide on both the sentiment and both of the pattern paper layers.
I finished this one off with 2 of the adorable bees & flight trails also from the Equinox collection and some more SpiegelMom Scraps sequins.

Card 4 was totally inspired by the frames from the sticker sheets! Like I mentioned earlier, I printed all of the sticker sheets and was quickly drawn to the woodgrain frame.
I paired that with a letter press image that I had created with brown ink on one of the plain pattern cards and then trimmed to fit behind the frame.
This was layered onto the pink stripe pattern and then I kinda got a bit stuck! At this point I moved onto my next cards but was hit with inspiration to use the diagonal stripe from the collection and voila! Another card done after I added a few more sequins!!

For this card, I again started with the beautiful woodgrain pattern. I used a hot foil plate with matte gold foil to add my sentiment and then die cut. Once again I made sure to cut from the centre of the piece so I could use the rest for my layers.
There are 2 stunning styles of florals in the Equinox collection and I think the ones I used on this card are one of my all time favourites that Traci has created so I just had to use as many of them as I could on one card!
I love this idea for a fun, non-traditional Christmas card!! I scattered a few more SpiegelMom Scraps sequins and card 5 is complete!

And onto my last card!
This card was started with another letter pressed image using brown ink onto white card stock. And my sentiment is also letter pressed in brown but this time onto the plain green pattern paper from the Equinox collection.
I’ve layered up the letterpress image & sentiment onto a couple of patterns (the blue pattern also has a letter press image) and then stamped my card base with the same brown ink to tie everything together and complete this card.
After struggling to use this most gorgeous collection I now have 6 hand made cards, for a variety of occasions that I had so much fun creating!
A quick couple of tips if you decide that this is how you’d like to approach something similar before I sign off:
Do a little pre-planning – for me this meant choosing & printing my pattern papers and ALL of the sticker sheets
Grab stamps, embossing folders, hot foil plates, letter press plates, whatever you have to hand that you want to incorporate from your stash
Jot down any ideas that pop into your head – I knew immediately that I wanted to create at least one birthday card and at least one Christmas card
And finally, if you have inspiration hit in the way of something more specific, sketch it out or write it down – I did something like this:
Process Video
TRD Products Used In This Post